
Hbase学习笔记2--Hbase集群搭建
单机版
首先去hbase官网下载需要的版本,然后解压到相应得节点上。
https://archive.apache.org/dist/hbase/然后阅读官方文档,找到搭建文档,找到配置文件属性。
https://hbase.apache.org/2.0/book.html#quickstart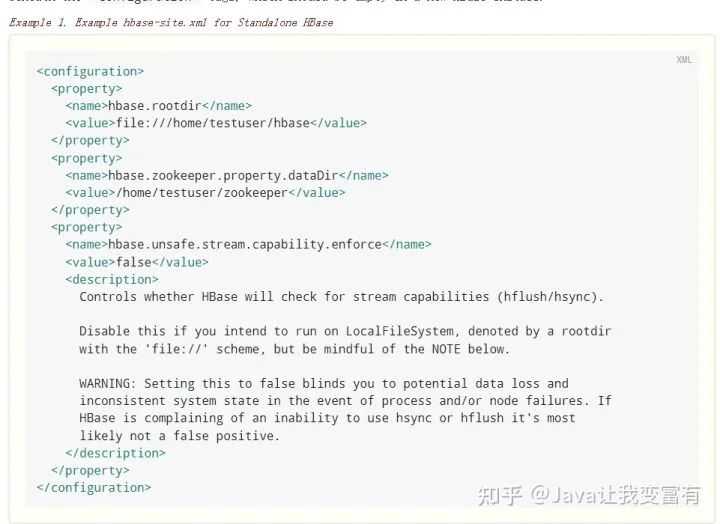
配置hbase-site.xml

启动Hbase
start-hbase.sh打开shell脚本
hbase shell创建表
创建表必须带有一个列族。其中cf就代表一个列族。如下查看表详情得时候,给我们列出来的信息都是按照列族来的。
create 'psn','cf'
create 'psn1','cf1','cf2'
插入数据
列族插入数据,每次插入都要指明本次插入得列族以及字段。如果不带cf得话,就会抛异常,无法找该列族。
put 'psn','1','cf:name','zhangsan'


hbase(main):015:0> put 'psn','1','name','zhangsan'
ERROR: org.apache.hadoop.hbase.regionserver.NoSuchColumnFamilyException:
Column family name does not exist in region psn
删除表
删除表需要先禁用表才能删除:
disable 'psn'
dorp 'psn'
region
接下来我们去数据目录下,查看hbase表得存储目录。可以看到我们创建的列族在这一串乱码文件下。这个乱码就是region的Id。

文件持久化
当我们插入一部分数据的时候,如果没有超过缓冲区的大小。我们就不会把数据持久化到硬盘。


此时我们可以通过如下命令,手动将数据刷新到磁盘:
flush 'psn'会发现数据已经到了硬盘。
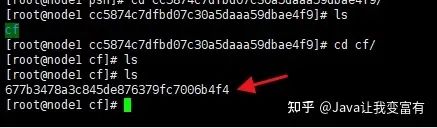
此时我们可以通过命令来查看该文件中的数据,每个人后续生成的region和文件id都不太一样。
hbase hfile -p -f file:///home/testuser/hbase/data/default/psn/cc5874c7dfbd07c30a5daaa59dbae4f9/cf/677b3478a3c845de876379fc7006b4f4分布式集群
配置免密操作
node1和node4免密,如下所示:
ssh-keygen
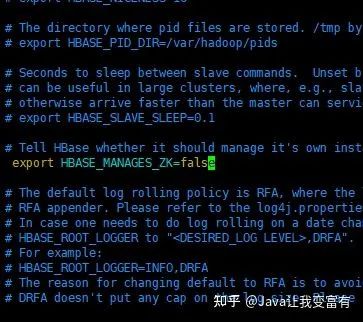
ssh-copy-id -i .ssh/id_rsa.pub node1配置hbase-env.sh
关闭hbase自身zookeeper实例。采用外部zookeeper集群。
配置hbase-site.xml
写入自己的集群配置。
<property>
<name>hbase.rootdirname>
<value>hdfs://mycluster/hbase
  property>
<property>
<name>hbase.cluster.distributedname>
<value>truevalue>
property>
<property>
<name>hbase.zookeeper.quorumname>
<value>node2,node3,node4value>
property>
配置regionservers
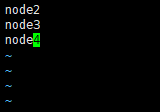
配置backup-masters
表示备份的master。
HDFS配置
Procedure: HDFS Client Configuration
Of note, if you have made HDFS client configuration changes on your Hadoop cluster, such as configuration directives for HDFS clients, as opposed to server-side configurations, you must use one of the following methods to enable HBase to see and use these configuration changes:

1.Add a pointer to your HADOOP_CONF_DIR to the HBASE_CLASSPATH environment variable in hbase-env.sh.

2.Add a copy of hdfs-site.xml (or hadoop-site.xml) or, better, symlinks, under ${HBASE_HOME}/conf, or

3.if only a small set of HDFS client configurations, add them to hbase-site.xml.
我们选择第二种,将hadoop的hdfs-site.xml复制到hbase中进行配置。
cp /opt/bigdata/hadoop-2.6.5/etc/hadoop/hdfs-site.xml ./接下来将配置好的hbase复制到其他三个节点,并配置环境变量
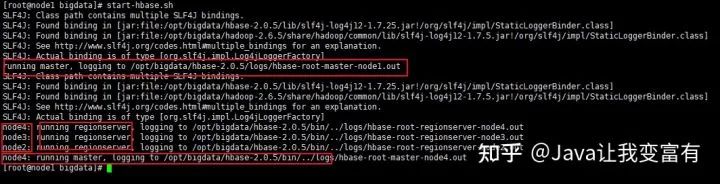
scp -r hbase-2.0.5/ root@node4:/opt/bigdata/启动Hbase集群
可以看到日志中,node1为master,node2,node3,node4为regionserver。node4也为master。
可以看到java进程中,node4节点多了一个HMaster,一个HRegionServer。
指定备用Master
同时我们可以指定备用Master,例如node3。使用如下命令:
hbase-daemon.sh start master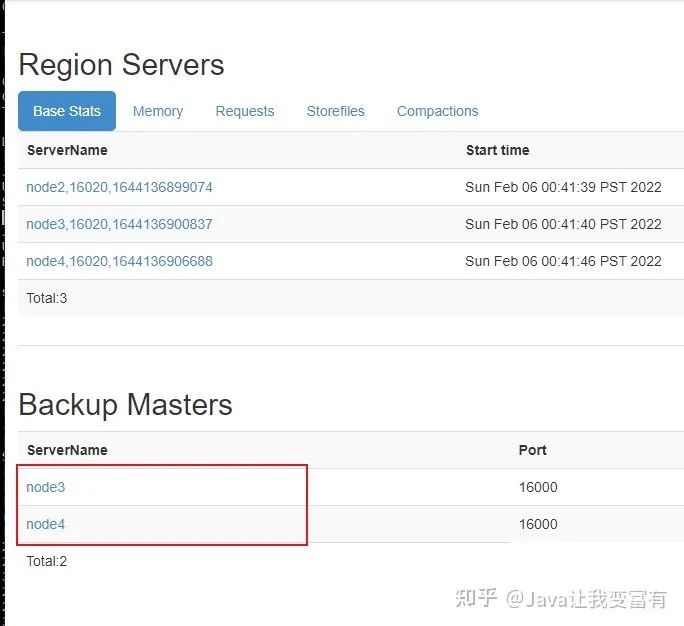
启动集群shell
在任意节点启动集群shell。
hbase shell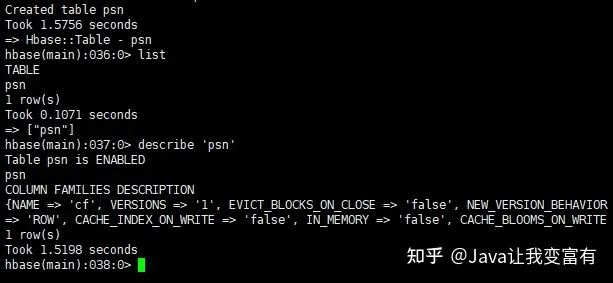
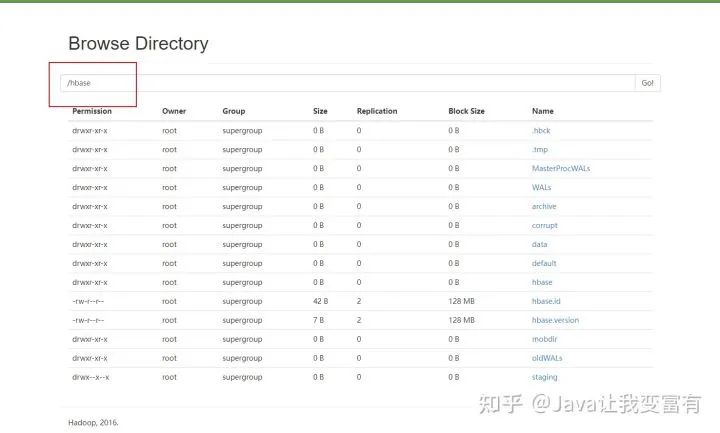
同时在我们的hdfs文件系统中也看到了我们的hbase目录
评论