
scikit-image图像处理入门
点击上方“小白学视觉”,选择加"星标"或“置顶”
重磅干货,第一时间送达

skimage是纯python语言实现的BSD许可开源图像处理算法库,主要的优势在于:
提供一套高质量易用性强的图像算法库API
满足研究人员与学生学习图像处理算法的需要,算法API参数可调
满足工业级应用开发需求,有实际应用价值
scikit-image主要模块如下:
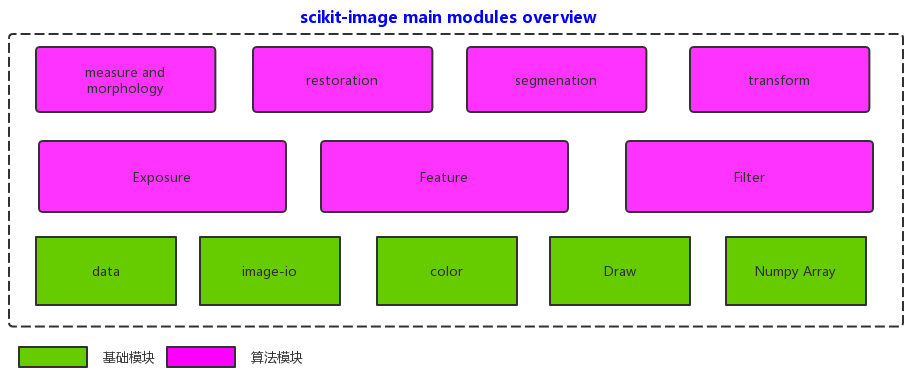
官方主页
https://scikit-image.org/安装
pip install scikit-image导入支持的模块
from skimage import data, io, filters, feature, segmentation
from skimage import color, exposure, measure, morphology, draw
from matplotlib import pyplot as plt
from skimage import transform as tf
从data中获取测试图像与数据并显示
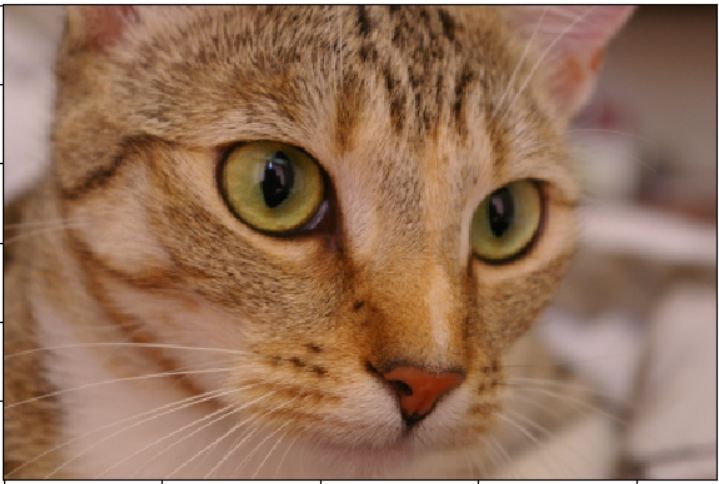
image = data.chelsea()
io.imshow(image)
io.show()
这个是开源作者养的宠物猫
灰度转换
gray = color.rgb2gray(image)
fig, axes = plt.subplots(1, 2, figsize=(8, 4))
ax = axes.ravel()

ax[0].imshow(image)
ax[0].set_title("Input RGB")
ax[1].imshow(gray, cmap=plt.cm.gray)
ax[1].set_title("gray")

fig.tight_layout()
plt.show()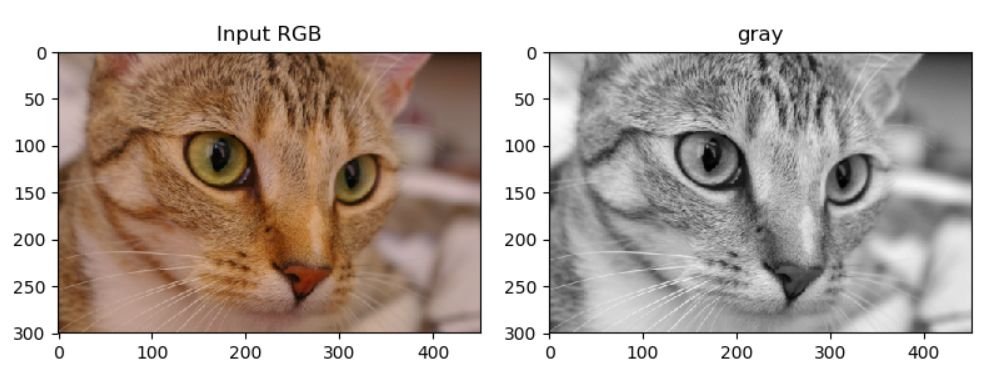
通道分离操作
hsv_img = color.rgb2hsv(image)
hue_img = hsv_img[:, :, 0]
value_img = hsv_img[:, :, 2]

fig, (ax0, ax1, ax2) = plt.subplots(ncols=3, figsize=(8, 2))
ax0.imshow(image)
ax0.set_title("RGB image")
ax0.axis('off')
ax1.imshow(hue_img, cmap='hsv')
ax1.set_title("Hue channel")
ax1.axis('off')
ax2.imshow(value_img)
ax2.set_title("Value channel")
ax2.axis('off')

fig.tight_layout()
plt.show()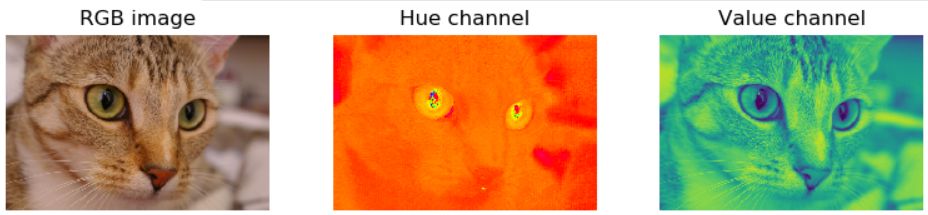
滤波操作
image = data.chelsea()
gray = color.rgb2gray(image)
blur = filters.gaussian(image, 15)
usm = filters.unsharp_mask(image, 3, 1.0)
sobel = filters.sobel(gray)
prewitt = filters.prewitt(gray)
eh = exposure.equalize_adapthist(gray)
lapl = filters.laplace(image, 3)
median = filters.median(gray)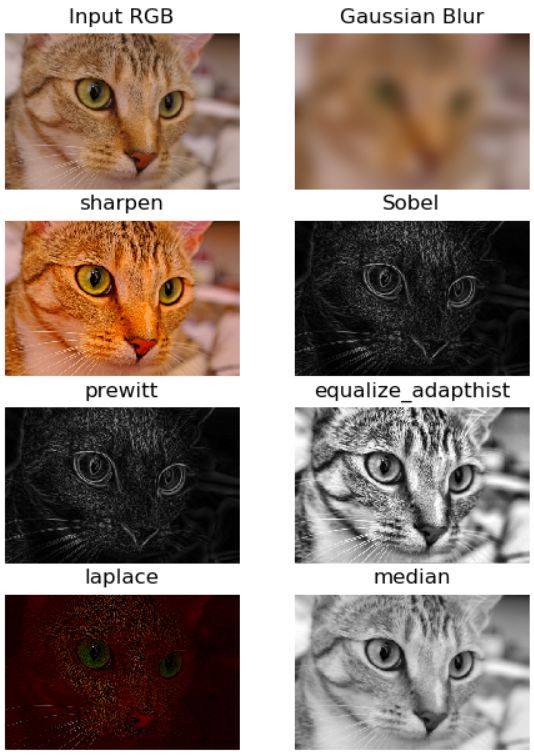
图像二值化处理
image = io.imread("D:/images/dice.jpg")
gray = color.rgb2gray(image)
ret = filters.threshold_otsu(gray)
print(ret)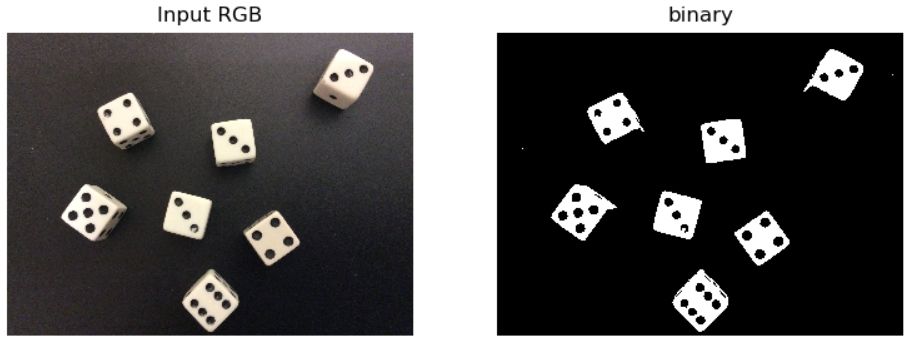
轮廓发现
binary = gray > ret
ax[0].imshow(gray > ret, cmap='gray')
ax[0].set_title("binary")
contours = measure.find_contours(binary, 0.8)
for n, contour in enumerate(contours):
         ax[1].plot(contour[:, 1], contour[:, 0], linewidth=2)
ax[1].set_title("contours")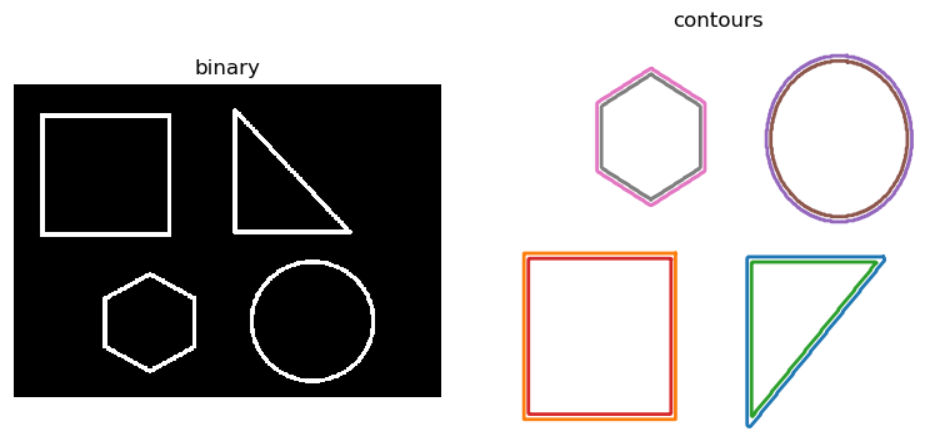
Canny边缘
image = io.imread("D:/images/master.jpg")
gray = color.rgb2gray(image)
edge = feature.canny(gray, 3)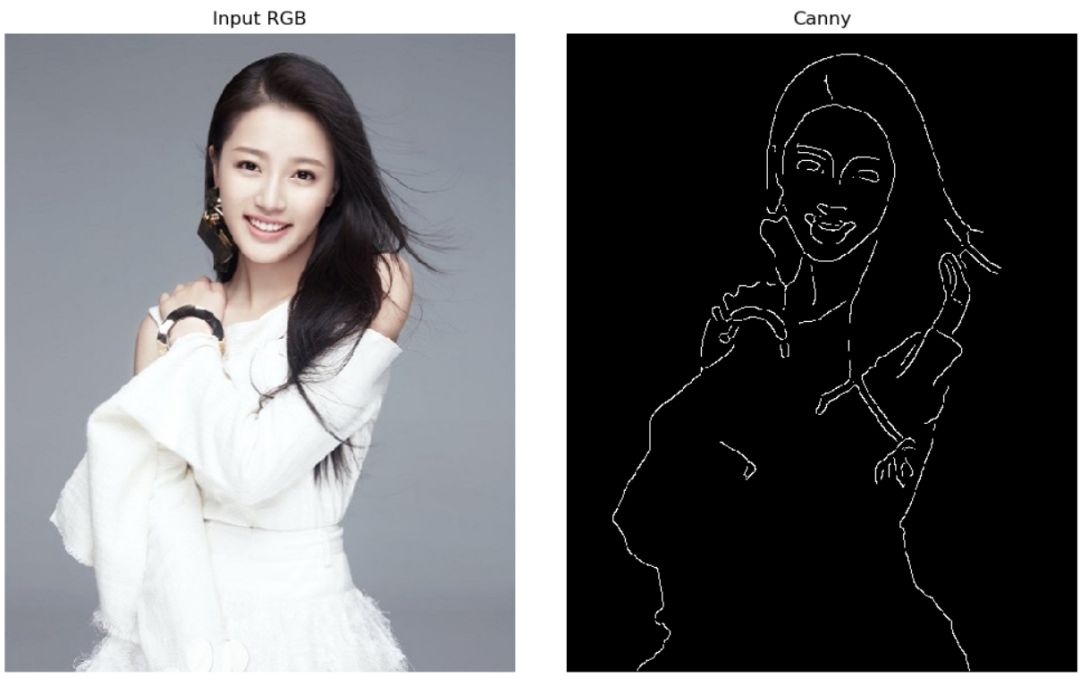
骨架提取
image = data.horse()
gray = color.rgb2gray(image)
ret = filters.threshold_otsu(gray)
binary = gray < ret
skele = morphology.skeletonize(binary)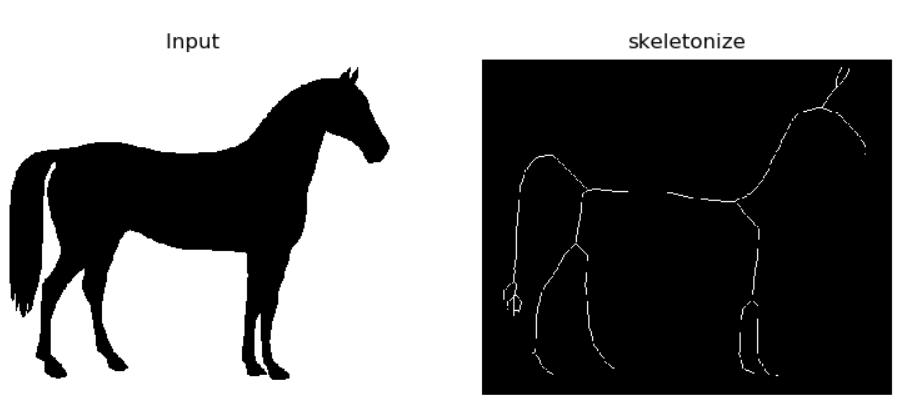
harris角点检测
image = io.imread("D:/images/home.jpg")
gray = color.rgb2gray(image)
coords = feature.corner_peaks(feature.corner_harris(gray), min_distance=5)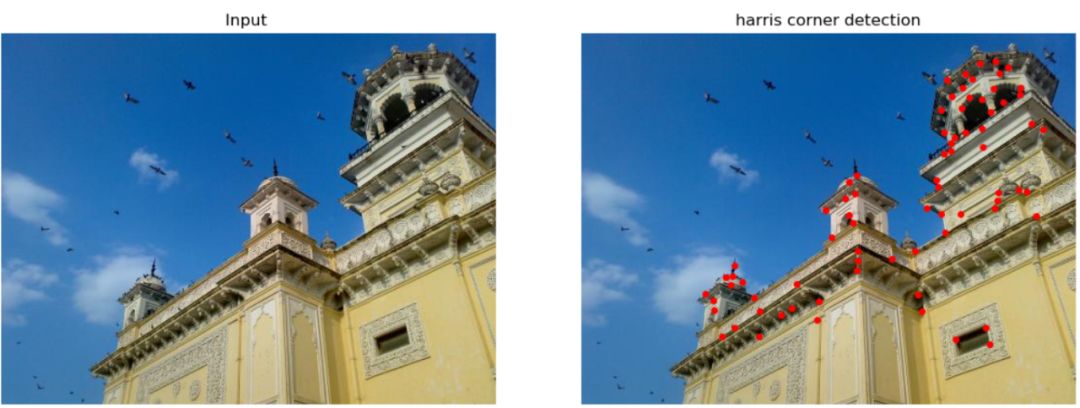
BRIEF特征匹配
keypoints1 = corner_peaks(corner_harris(img1), min_distance=5)
keypoints2 = corner_peaks(corner_harris(img2), min_distance=5)
keypoints3 = corner_peaks(corner_harris(img3), min_distance=5)

extractor = BRIEF()
extractor.extract(img1, keypoints1)
keypoints1 = keypoints1[extractor.mask]
descriptors1 = extractor.descriptors

extractor.extract(img2, keypoints2)
keypoints2 = keypoints2[extractor.mask]
descriptors2 = extractor.descriptors

extractor.extract(img3, keypoints3)
keypoints3 = keypoints3[extractor.mask]
descriptors3 = extractor.descriptors

matches12 = match_descriptors(descriptors1, descriptors2, cross_check=True)
matches13 = match_descriptors(descriptors1, descriptors3, cross_check=True)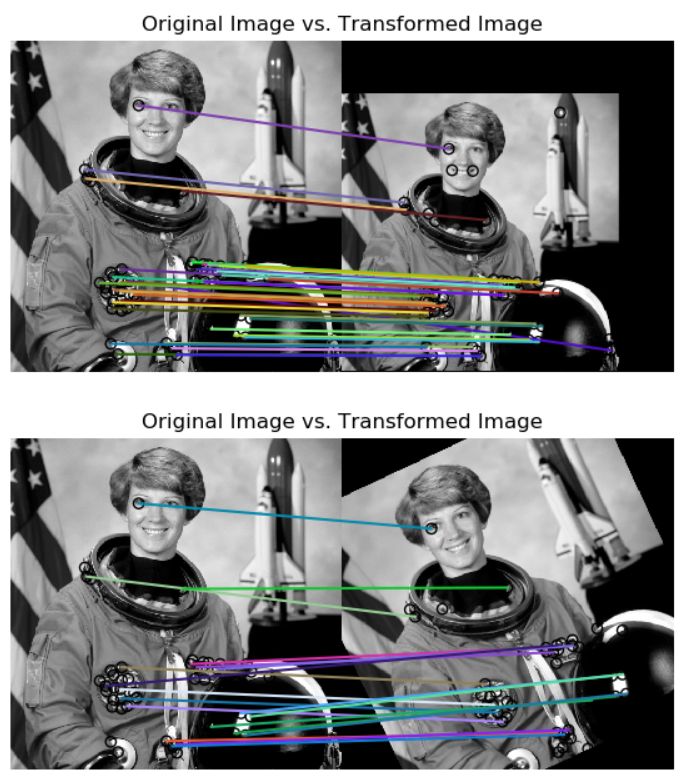
上述同时显示两张图像的相似代码
fig, axes = plt.subplots(1, 2, figsize=(8, 4))
ax = axes.ravel()

ax[0].imshow(image)
ax[0].set_title("Input RGB")
ax[1].imshow(gray > ret, cmap='gray')
ax[1].set_title("binary")
ax[0].axis('off')
ax[1].axis('off')

fig.tight_layout()
plt.show()
完整的演示代码下载地址
https://github.com/gloomyfish1998/opencv_tutorial/blob/master/python/ski_image_demo.py
交流群
欢迎加入公众号读者群一起和同行交流,目前有SLAM、三维视觉、传感器、自动驾驶、计算摄影、检测、分割、识别、医学影像、GAN、算法竞赛等微信群(以后会逐渐细分),请扫描下面微信号加群,备注:”昵称+学校/公司+研究方向“,例如:”张三 + 上海交大 + 视觉SLAM“。请按照格式备注,否则不予通过。添加成功后会根据研究方向邀请进入相关微信群。请勿在群内发送广告,否则会请出群,谢谢理解~
评论