自定义数据集上训练StyleGAN | 基于Python+OpenCV+colab实现
点击上方“AI算法与图像处理”,选择加"星标"或“置顶”
重磅干货,第一时间送达
分享我的知识,使用带有示例代码片段的迁移学习逐步在Google colab中的自定义数据集上训练StyleGAN 如何使用预训练的权重从自定义数据集中生成图像 使用不同的种子值生成新图像
介绍
https://github.com/NVlabs/stylegan

重点和前提条件:
必须使用GPU,StyleGAN无法在CPU环境中进行训练。为了演示,我已经使用google colab环境进行实验和学习。 确保选择Tensorflow版本1.15.2。StyleGAN仅适用于tf 1.x
StyleGAN训练将花费大量时间(几天之内取决于服务器容量,例如1个GPU,2个GPU等)
如果你正在从事与GAN相关的任何实时项目,那么由于colab中的使用限制和超时,你可能想在 tesla P-80或 P-100专用服务器上训练GAN 。
如果你有google-pro(不是强制性的),则可以节省多达40-50%的本文训练时间 ,我对GAN进行了3500次迭代训练,因为训练整个GAN需要很长时间(要获取高分辨率图像),则需要至少运行25000次迭代(推荐)。另外,我的图像分辨率是64×64,但是styleGAN是在1024×1024分辨率图像上训练的。
我已使用以下预先训练的权重来训练我的自定义数据集(有关更多详细信息,请参见Tensorflow Github官方链接)
https://drive.google.com/uc?id=1MEGjdvVpUsu1jB4zrXZN7Y4kBBOzizDQ
使用迁移学习在Google Colab中的自定义数据集上训练style GAN
打开colab并打开一个新的botebook。确保在Runtime->Change Runtime type->Hardware accelerator下设置为GPU 验证你的帐户并装载G驱动器
from google.colab import drive
drive.mount('/content/drive', force_remount=True)
确保选择了Tensorflow版本1.15.2。StyleGAN仅适用于tf1.x。
%tensorflow_version 1.x
import tensorflow
print(tensorflow.__version__)
从 https://github.com/NVlabs/stylegan 克隆stylegan.git
!git clone https://github.com/NVlabs/stylegan.git
!ls /content/stylegan/
You should see something like this
config.py              LICENSE.txt             run_metrics.py
dataset_tool.py        metrics                 stylegan-teaser.png
dnnlib                 pretrained_example.py   training
generate_figures.py    README.md               train.py
import sys
sys.path.insert(0, "/content/stylegan")
import dnnlib
!unrar x "/content/drive/My Drive/CustomDataset.rar" "/content/CData/"
# resize all the images to same size
import os
from tqdm import tqdm
import cv2
from PIL import Image
from resizeimage import resizeimage
path = '/content/CData/'
for filename in tqdm(os.listdir(path),desc ='reading images ...'):
image = Image.open(path+filename)
image = image.resize((64,64))
image.save(path+filename, image.format)
! python /content/stylegan/dataset_tool.py create_from_images /content/stylegan/datasets/custom-dataset /content/texture
replace your custom dataset path (instead of /content/texture)
/content/stylegan/datasets/custom-dataset/custom-dataset-r02.tfrecords - 22
/content/stylegan/datasets/custom-dataset/custom-dataset-r03.tfrecords - 23
/content/stylegan/datasets/custom-dataset/custom-dataset-r04.tfrecords -24
/content/stylegan/datasets/custom-dataset/custom-dataset-r05.tfrecords -25
/content/stylegan/datasets/custom-dataset/custom-dataset-r06.tfrecords -26
These tfrecords correspond to 4x4 , 8x8 ,16x16, 32x32 and 64x64 resolution images (baseline progressive) respectiviely
Replace line no 37 below # Dataset. from
desc += '-ffhq'; dataset = EasyDict(tfrecord_dir='ffhq'); train.mirror_augment = True    TO
desc += '-PATH of YOUR CUSTOM DATASET'= EasyDict(tfrecord_dir='PATH of YOUR CUSTOM DATASET'); train.mirror_augment = True

uncomment line no 46 below # Number of GPUs. and comment line no 49
line number 52, train.total_kimg = 25000 is recommended for complete GAN training of 1024x1024 resolution image. I have set it to 3500. Training will stop after this much iterations
https://drive.google.com/uc?id=1FtjSVZawl-e_LDmIH3lbB0h_8q2g51Xq
inception = misc.load_pkl('https://drive.google.com/uc?id=1MzTY44rLToO5APn8TZmfR7_ENSe5aZUn') # inception_v3_features.pkl
inception = misc.load_pkl(''YOUR G-Drive inception-v3_features.pkl LINK url') # inception_v3_features.pkl
运行以下命令开始训练
! python /content/stylegan/train.py (! nohup python /content/stylegan/train.py if you want it to run in the background and you do not wish to see the progress in your terminal directly. Do note this will take a lot of time depending on the configurations mentioned above) you should observe something like below
Training...
tick 1 kimg 140.3 lod 3.00 minibatch 128 time 4m 34s sec/tick 239.7 sec/kimg 1.71 maintenance 34.5 gpumem 3.6
network-snapshot-000140 time 6m 33s fid50k 331.8988
WARNING:tensorflow:From /content/stylegan/dnnlib/tflib/autosummary.py:137: The name tf.summary.scalar is deprecated. Please use tf.compat.v1.summary.scalar instead.
WARNING:tensorflow:From /content/stylegan/dnnlib/tflib/autosummary.py:182: The name tf.summary.merge_all is deprecated. Please use tf.compat.v1.summary.merge_all instead.

tick 2 kimg 280.6 lod 3.00 minibatch 128 time 15m 18s sec/tick 237.1 sec/kimg 1.69 maintenance 407.2 gpumem 3.6
tick 3 kimg 420.9 lod 3.00 minibatch 128 time 19m 16s sec/tick 237.3 sec/kimg 1.69 maintenance 0.7 gpumem 3.6
tick 4 kimg 561.2 lod 3.00 minibatch 128 time 23m 15s sec/tick 238.1 sec/kimg 1.70 maintenance 0.7 gpumem 3.6
tick 5 kimg 681.5 lod 2.87 minibatch 128 time 31m 54s sec/tick 518.6 sec/kimg 4.31 maintenance 0.7 gpumem 4.7
tick 6 kimg 801.8 lod 2.66 minibatch 128 time 42m 53s sec/tick 658.0 sec/kimg 5.47 maintenance 0.8 gpumem 4.7
tick 7 kimg 922.1 lod 2.46 minibatch 128 time 53m 52s sec/tick 657.7 sec/kimg 5.47 maintenance 0.9 gpumem 4.7
tick 8 kimg 1042.4 lod 2.26 minibatch 128 time 1h 04m 49s sec/tick 656.6 sec/kimg 5.46 maintenance 0.8 gpumem 4.7
tick 9 kimg 1162.8 lod 2.06 minibatch 128 time 1h 15m 49s sec/tick 658.5 sec/kimg 5.47 maintenance 0.8 gpumem 4.7
tick 10 kimg 1283.1 lod 2.00 minibatch 128 time 1h 26m 40s sec/tick 650.0 sec/kimg 5.40 maintenance 0.8 gpumem 4.7
network-snapshot-001283 time 6m 10s fid50k 238.2729
tick 11 kimg 1403.4 lod 2.00 minibatch 128 time 1h 43m 39s sec/tick 647.7 sec/kimg 5.38 maintenance 371.7 gpumem 4.7
tick 12 kimg 1523.7 lod 2.00 minibatch 128 time 1h 54m 27s sec/tick 647.5 sec/kimg 5.38 maintenance 0.8 gpumem 4.7
tick 13 kimg 1644.0 lod 2.00 minibatch 128 time 2h 05m 15s sec/tick 647.4 sec/kimg 5.38 maintenance 0.9 gpumem 4.7
tick 14 kimg 1764.4 lod 2.00 minibatch 128 time 2h 16m 04s sec/tick 647.3 sec/kimg 5.38 maintenance 0.8 gpumem 4.7
tick 15 kimg 1864.4 lod 1.89 minibatch 64 time 2h 41m 25s sec/tick 1520.8 sec/kimg 15.19 maintenance 0.8 gpumem 4.7
tick 16 kimg 1964.5 lod 1.73 minibatch 64 time 3h 15m 48s sec/tick 2060.2 sec/kimg 20.58 maintenance 2.9 gpumem 4.7
tick 17 kimg 2064.6 lod 1.56 minibatch 64 time 3h 50m 11s sec/tick 2060.1 sec/kimg 20.58 maintenance 3.1 gpumem 4.7
tick 18 kimg 2164.7 lod 1.39 minibatch 64 time 4h 24m 36s sec/tick 2061.2 sec/kimg 20.59 maintenance 3.1 gpumem 4.7
tick 19 kimg 2264.8 lod 1.23 minibatch 64 time 4h 59m 00s sec/tick 2061.1 sec/kimg 20.59 maintenance 3.0 gpumem 4.7
tick 20 kimg 2364.9 lod 1.06 minibatch 64 time 5h 33m 24s sec/tick 2061.1 sec/kimg 20.59 maintenance 2.9 gpumem 4.7
network-snapshot-002364 time 7m 46s fid50k 164.6632
tick 21 kimg 2465.0 lod 1.00 minibatch 64 time 6h 15m 16s sec/tick 2042.9 sec/kimg 20.41 maintenance 469.6 gpumem 4.7
tick 22 kimg 2565.1 lod 1.00 minibatch 64 time 6h 49m 11s sec/tick 2032.3 sec/kimg 20.30 maintenance 2.9 gpumem 4.7
tick 23 kimg 2665.2 lod 1.00 minibatch 64 time 7h 23m 07s sec/tick 2032.5 sec/kimg 20.31 maintenance 2.9 gpumem 4.7
tick 24 kimg 2765.3 lod 1.00 minibatch 64 time 7h 57m 03s sec/tick 2033.5 sec/kimg 20.32 maintenance 2.9 gpumem 4.7
tick 25 kimg 2865.4 lod 1.00 minibatch 64 time 8h 31m 00s sec/tick 2034.1 sec/kimg 20.32 maintenance 2.9 gpumem 4.7
真实(原始)图像64 x 64分辨率
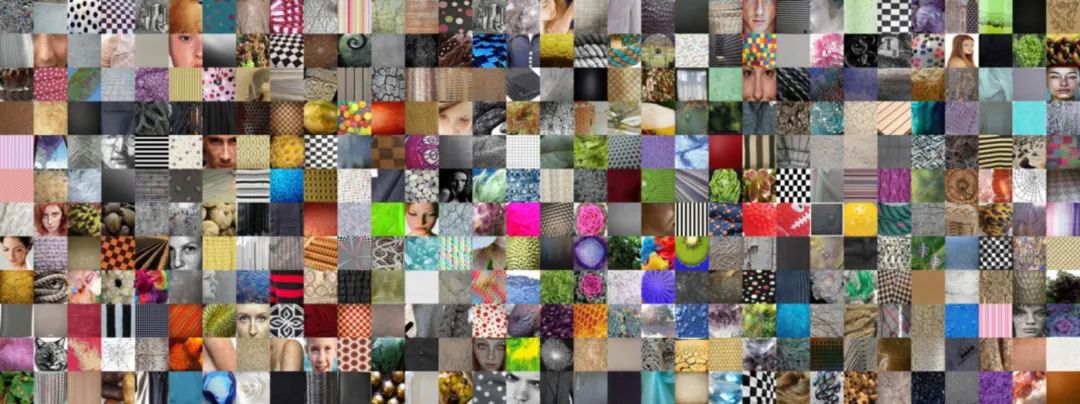
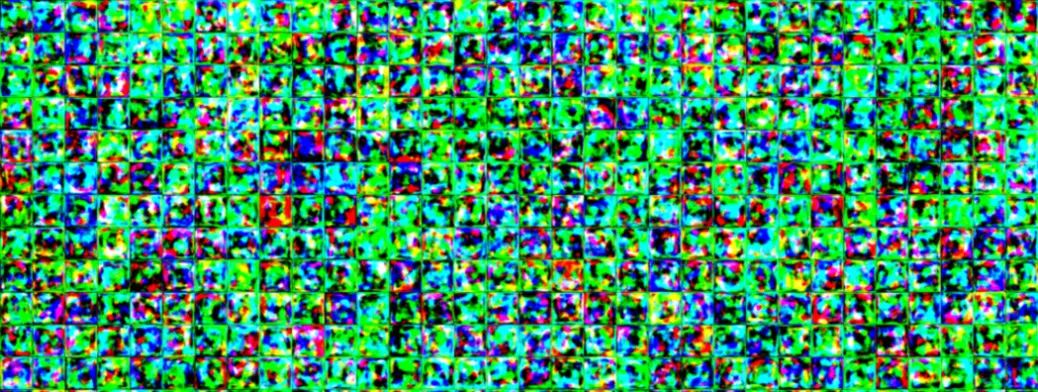
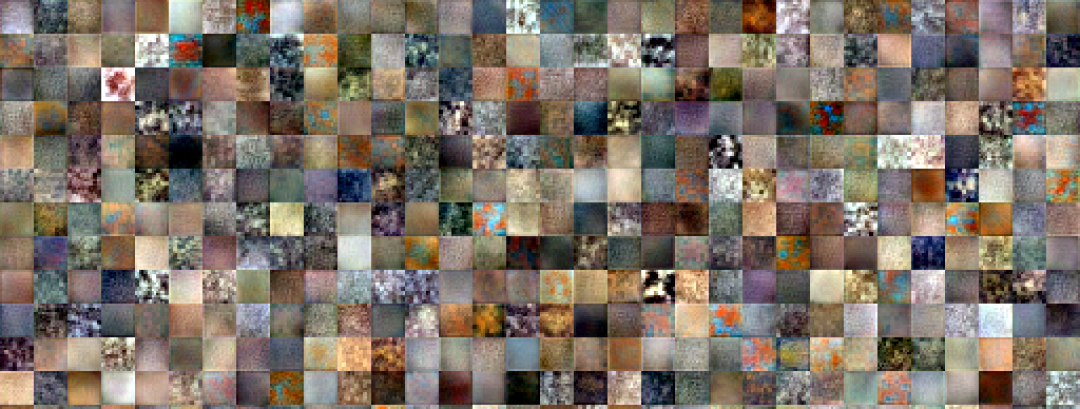
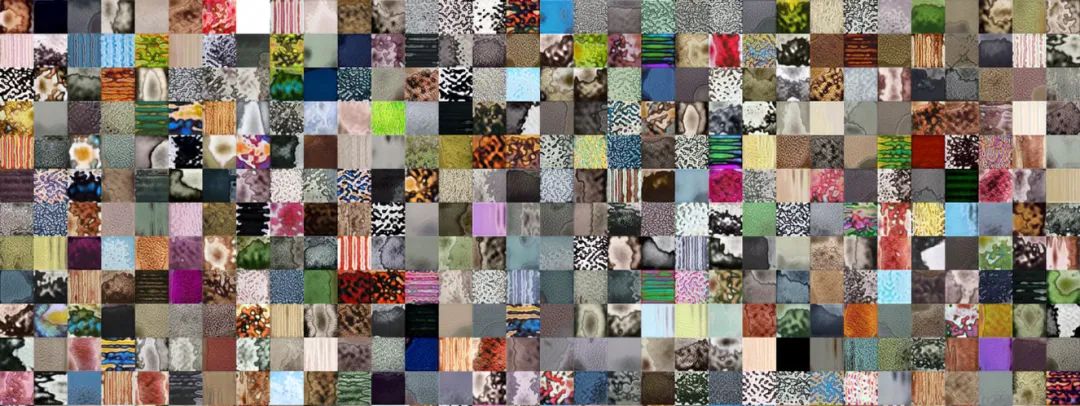
如何使用预训练的权重从自定义数据集中生成图像
# 4.0 International License. To view a copy of this license, visit# http://creativecommons.org/licenses/by-nc/4.0/ or send a letter to# Creative Commons, PO Box 1866, Mountain View, CA 94042, USA.
import pickle
import numpy as np
import dnnlib
import dnnlib.tflib as tflib
import config
def main():
tflib.init_tf()
url = '/content/network-snapshot-003685 .pkl'
with open(url,'rb') as f :
# _G = Instantaneous snapshot of the generator. Mainly useful for resuming a previous training run.
# _D = Instantaneous snapshot of the discriminator. Mainly useful for resuming a previous training run.
# Gs = Long-term average of the generator. Yields higher-quality results than the instantaneous snapshot.

# Print network details.
Gs.print_layers()

# Pick latent vector.
rnd = np.random.RandomState()
latents = rnd.randn(1, Gs.input_shape[1])

# Generate image.
fmt = dict(func=tflib.convert_images_to_uint8, nchw_to_nhwc=True)
images = Gs.run(latents, None, truncation_psi=0.7, randomize_noise=True, output_transform=fmt)
os.makedirs(config.result_dir, exist_ok=True)
png_filename = os.path.join(config.result_dir, f’/content/example1.png’)
PIL.Image.fromarray(images[0], ‘RGB’).save(png_filename)
#if __name__ == "__main__":
main()

on running this code , output image example1.png will be created under /content

The output quality will be based on the network_snapshot.pkl we use
使用不同的种子值生成新图像-潜在空间中的不同点
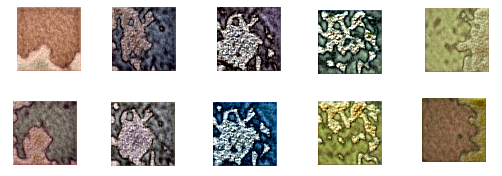
!python /content/stylegan2/run_generator.py generate-latent-walk --network=/content/results/00000-sgan-/content/stylegan/datasets/custom-dataset-1gpu/network-snapshot-003685.pkl --seeds=200,1000,2500,4000,200 --frames 10 --truncation-psi=0.8
结论
stylegan – pretrained_example.py stylegan – generate_figure.py stylegan2 – run_generator.py
https://github.com/NVlabs/stylegan https://github.com/NVlabs/stylegan2
个人微信(如果没有备注不拉群!) 请注明:地区+学校/企业+研究方向+昵称
下载1:何恺明顶会分享
在「AI算法与图像处理」公众号后台回复:何恺明,即可下载。总共有6份PDF,涉及 ResNet、Mask RCNN等经典工作的总结分析
下载2:终身受益的编程指南:Google编程风格指南
在「AI算法与图像处理」公众号后台回复:c++,即可下载。历经十年考验,最权威的编程规范!
下载3 CVPR2021
在「AI算法与图像处理」公众号后台回复:CVPR,即可下载1467篇CVPR 2020论文 和 CVPR 2021 最新论文
点亮  ,告诉大家你也在看
评论
