
12个常用的图像数据增强技术总结!
作者丨Prabowo Yoga Wicaksana
来源丨DeepHub IMBA
转自丨极市平台
导读
本文总结了图像增强常用的一些方法,并附相关实现代码。
机器学习或深度学习模型的训练的目标是成为“通用”模型。这就需要模型没有过度拟合训练数据集,或者换句话说,我们的模型对看不见的数据有很好的了解。数据增强也是避免过度拟合的众多方法之一。
扩展用于训练模型的数据量的过程称为数据增强。通过训练具有多种数据类型的模型,我们可以获得更“泛化”的模型。“多种数据类型”是什么意思呢?本片文章只讨论“图像”数据增强技术,只详细地介绍各种图片数据增强策略。我们还将使用 PyTorch 动手实践并实现图像数据或计算机视觉中主要使用的数据增强技术。
因为介绍的是数据增强技术。所以只使用一张图片就可以了,我们先看看可视话的代码
       import PIL.Image as Image
 import torch
 from torchvision import transforms
 import matplotlib.pyplot as plt
 import numpy as np
 import warnings

 def imshow\(img\_path, transform\):
  """
  Function to show data augmentation
  Param img\_path: path of the image
  Param transform: data augmentation technique to apply
  """
  img = Image.open\(img\_path\)
  fig, ax = plt.subplots\(1, 2, figsize=\(15, 4\)\)
  ax\[0\].set\_title\(f'Original image \{img.size\}'\)
  ax\[0\].imshow\(img\)
  img = transform\(img\)
  ax\[1\].set\_title\(f'Transformed image \{img.size\}'\)
  ax\[1\].imshow\(img\)
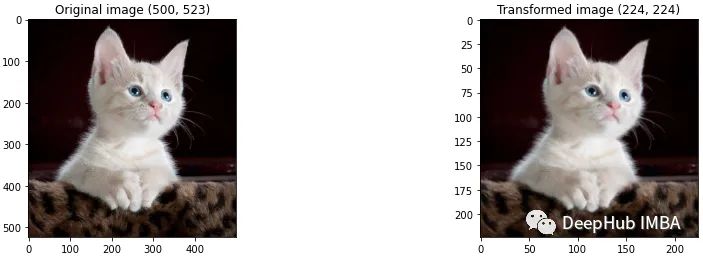
Resize/Rescale
此函数用于将图像的高度和宽度调整为我们想要的特定大小。下面的代码演示了我们想要将图像从其原始大小调整为 224 x 224。
       path = './kitten.jpeg'
 transform = transforms.Resize\(\(224, 224\)\)
 imshow\(path, transform\)
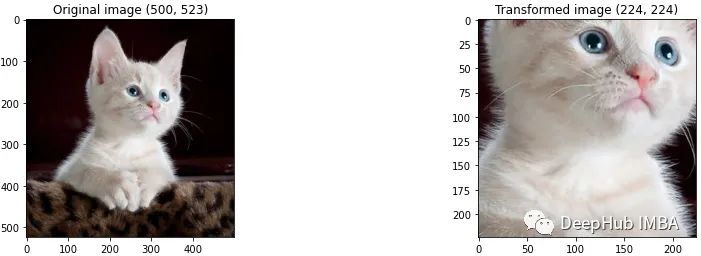
Cropping
该技术将要选择的图像的一部分应用于新图像。例如,使用 CenterCrop 来返回一个中心裁剪的图像。
       transform = transforms.CenterCrop\(\(224, 224\)\)
 imshow\(path, transform\)
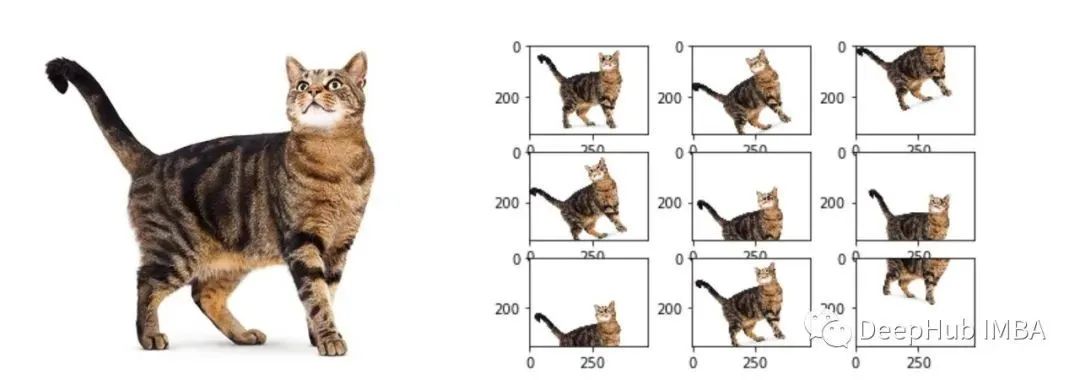
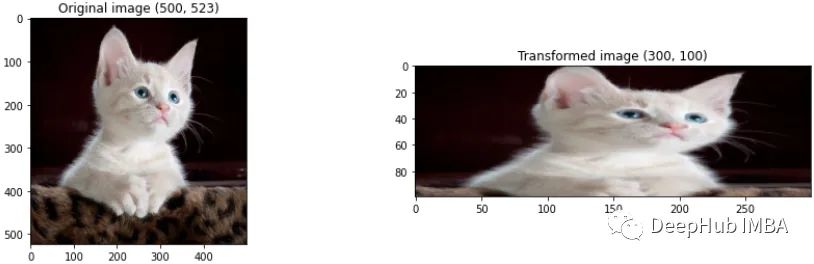
RandomResizedCrop
这种方法同时结合了裁剪和调整大小。
       transform = transforms.RandomResizedCrop\(\(100, 300\)\)
 imshow\(path, transform\)
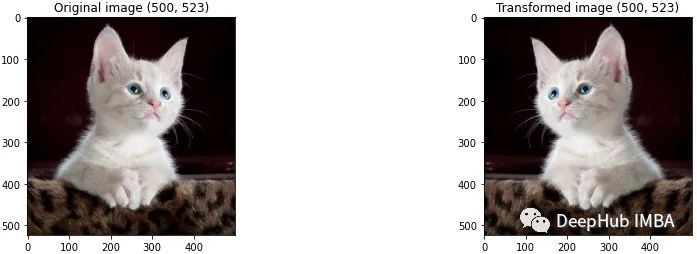
Flipping
水平或垂直翻转图像,下面代码将尝试应用水平翻转到我们的图像。
       transform = transforms.RandomHorizontalFlip\(\)
 imshow\(path, transform\)
Padding
填充包括在图像的所有边缘上按指定的数量填充。我们将每条边填充50像素。
       transform = transforms.Pad\(\(50,50,50,50\)\)
 imshow\(path, transform\)

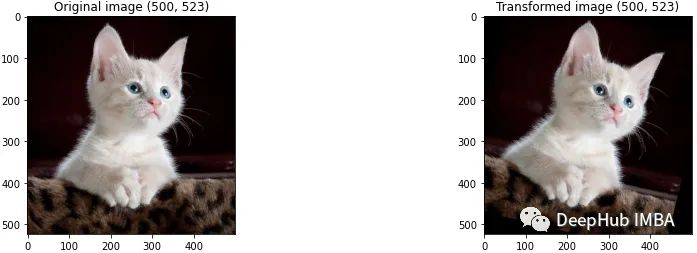
Rotation
对图像随机施加旋转角度。我们将这个角设为15度。
       transform = transforms.RandomRotation\(15\)
 imshow\(path, transform\)
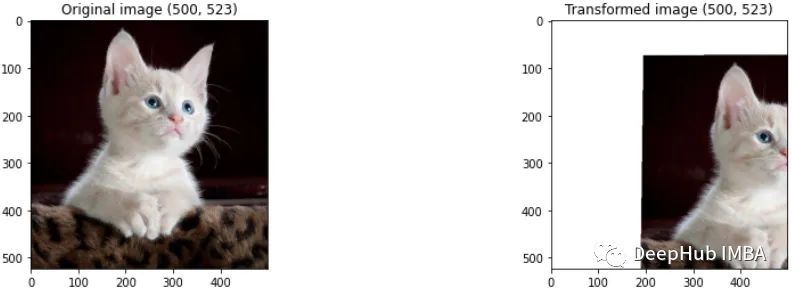
Random Affine
这种技术是一种保持中心不变的变换。这种技术有一些参数:
degrees:旋转角度
translate:水平和垂直转换
scale:缩放参数
share:图片裁剪参数
fillcolor:图像外部填充的颜色
       transform = transforms.RandomAffine\(1, translate=\(0.5, 0.5\), scale=\(1, 1\), shear=\(1,1\), fillcolor=\(256,256,256\)\)
 imshow\(path, transform\)
Gaussian Blur
图像将使用高斯模糊进行模糊处理。
       transform = transforms.GaussianBlur\(7, 3\)
 imshow\(path, transform\)
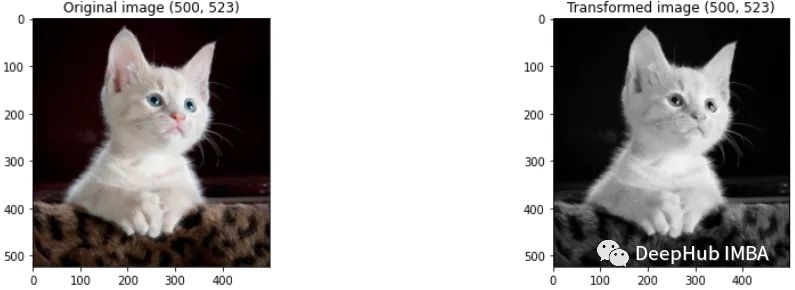
Grayscale
将彩色图像转换为灰度。
       transform = transforms.Grayscale\(num\_output\_channels=3\)
 imshow\(path, transform\)
 颜色增强,也称为颜色抖动,是通过改变图像的像素值来修改图像的颜色属性的过程。下面的方法都是颜色相关的操作。
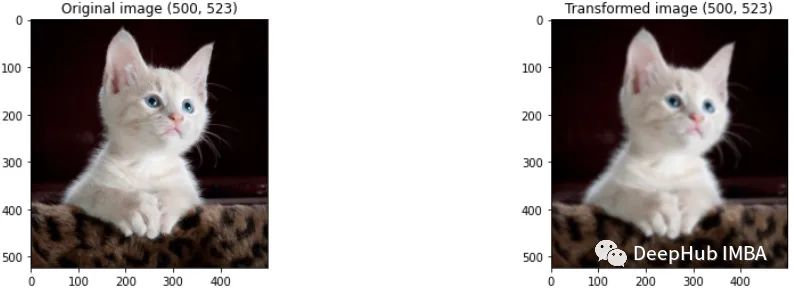
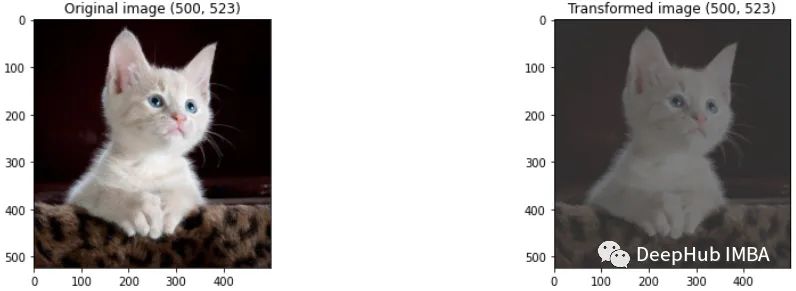
Brightness
改变图像的亮度当与原始图像对比时,生成的图像变暗或变亮。
       transform = transforms.ColorJitter\(brightness=2\)
 imshow\(path, transform\)
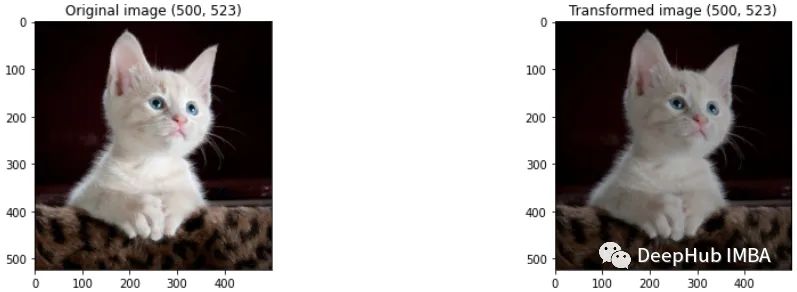
Contrast
图像最暗和最亮部分之间的区别程度被称为对比度。图像的对比度也可以作为增强进行调整。
       transform = transforms.ColorJitter\(contrast=2\)
 imshow\(path, transform\)
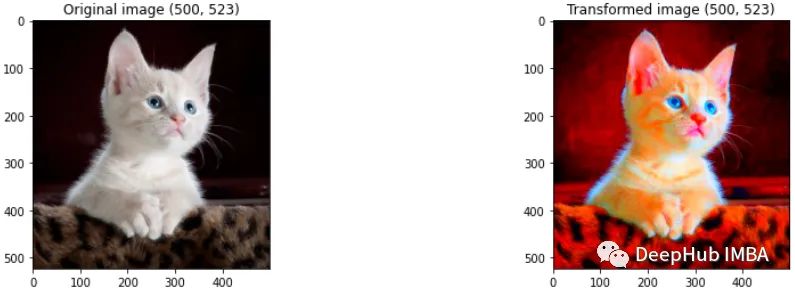
Saturation
图片中颜色的分离被定义为饱和度。
       transform = transforms.ColorJitter\(saturation=20\)
 imshow\(path, transform\)
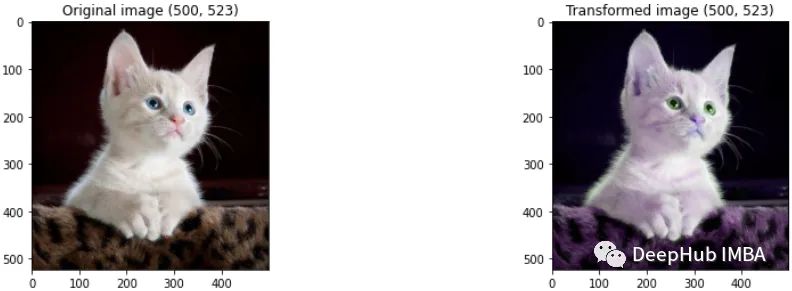
Hue
色调被定义为图片中颜色的深浅。
       transform = transforms.ColorJitter\(hue=2\)
 imshow\(path, transform\)
总结
图像本身的变化将有助于模型对未见数据的泛化,从而不会对数据进行过拟合。以上整理的都是我们常见的数据增强技术,torchvision中还包含了很多方法,可以在他的文档中找到:https://pytorch.org/vision/stable/transforms.html
往期精彩:
深度学习论文精读[14]:Vision Transformer