OpenCV实现失焦模糊图像恢复
点击上方“小白学视觉”,选择加"星标"或“置顶”
重磅干货,第一时间送达
图像退化模型在频率域的表示如下:

其中
S表示退化(模糊)图像频谱
H表示角点扩散功能(PSF)的频谱响应
U 表示原真实图像的频谱
N表示叠加的频谱噪声
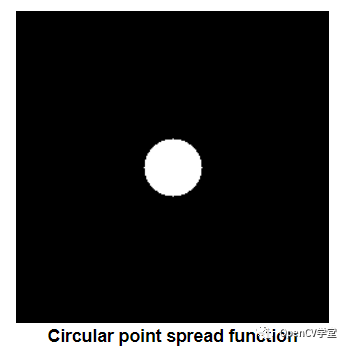
圆形的PSF因为只有一个半径参数R,是一个非常好的失焦畸变近似,所以算法采用圆形的PSF。

模糊恢复,模板恢复本质是获得一个对原图的近似估算图像,在频率域可以表示如下:

其中SNR表示信噪比,因此可以基于维纳滤波恢复离焦图像,实现图像反模糊。这个过程最终重要的两个参数,分别是半径R与信噪比SNR,在反模糊图像时候,要先尝试调整R,然后再尝试调整SNR。
计算PSF的代码如下:
void calcPSF(Mat& outputImg, Size filterSize, int R)
{
    Mat h(filterSize, CV_32F, Scalar(0));
    Point point(filterSize.width / 2, filterSize.height / 2);
    circle(h, point, R, 255, -1, 8);
    Scalar summa = sum(h);
    outputImg = h / summa[0];
}
生成维纳滤波的代码如下:
void calcWnrFilter(const Mat& input_h_PSF, Mat& output_G, double nsr)
{
    Mat h_PSF_shifted;
    fftshift(input_h_PSF, h_PSF_shifted);
    Mat planes[2] = { Mat_<float>(h_PSF_shifted.clone()), Mat::zeros(h_PSF_shifted.size(), CV_32F) };
    Mat complexI;
    merge(planes, 2, complexI);
    dft(complexI, complexI);
    split(complexI, planes);
    Mat denom;
    pow(abs(planes[0]), 2, denom);
    denom += nsr;
    divide(planes[0], denom, output_G);
}
实现反模糊的代码如下:
void filter2DFreq(const Mat& inputImg, Mat& outputImg, const Mat& H)
{
    Mat planes[2] = { Mat_<float>(inputImg.clone()), Mat::zeros(inputImg.size(), CV_32F) };
    Mat complexI;
    merge(planes, 2, complexI);
    dft(complexI, complexI, DFT_SCALE);
    Mat planesH[2] = { Mat_<float>(H.clone()), Mat::zeros(H.size(), CV_32F) };
    Mat complexH;
    merge(planesH, 2, complexH);
    Mat complexIH;
    mulSpectrums(complexI, complexH, complexIH, 0);
    idft(complexIH, complexIH);
    split(complexIH, planes);
    outputImg = planes[0];
}
调用步骤:
void adjust_filter(int, void*) {
    Mat imgOut;

    // 偶数处理,神级操作
    Rect roi = Rect(0, 0, src.cols & -2, src.rows & -2);
    printf("roi.x=%d, y=%d, w=%d, h=%d", roi.x, roi.y, roi.width, roi.height);

    // 生成PSF与维纳滤波器
    Mat Hw, h;
    calcPSF(h, roi.size(), adjust_r);
    calcWnrFilter(h, Hw, 1.0 / double(snr));

    // 反模糊
    filter2DFreq(src(roi), imgOut, Hw);

    // 归一化显示
    imgOut.convertTo(imgOut, CV_8U);
    normalize(imgOut, imgOut, 0, 255, NORM_MINMAX);

    imwrite("D:/deblur_result.jpg", imgOut);
    imshow("deblur_result", imgOut);
}
图像傅里叶变换
void fftshift(const Mat& inputImg, Mat& outputImg)
{
    outputImg = inputImg.clone();
    int cx = outputImg.cols / 2;
    int cy = outputImg.rows / 2;
    Mat q0(outputImg, Rect(0, 0, cx, cy));
    Mat q1(outputImg, Rect(cx, 0, cx, cy));
    Mat q2(outputImg, Rect(0, cy, cx, cy));
    Mat q3(outputImg, Rect(cx, cy, cx, cy));
    Mat tmp;
    q0.copyTo(tmp);
    q3.copyTo(q0);
    tmp.copyTo(q3);
    q1.copyTo(tmp);
    q2.copyTo(q1);
    tmp.copyTo(q2);
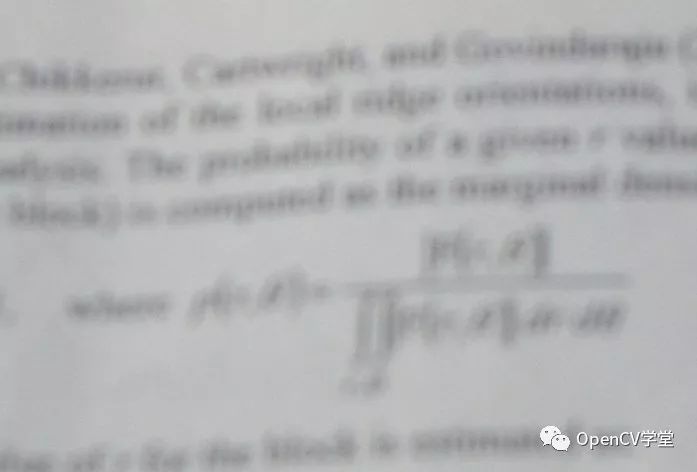
}原图: 肉眼无法辨识

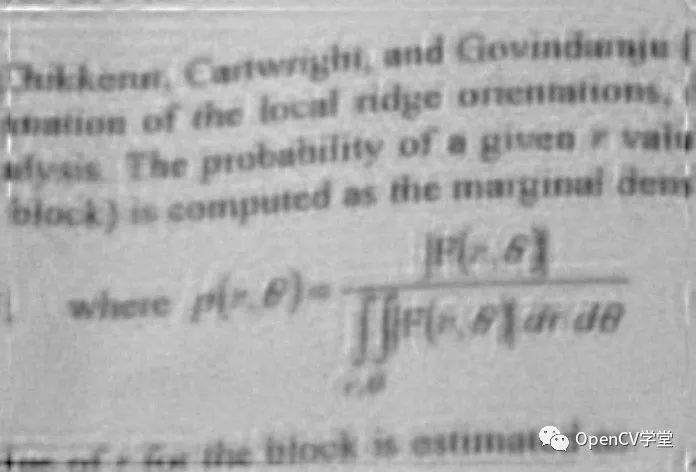
R=10, SNR=40时候的运行效果:基本肉眼可以辨识!

交流群
欢迎加入公众号读者群一起和同行交流,目前有SLAM、三维视觉、传感器、自动驾驶、计算摄影、检测、分割、识别、医学影像、GAN、算法竞赛等微信群(以后会逐渐细分),请扫描下面微信号加群,备注:”昵称+学校/公司+研究方向“,例如:”张三 + 上海交大 + 视觉SLAM“。请按照格式备注,否则不予通过。添加成功后会根据研究方向邀请进入相关微信群。请勿在群内发送广告,否则会请出群,谢谢理解~
评论

