最新Spring整合MyBatis详解教程

作者:Baret H ~ 地址:http://i8n.cn/e4aXqM

首先新建一个空的maven项目
1、导入相关jar包
1. junit
    junit
    junit
    4.13
    test
2. mybatis
    org.mybatis
    mybatis
    3.5.5
3. mysql
    mysql
    mysql-connector-java
    8.0.21
4. spring相关
    org.springframework
    spring-webmvc
    5.2.8.RELEASE


    org.springframework
    spring-jdbc
    5.1.3.RELEASE
5. aop织入
    org.aspectj
    aspectjweaver
    1.9.4
6. mybatis-spring
    org.mybatis
    mybatis-spring
    2.0.5
7. lombok(选用)
    org.projectlombok
    lombok
    1.18.12
最后为了防止maven配置文件无法被导出或生效,加入以下代码
            src/main/resources

                **/*.properties
                **/*.xml

            true


            src/main/java

                **/*.properties
                **/*.xml

            true
2、回顾:建立一个Mybatis程序
1. IDEA连接数据库
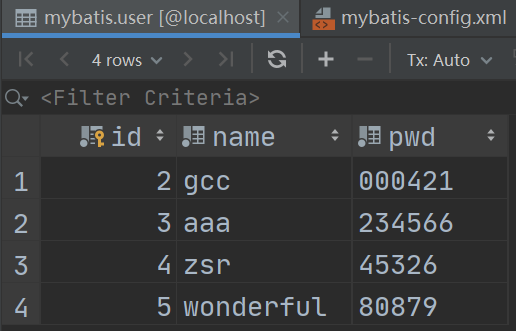
大家连接自己的数据库即可,这里的实验表格为
2. 编写MyBatis核心配置文件
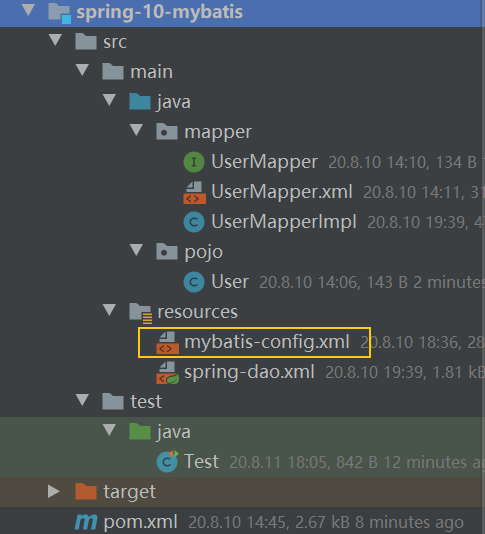
"1.0" encoding="UTF-8" ?>
        PUBLIC "-//mybatis.org//DTD Config 3.0//EN"
        "http://mybatis.org/dtd/mybatis-3-config.dtd">

    default="development">
        "development">
            "JDBC"/>
            "POOLED">
                "driver" value="com.mysql.jdbc.Driver"/>
                "url" value="jdbc:mysql://localhost:3306/mybatis?useSSH=true&useUnicode=true&characterEncoding=UTF-8"/>
                "username" value="root"/>
                "password" value="200024"/>
3. 创建数据库表对应实体类
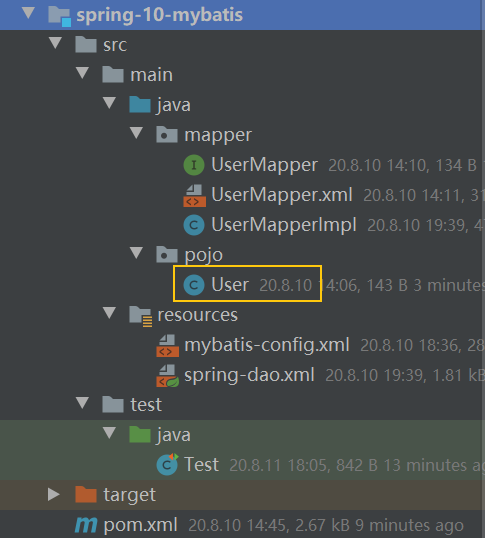
package pojo;

import lombok.Data;

@Data
public class User {
    private int id;
    private String name;
    private String pwd;
}
4. 编写Mapper接口
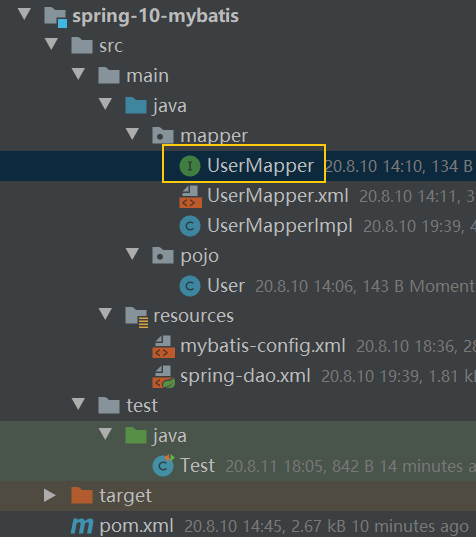
package mapper;
import pojo.User;
import java.util.List;
public interface UserMapper {
public List getUser() ;
}
5. 编写Mapper.xml配置文件
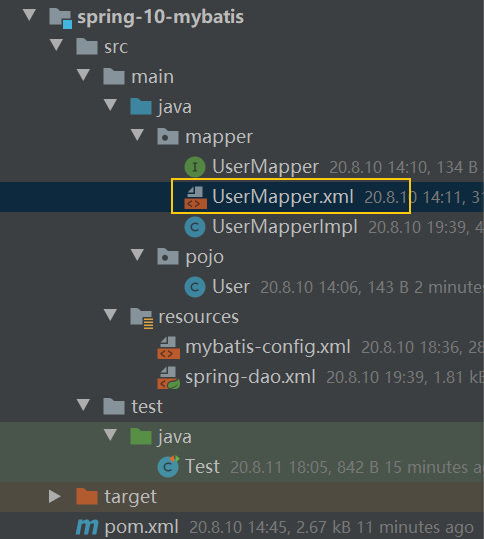
"1.0" encoding="UTF-8" ?>
        PUBLIC "-//mybatis.org//DTD Config 3.0//EN"
        "http://mybatis.org/dtd/mybatis-3-mapper.dtd">
"mapper.UserMapper">
    "getUser" resultType="pojo.User">
        select * from mybatis.user
6. 编写测试类
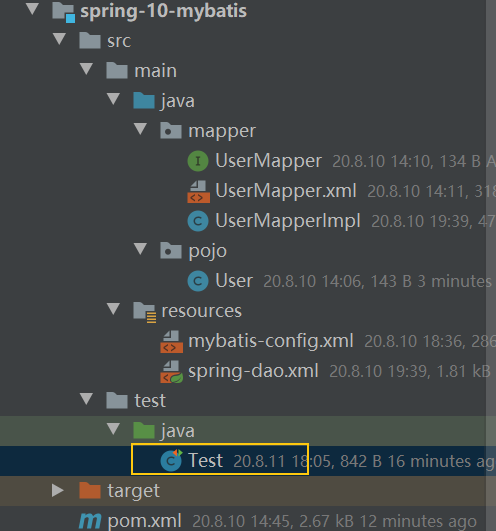
public class Test {
    @org.junit.Test
    public void test() throws IOException {
        String resource = "mybatis-config.xml";
        InputStream in = Resources.getResourceAsStream(resource);
        SqlSessionFactory sessionFactory = new SqlSessionFactoryBuilder().build(in);
        SqlSession sqlSession = sessionFactory.openSession(true);
        UserMapper mapper = sqlSession.getMapper(UserMapper.class);
        List users = mapper.getUser();
        for (User user : users) {
            System.out.println(user);
        }
    }
}
7. 给Mapper.xml添加注册
在核心配置文件mybatis-config.xml中加入以下代码
class="mapper.UserMapper"/>
8. 测试运行
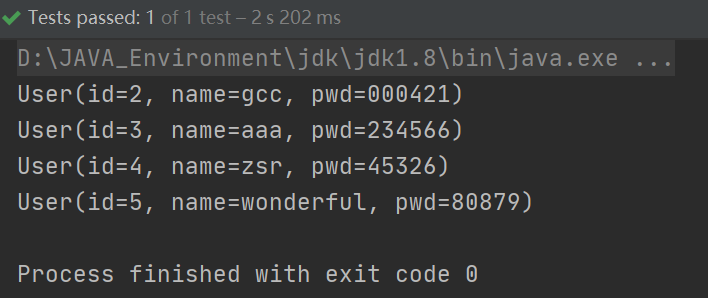
到此,mybatis程序的创建已成功,接下来将进行修改,整合spring
3、spring整合:方式一
通过SqlSessionTemplate创建SqlSession
接下来将在上述实验环境下进行修改
1. 引入spring配置文件
在resource目录下新建spring-dao.xml
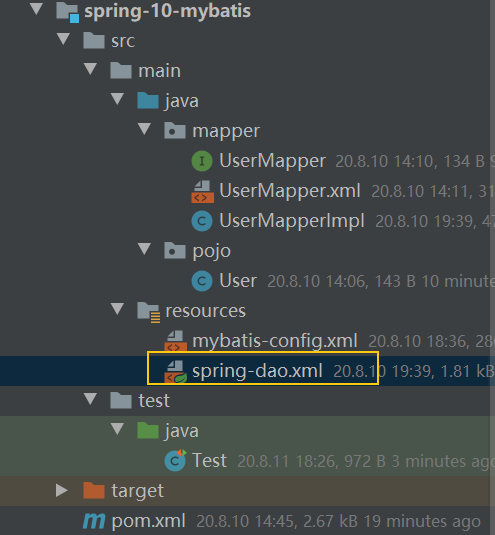
"1.0" encoding="UTF-8"?>
"http://www.springframework.org/schema/beans"
       xmlns:xsi="http://www.w3.org/2001/XMLSchema-instance"
       xmlns:aop="http://www.springframework.org/schema/aop"
       xsi:schemaLocation="http://www.springframework.org/schema/beans
        https://www.springframework.org/schema/beans/spring-beans.xsd">
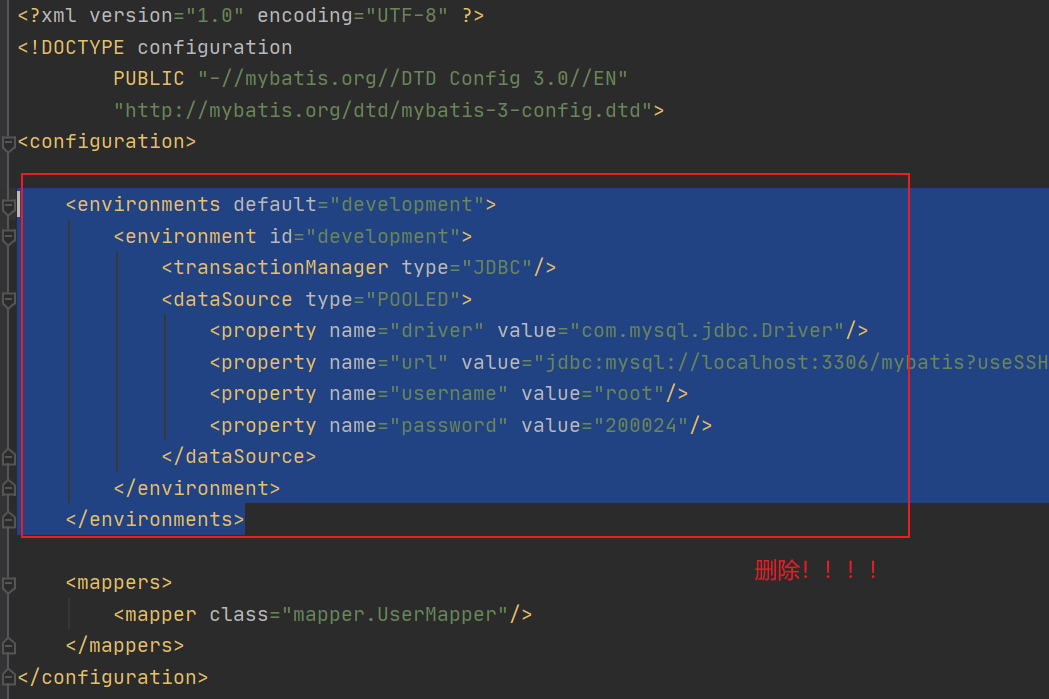
2. 使用Spring的数据源替换MyBatis的数据源配置
在spring配置文件中加入以下代码,配置数据源信息
"dataSource" class="org.springframework.jdbc.datasource.DriverManagerDataSource">
    "driverClassName" value="com.mysql.cj.jdbc.Driver"/>
    "url"
              value="jdbc:mysql://localhost:3306/mybatis?useSSH=true&useUnicode=true&characterEncoding=UTF-8"/>
    "username" value="root"/>
    "password" value="200024"/>
此时,就可以删除mybatis核心配置文件mybatis-config.xml中的数据源配置
3. 通过spring创建sqlSessionFactory
在 MyBatis 中,是通过
SqlSessionFactoryBuilder来创建SqlSessionFactory而在 MyBatis-Spring 中,则使用
SqlSessionFactoryBean来创建
在
spring配置文件中加入以下代码,创建sqlSessionFactory
"sqlSessionFactory" class="org.mybatis.spring.SqlSessionFactoryBean">
    "dataSource" ref="dataSource"/>
唯一的必要属性:用于 JDBC 的 DataSource,注入上述创建好的数据源
还可以配置其他属性,完全取代mybatis-config.xml中的配置
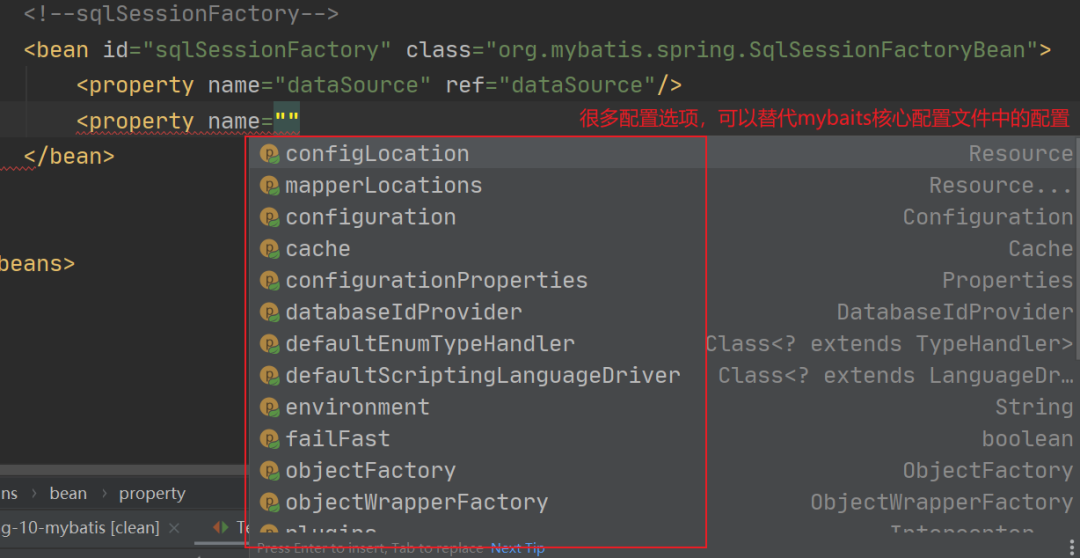
这里加入两个属性配置:
configLocation:指定mybatis的xml配置文件路径mapperLocations:注册Mapper.xm映射器
"sqlSessionFactory" class="org.mybatis.spring.SqlSessionFactoryBean">
    "dataSource" ref="dataSource"/>

    "configLocation" value="classpath:mybatis-config.xml"/>

    "mapperLocations" value="classpath:mapper/*.xml"/>
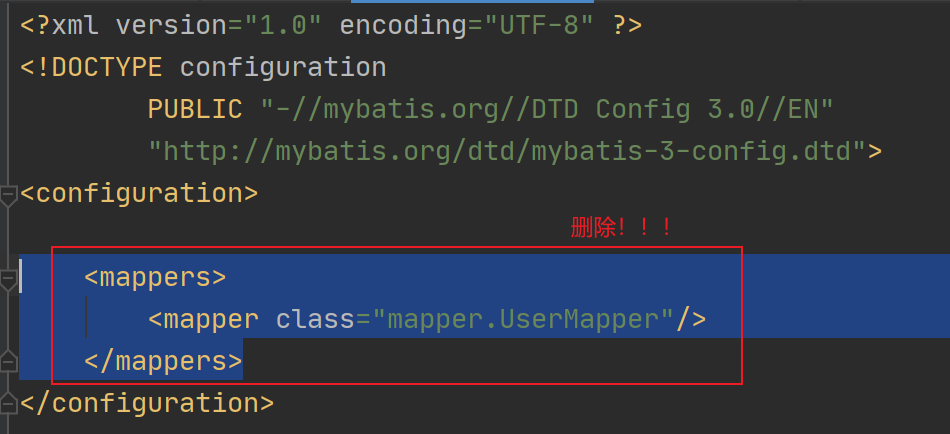
这里,我们在spring配置文件中注册了Mapper.xml,就可以删除mybatis-config.xml中的Mapper.xml的注册
4. 创建sqlSession对象
在
mybatis中,SqlSession提供了在数据库执行 SQL 命令所需的所有方法而在
spring-mybatis,没有SqlSession了,而是SqlSessionTemplate,这两个是同一个东西
在
spring配置文件中加入以下代码,创建sqlSession
这里使用上述创建好的
sqlSessionFactory作为构造方法的参数来创建SqlSessionTemplate对象。
"sqlSession" class="org.mybatis.spring.SqlSessionTemplate">

    "0" ref="sqlSessionFactory"/>
5. 新建接口实现类
上一步我们创建了
sqlSession对象,此时需要创建一个类来使用sqlSession
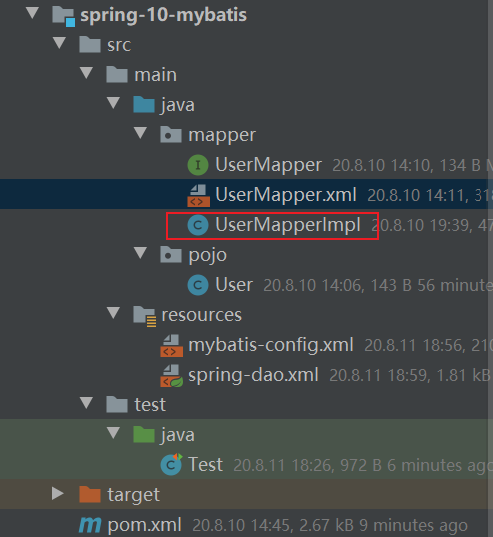
在该类中添加一个
SqlSession 属性,并添加 set方法 用于后续sqlSession的注入public class UserMapperImpl implements UserMapper {
//原来所有操作都通过SqlSession来执行,现在都是SqlSessionTemplate
private SqlSessionTemplate sqlSession;
public void setSqlSession(SqlSessionTemplate sqlSession) {
this.sqlSession = sqlSession;
}
public List getUser() {
UserMapper mapper = sqlSession.getMapper(UserMapper.class);
return mapper.getUser();
}
}
6. 创建实现类对象
利用spring创建上述接口实现类对象,取名为
userMapper,并注入上述创建好的sqlSession对象
"userMapper" class="mapper.UserMapperImpl">
    "sqlSession" ref="sqlSession"/>
7. 修改测试类
此时,无需像先前一样创建sqlSessionFactory和sqlSession,我们只需获得创建好的``实体类对象```UserMapper,然后调用该对象的方法即可
public class Test {
    @org.junit.Test
    public void test() throws IOException {
        ApplicationContext context = new ClassPathXmlApplicationContext("spring-dao.xml");
        UserMapperImpl userMapper = (UserMapperImpl) context.getBean("userMapper");
        List users = userMapper.getUser();
        for (User user : users) {
            System.out.println(user);
        }
    }
}
8. 运行测试

运行成功!!!
4、spring整合:方式二
通过SqlSessionDaoSupport获得Sqlsession
接下来将在上述实验环境下进行修改
1. 新建接口实现类
新建一个接口实现类,继承SqlSessionDaoSupport类,直接可以获得SqlSession对象
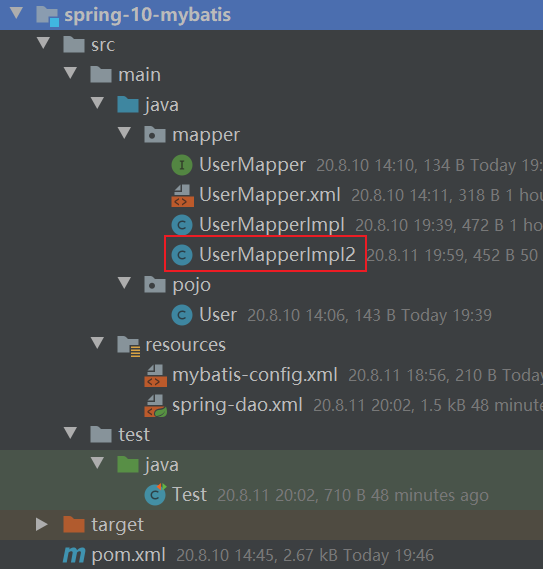
public class UserMapperImpl2 extends SqlSessionDaoSupport implements UserMapper {
    public List getUser() {
        SqlSession sqlSession = getSqlSession();
        UserMapper mapper = sqlSession.getMapper(UserMapper.class);
        return mapper.getUser();
    }
}
2. 创建接口实现类对象
通过Spring来创建
在spring配置文件中创建上述实体类对象userMapper2,并设置sqlSessionFactory属性为上述创建好的sqlSessionFactory
"userMapper2" class="mapper.UserMapperImpl2">
    "sqlSessionFactory" ref="sqlSessionFactory"/>
3. 修改测试类
同样,无需像先前一样创建
sqlSessionFactory和sqlSession,我们只需获得创建好的实体类对象UserMapper2,然后调用该对象的方法即可
public class Test {
    @org.junit.Test
    public void test() throws IOException {
        ApplicationContext context = new ClassPathXmlApplicationContext("spring-dao.xml");
        UserMapperImpl2 userMapper = (UserMapperImpl2) context.getBean("userMapper2");
        List users = userMapper.getUser();
        for (User user : users) {
            System.out.println(user);
        }
    }
}
4. 测试运行
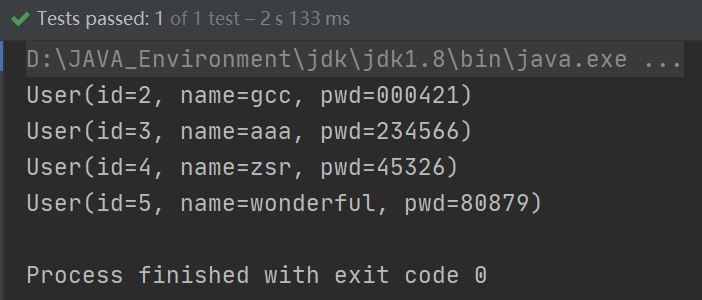
成功运行!!
【推荐阅读】
Java代码中 : : 是什么语法? 一款基于 SpringCloud 开源的商城系统(附源码) 3个开源的快速开发平台,前后端都有! Java 如何精确统计页面停留时长? SpringBoot 如何上传大文件? 福利:公众号点击关注“Java”,可以免费领取全套【Java学习资料】,更多惊喜等你去发现~ 万水千山总是情,点个 “ 看” 行不行 在
