FlutterComponent最佳实践之Shadow怎么就这么简单

点击上方蓝字关注我,知识会给你力量

设计三件宝,模糊阴影和圆角。这些在原生开发中被设计摧残N年的东西,在Flutter中,居然是轻而易举的实现。
添加Shadow
在Flutter中,Container可以使用BoxDecoration来添加Shadow,如果是单独的Widget,可以通过DecoratedBox来添加阴影。
下面我们以Container为例,演示Flutter的Shadow实现。原始效果如图所示。

child: Container(
  height: 100,
  width: 100,
  decoration: BoxDecoration(
    color: Colors.white,
    borderRadius: BorderRadius.circular(8),
    shape: BoxShape.rectangle,
    boxShadow: const [
      BoxShadow(),
    ],
  ),
)
在Flutter中,阴影本身并不模糊,其大小也足以使其可见。BoxShadow有几个属性可以让我们对它进行配置,我们将使用这三个属性。
Offset Blur radius Spread radius
❝由此可见,Flutter不愧是Chrome团队的产物,这些参数和CSS中的Shadow参数是一致的,当然这也方便了开发者和设计师的沟通。
❞
首先,我们来看一下Offset。它代表阴影相对于当前Widget的偏移量,它的效果就好比我们将光源放置在物体的左上角,那么阴影将偏移至右下角这样的效果。

我们设置Offset(4, 4),效果如上所示。
你可以发现,阴影不会被Blur,所以,我们使用blurRadius这个参数,来控制阴影被Blur的程度,通过spreadRadius来控制阴影向外扩散的程度,当你不设置它时,阴影与原始Widget是同样的大小。
了解了这些参数之后,我们找到设计稿,找到相应的参数配置,就得到了下面这个阴影。
child: Container(
  height: 100,
  width: 100,
  decoration: BoxDecoration(
    color: Colors.white,
    borderRadius: BorderRadius.circular(8),
    shape: BoxShape.rectangle,
    boxShadow: [
      BoxShadow(
        color: Colors.black.withAlpha(25),
        offset: const Offset(0, 14),
        blurRadius: 24,
        spreadRadius: 0,
      ),
    ],
  ),
)

这可能就是国内设计师梦寐以求的阴影吧。
PhysicalModel & PhysicalShape
Flutter的组件茫茫多,PhysicalModel和PhysicalShape这两个组件,也同样能模拟阴影的实现,但它的实现实际上是Material Design中的elevation的实现效果,代码如下所示。
return Center(
  child: PhysicalModel(
    borderRadius: BorderRadius.circular(20),
    color: Colors.white,
    elevation: 16,
    shadowColor: Colors.black.withAlpha(25),
    child: const SizedBox(
      height: 100,
      width: 100,
    ),
  ),
);
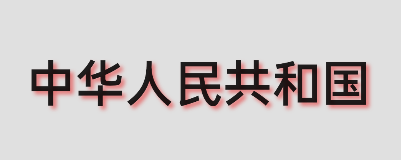
Text Shadow
在TextStyle中,同样支持Shadows参数。
child: Text(
  "中华人民共和国",
  style: TextStyle(
    fontSize: 32,
    fontWeight: FontWeight.w700,
    shadows: [
      Shadow(
        color: Colors.red.shade300,
        blurRadius: 8,
        offset: const Offset(2, 2),
      )
    ],
  ),
)

除此之外,文字阴影还有一种实现,那就是通过BackdropFilter来进行模拟,BackdropFilter的作用也是创建Blur效果,所以,它也可以用来替代阴影,但是效果没有Shadow灵活(类似的还有ImageFiltered)。
var style = const TextStyle(
  fontSize: 32,
  fontWeight: FontWeight.w700,
);
var text = "中华人民共和国";
return Center(
  child: Stack(
    children: [
      Text(
        text,
        style: style,
      ),
      BackdropFilter(
        filter: ui.ImageFilter.blur(
          sigmaX: 2,
          sigmaY: 2,
        ),
        child: Text(
          text,
          style: style,
        ),
      )
    ],
  ),
);
Neumorphism
Neumorphism是一种全新的设计风格,通常被称为新的拟物风格,它其实就是通过阴影来实现的。
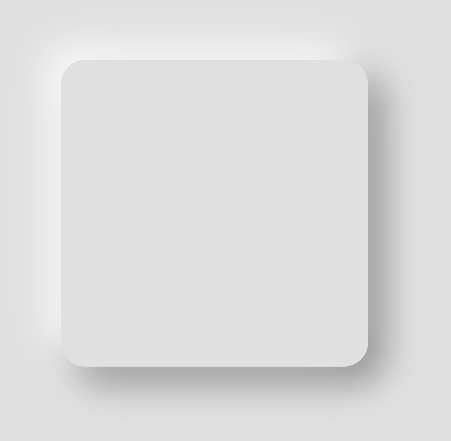
拟态阴影通常都由两个Shadow组合而成,一个Shadow比Widget Color更浅,另一个Shadow更深,我们通过下面这个例子来看下如何实现拟态阴影。
return Center(
  child: Text(
    '中华人民共和国',
    style: TextStyle(
      fontWeight: FontWeight.bold,
      fontSize: 40,
      shadows: [
        const Shadow(
          offset: Offset(3, 3),
          color: Colors.black38,
          blurRadius: 10,
        ),
        Shadow(
          offset: const Offset(-3, -3),
          color: Colors.white.withOpacity(0.85),
          blurRadius: 10,
        ),
      ],
      color: Colors.grey.shade300,
    ),
  ),
);
在shadows中配置两个相对于中心互相偏离的Shadow,并使得它们的颜色是互补的,例如黑和白,而Widget Color通常和背景色相同。
例如下面这样的配置:
light mode:
Background color: Color(0xFFEFEEEE)
Light shadow: Colors.white.withOpacity(0.8),
Dark shadow: Colors.black.withOpacity(0.1)

dark mode:
Background color: Color(0xFF292D32)
Light shadow: Colors.white.withOpacity(0.1),
Dark shadow: Colors.black.withOpacity(0.4)

如果是Container的话,类似上面的Shadow实现,代码如下所示。
return Center(
  child: Container(
    height: 200,
    width: 200,
    decoration: BoxDecoration(
      borderRadius: BorderRadius.circular(16),
      color: Colors.grey.shade300,
      boxShadow: [
        const BoxShadow(
          offset: Offset(10, 10),
          color: Colors.black38,
          blurRadius: 20,
        ),
        BoxShadow(
          offset: const Offset(-10, -10),
          color: Colors.white.withOpacity(0.85),
          blurRadius: 20,
        ),
      ],
    ),
  ),
);

由此可见,拟物阴影的核心,实际上就是两组互补色的阴影叠加,当Widget Color和背景色相同时,在边缘就会产生类似拟物的阴影风格。
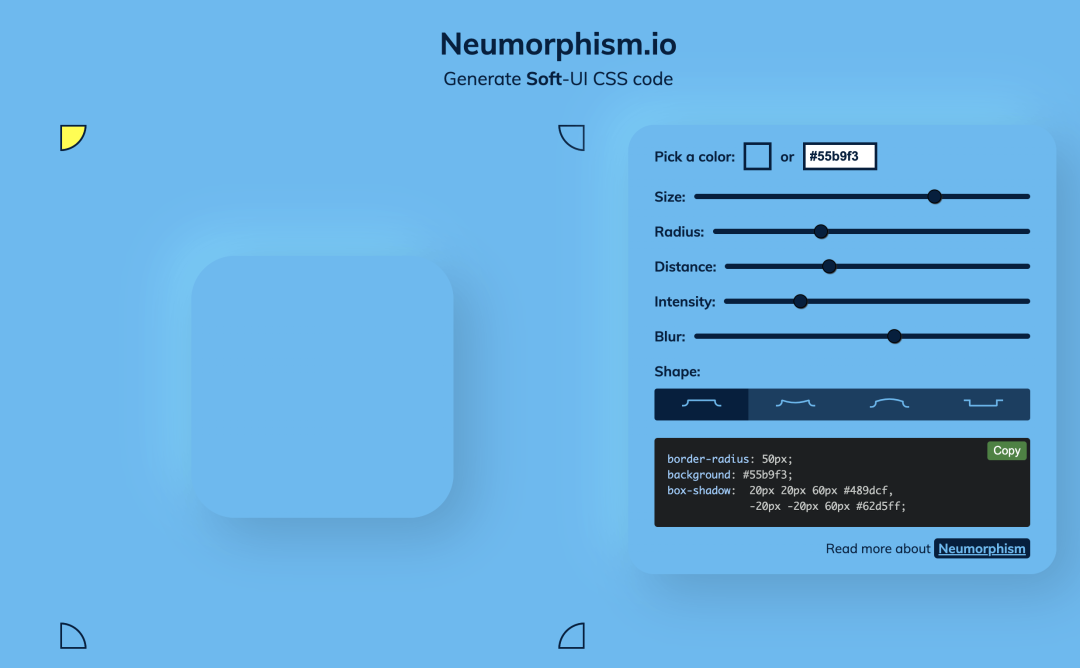
通过下面这个工具,你可以方便的设计拟物阴影,找到不同的颜色下的最佳效果。
https://neumorphism.io/#55b9f3

向大家推荐下我的网站 https://xuyisheng.top/ 点击原文一键直达
专注 Android-Kotlin-Flutter 欢迎大家访问
往期推荐
更文不易,点个“三连”支持一下👇
