截图!长按保存分享!Cocos Creator
一种3D截图方案
背景
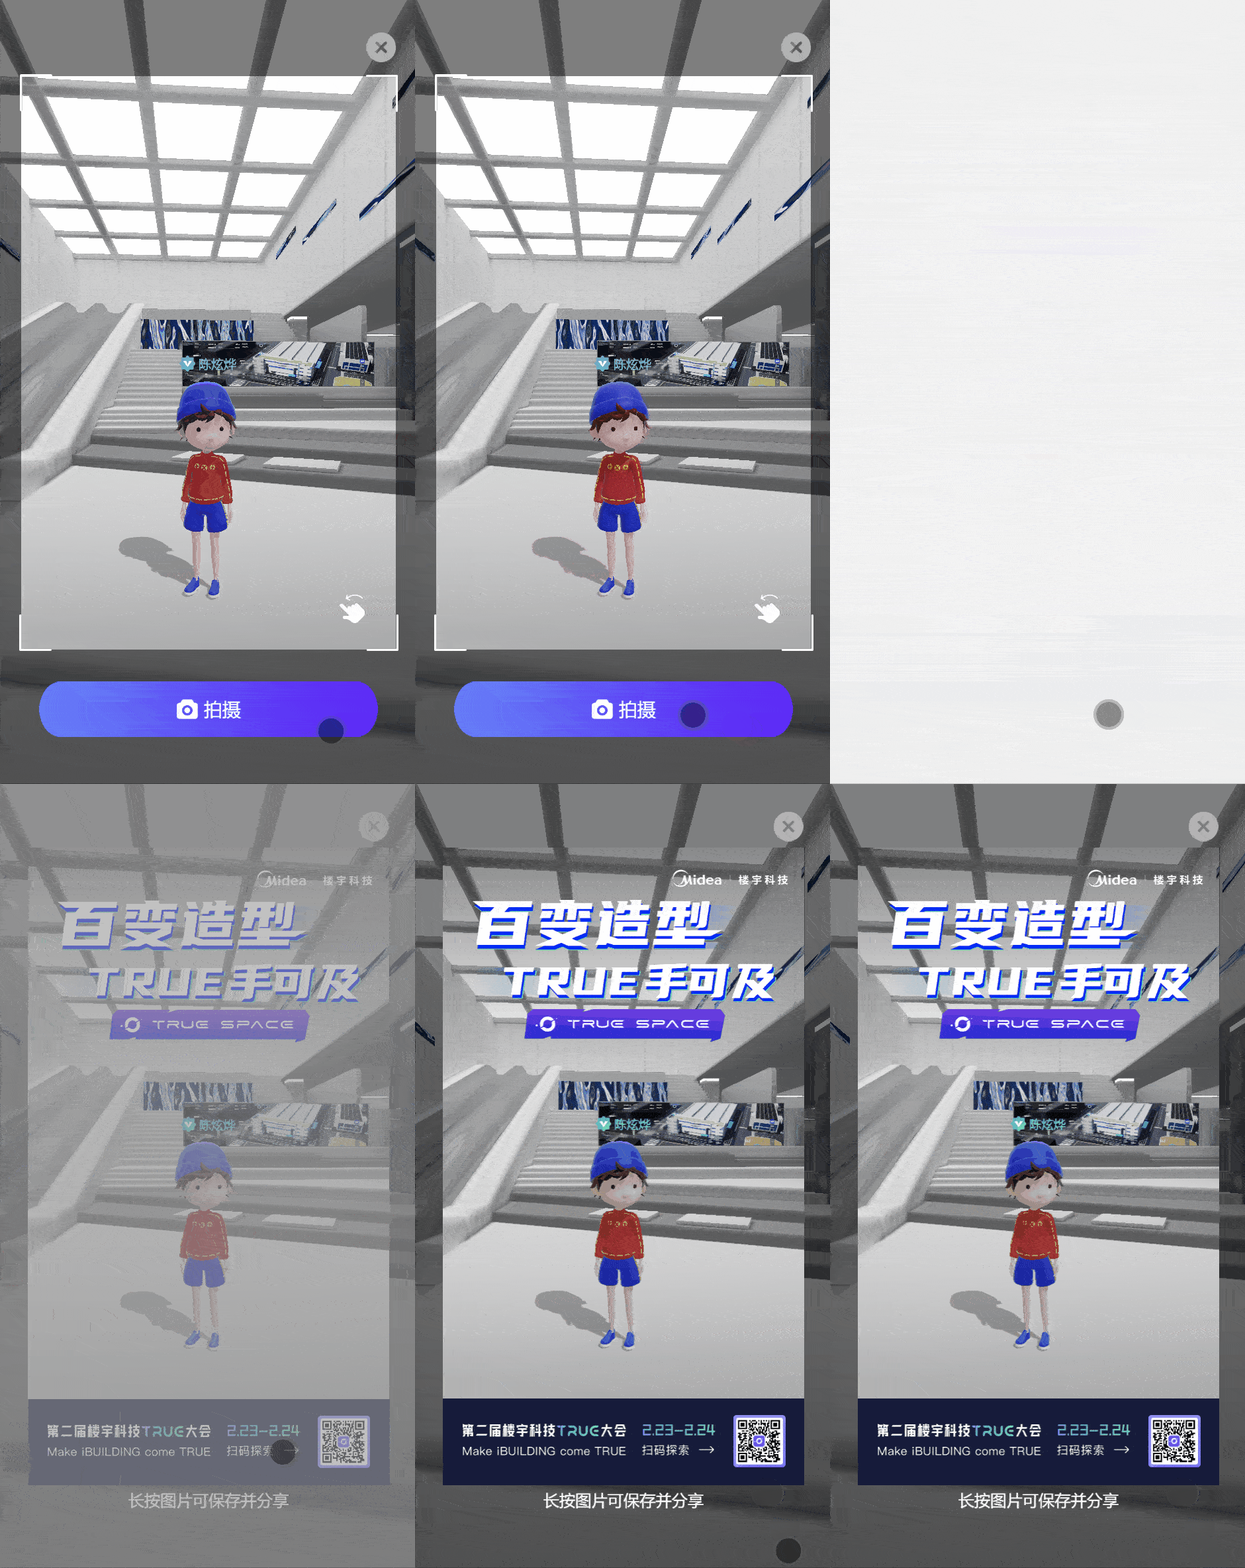
参考 TRUE SPACE with Cocos 技术分享[1]中的动态生成海报的介绍,以及作者的支持。实现一个长按保存分享截图的方案。

效果
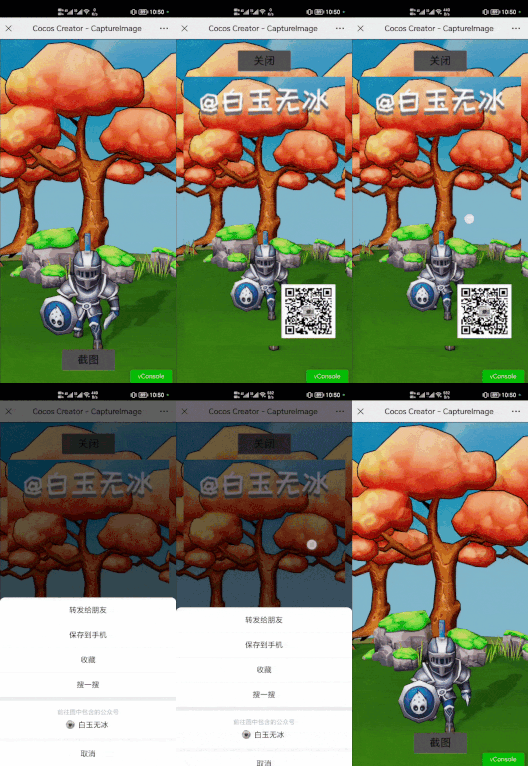
在微信浏览器中预览效果如下

环境
Cocos Creator 3.7.1 Web 浏览器
原理
原作者讲的非常清楚,只需要按照以下步骤实现即可。
3D相机生成一个RT 赋予给2D精灵 摆上一些二维码等UI UI相机再生成一张RT 读取RT中的数据,传给 canvas canvas 生成图片数据传给 Image 适配Image对象大小位置
视频
录了一段操作视频[2]供大家参考。
代码
这段代码的截图功能是按照高度适配的方式写的,如有其他需求,可自行修改相关逻辑。仅供大家参考学习。
import { _decorator, Component, Node, Camera, RenderTexture, view, UITransform, log, game, screen, NodeEventType } from 'cc';
const { ccclass, property } = _decorator;

@ccclass('CaptureImage')
export class CaptureImage extends Component {
    @property(Camera)
    copyCamera: Camera = null!;

    @property(Node)
    targetNode: Node = null!;

    @property(Node)
    captureBtn: Node = null!;

    @property(Node)
    closeBtn: Node = null!;

    rt: RenderTexture

    private _image: HTMLImageElement
    _canvas: HTMLCanvasElement = null!;
    _buffer: ArrayBufferView = null!;

    start() {
        log('欢迎关注微信公众号【白玉无冰】 https://mp.weixin.qq.com/s/4WwCjWBtZNnONh8hZ7JVDA')
        this.rt = new RenderTexture();
        this.rt.reset({
            width: view.getVisibleSize().width,
            height: view.getVisibleSize().height,
        })
        this.copyCamera.targetTexture = this.rt;
        this.captureBtn.active = true;
        this.closeBtn.active = false;
        this.captureBtn.on(NodeEventType.TOUCH_END, this.copyRenderTex, this)
        this.closeBtn.on(NodeEventType.TOUCH_END, this.clearCapture, this)
    }

    private copyRenderTex() {
        const width = this.targetNode.getComponent(UITransform).width;
        const height = this.targetNode.getComponent(UITransform).height;
        const anchorPoint = this.targetNode.getComponent(UITransform).anchorPoint;
        const worldPos = this.targetNode.getWorldPosition();
        this._buffer = this.rt.readPixels(Math.round(worldPos.x - width * anchorPoint.x), Math.round(worldPos.y - height * anchorPoint.y), width, height);

        if (!this._canvas) {
            this._canvas = document.createElement('canvas');
            this._canvas.width = width;
            this._canvas.height = height;
        } else {
            let ctx = this._canvas.getContext('2d');
            ctx.clearRect(0, 0, this._canvas.width, this._canvas.height);
        }
        let ctx = this._canvas.getContext('2d')!;
        let rowBytes = width * 4;
        for (let row = 0; row < height; row++) {
            let sRow = height - 1 - row;
            let imageData = ctx.createImageData(width, 1);
            let start = sRow * width * 4;
            for (let i = 0; i < rowBytes; i++) {
                imageData.data[i] = this._buffer[start + i];
            }
            ctx.putImageData(imageData, 0, row);
        }

        const scale = (view.getVisibleSizeInPixel().height / screen.devicePixelRatio) / view.getDesignResolutionSize().height
        const imageWidth = width * scale
        const imageHeight = height * scale
        let img = new Image(imageWidth, imageHeight);
        img.style.position = "absolute"
        img.style.marginTop = -imageHeight / 2 + "px"
        img.style.marginLeft = -imageWidth / 2 + "px"
        img.style.top = "50%"
        img.style.left = "50%"
        img.src = this._canvas.toDataURL();
        game.container!.appendChild(img);
        if (this._image) {
            game.container!.removeChild(this._image)
        }
        this._image = img;

        this.captureBtn.active = false;
        this.closeBtn.active = true;
    }

    private clearCapture() {
        if (this._image) {
            game.container!.removeChild(this._image)
        }
        this._image = null;
        this.captureBtn.active = true;
        this.closeBtn.active = false;
    }
}
其他
最近写文偏笔记的形式,主要是记录一下代码,下次要用的时候再翻出来。希望对大家有所帮助。
参考资料
[1]
TRUE SPACE with Cocos 技术分享: https://forum.cocos.org/t/topic/146459
[2]视频: https://www.bilibili.com/video/BV1w84y1N7XQ
往期精彩:
零代码实现面片效果(UV滚动,帧动画) Cocos Creator
点击“阅读原文”查看精选导航
“点赞“ ”在看” 鼓励一下 ▼
▼
评论
