Pytorch mixed precision 概述(混合精度)
点击上方“机器学习与生成对抗网络”,关注星标
获取有趣、好玩的前沿干货!
01
import torchvisionimport torchimport torch.cuda.ampimport gcimport time# Timing utilitiesstart_time = Nonedef start_timer():global start_timegc.collect()torch.cuda.empty_cache()torch.cuda.reset_max_memory_allocated()torch.cuda.synchronize() # 同步后得出的时间才是实际运行的时间start_time = time.time()def end_timer_and_print(local_msg):torch.cuda.synchronize()end_time = time.time()print("\n" + local_msg)print("Total execution time = {:.3f} sec".format(end_time - start_time))print("Max memory used by tensors = {} bytes".format(torch.cuda.max_memory_allocated()))num_batches = 50batch_size = 70epochs = 3# 随机创建训练数据data = [torch.randn(batch_size, 3, 224, 224, device="cuda") for _ in range(num_batches)]targets = [torch.randint(0, 1000, size=(batch_size, ), device='cuda') for _ in range(num_batches)]# 创建一个模型net = torchvision.models.resnext50_32x4d().cuda()# 定义损失函数loss_fn = torch.nn.CrossEntropyLoss().cuda()# 定义优化器opt = torch.optim.SGD(net.parameters(), lr=0.001)# 是否使用混合精度训练use_amp = True# Constructs scaler once, at the beginning of the convergence run, using default args.# If your network fails to converge with default GradScaler args, please file an issue.# The same GradScaler instance should be used for the entire convergence run.# If you perform multiple convergence runs in the same script, each run should use# a dedicated fresh GradScaler instance. GradScaler instances are lightweight.scaler = torch.cuda.amp.GradScaler(enabled=use_amp)start_timer()for epoch in range(epochs):for input, target in zip(data, targets):with torch.cuda.amp.autocast(enabled=use_amp):output = net(input)loss = loss_fn(output, target)# 放大loss Calls backward() on scaled loss to create scaled gradients.scaler.scale(loss).backward()# scaler.step() first unscales the gradients of the optimizer's assigned params.# If these gradients do not contain infs or NaNs, optimizer.step() is then called,# otherwise, optimizer.step() is skipped.scaler.step(opt)# Updates the scale for next iteration.scaler.update()opt.zero_grad(set_to_none=True) # set_to_none=True here can modestly improve performanceend_timer_and_print("Mixed precision:")02
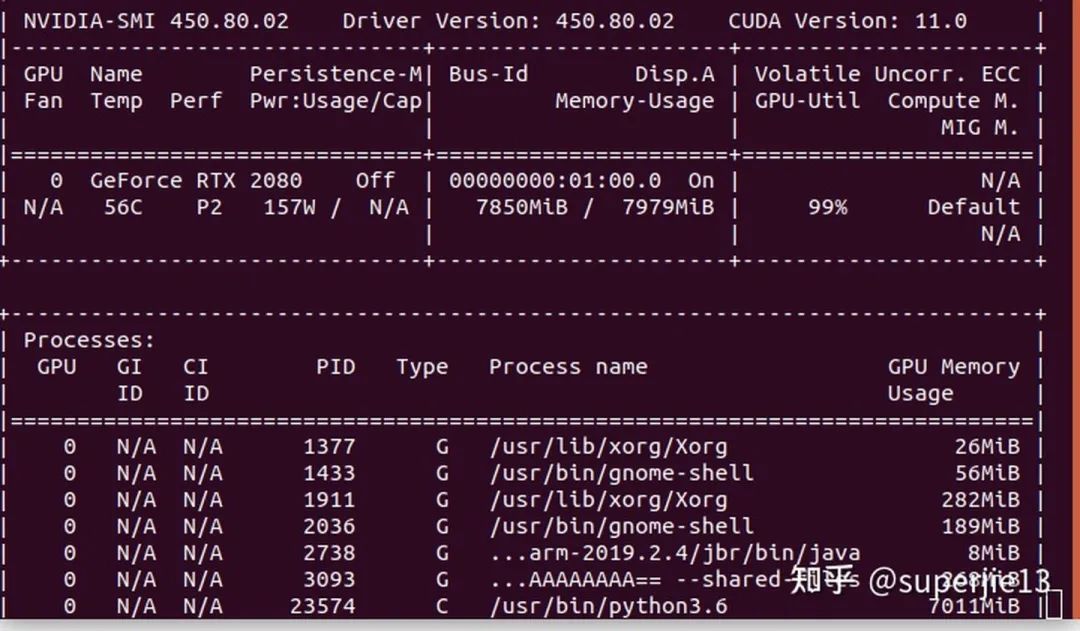
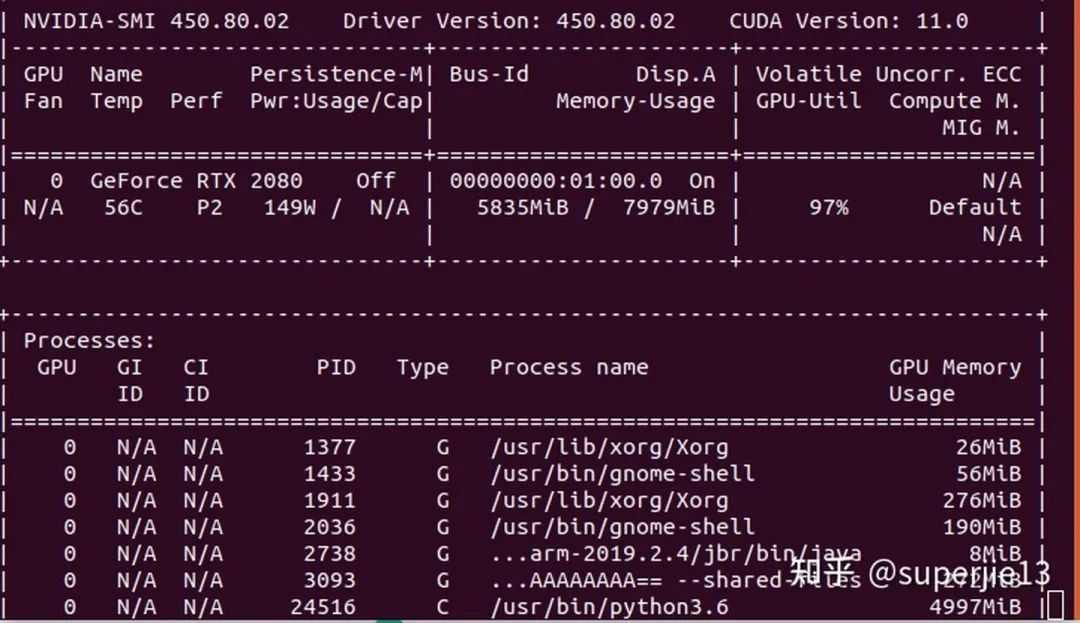
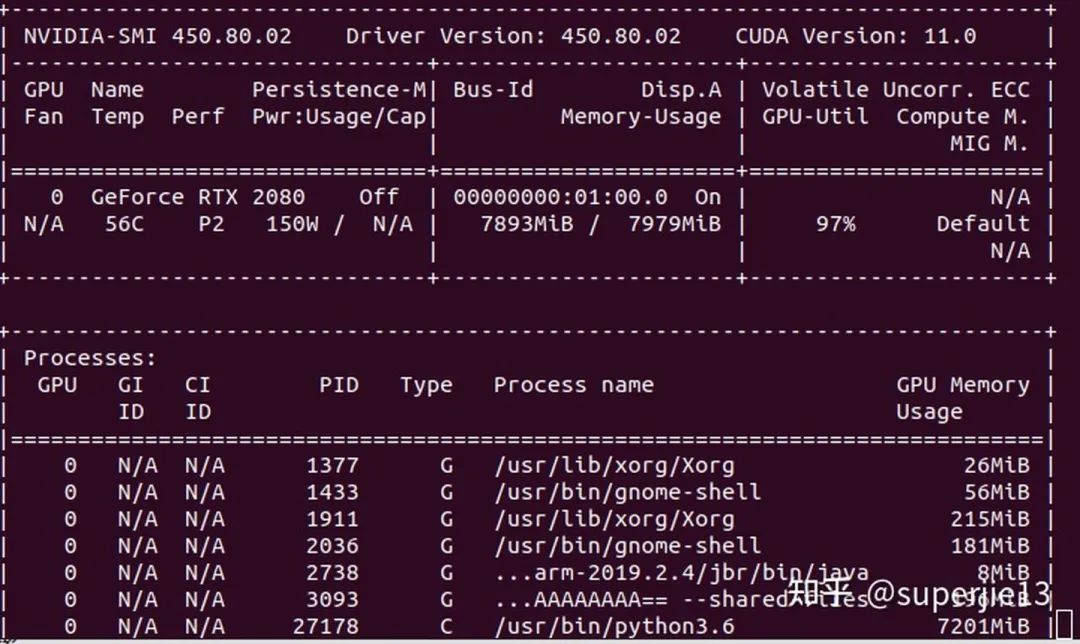
混合精度测试


猜您喜欢:
附下载 |《TensorFlow 2.0 深度学习算法实战》
附下载 | 超100篇!CVPR 2020最全GAN论文梳理汇总!
评论
