给你一份详细的CSS布局指南,请查收
(给前端大学加星标,提升前端技能.)
作者:catboy
https://juejin.im/post/5e91a8a56fb9a03c9037928f
在我们前端开发过程中,写CSS
(包括sass, less, stylus
这样的预处理器)进行设计稿的样式还原是一项重要的工作,而其中,关于页面布局的部分,又是书写样式代码时候的重点和难点,这篇文章就尽可能的去总结常见的一些页面布局实现方案(并不是全部,布局实现方法太多了
),希望能够对大家有所帮助。
在开始正题之前,有一点要说明:CSS
布局中遇到的一个绕不开的问题就是浏览器兼容性,下面方案会遇到类似transform, flex
等的兼容性问题,且由于grid
布局兼容性问题,暂不涉及grid
布局内容,在不同场景,大家选择合适的布局实现方案即可。
1. 居中相关的布局
1.1 水平居中布局
效果图如下:
方案一. inline-block
+ text-align
分析:display
设置为inline-block
的元素,具有文本元素的性质,其父元素可以通过设置文本对齐属性text-align
来控制其在行内的对齐方式,text-align: center
即为水平对齐
注意:text-align
属性是具有继承性的,会导致自己元素内部的文本也是居中显示的,需要自身设置text-align
覆盖
.wrap {
width: 100%;
height: 200px;
background-color: aqua;
text-align: center;
}
.content {
width: 200px;
height: 200px;
background-color: blueviolet;
display: inline-block;
}
方案二. 定位 + transform
分析:父元素开启定位(relative,absolute,fixed都可以)后,子元素设置绝对定位absolute
后,left
设置为50%
,再使用transform: translateX(-50%)
将子元素往反方向移动自身宽度的50%
,便完成水平居中。
注意:父级元素是否脱离文档流,不影响子元素水平居中效果,但是transform
是css3
属性,存在浏览器兼容问题
.wrap {
position: relative;
width: 100%;
height: 200px;
background-color: aqua;
}
.content {
position: absolute;
left: 50%;
transform: translateX(-50%);
width: 200px;
height: 200px;
background-color: blueviolet;
}
方案三. display: block
+ margin: 0 auto
分析:这个方法只需要对子元素进行设置就可以实现水平居中,margin设置auto表示浏览器会自动分配,实现来外边距等分效果。
注意:这里子元素设置display
为block
或者table
都是可以的,如果子元素脱离文档流(浮动,定位),会导致margin属性的值无效。
.wrap {
width: 100%;
height: 200px;
background-color: aqua;
}
.content {
width: 200px;
height: 200px;
background-color: blueviolet;
display: table;
margin: 0 auto;
}
1.2 垂直居中布局
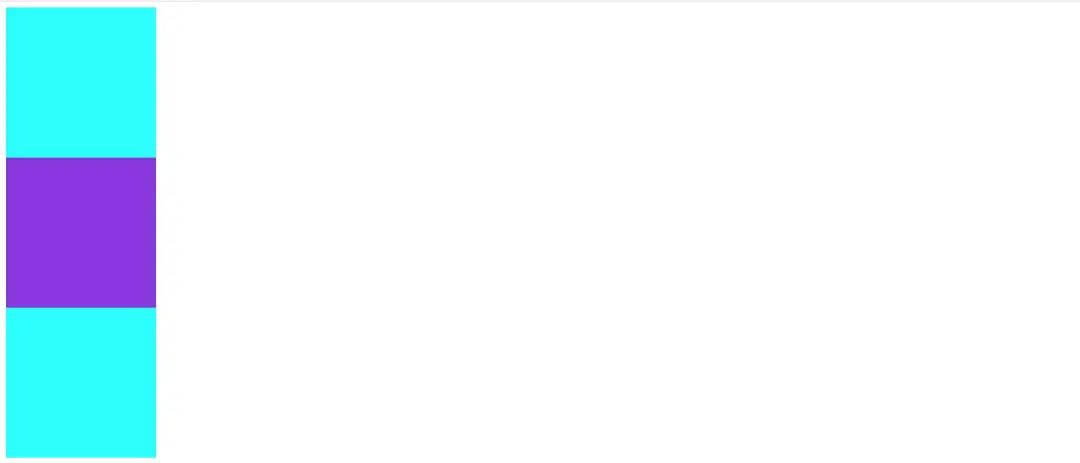
效果图如下:
方案一. 定位 + transform
这种方案和之前水平居中布局的方案二是同样的原理,不在赘述
.wrap {
position: relative;
width: 200px;
height: 600px;
background-color: aqua;
}
.content {
position: absolute;
top: 50%;
transform: translateY(-50%);
width: 200px;
height: 200px;
background-color: blueviolet;
}
方案二. display: table-cell
+ vertical-align
分析:设置display: table-cell
的元素具有td
元素的行为,它的子元素布局方式类似文本元素,可以在父元素使用vertical-align: middle;
实现子元素的垂直居中。
注意:vertical-align
属性具有继承性,导致父元素内文本也是垂直居中显示的。
.wrap {
display: table-cell;
vertical-align: middle;
width: 200px;
height: 600px;
background-color: aqua;
}
.content {
width: 200px;
height: 200px;
background-color: blueviolet;
}
1.3 水平垂直居中布局
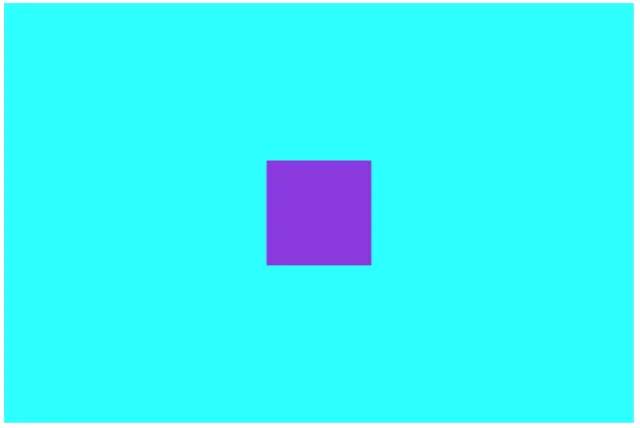
效果图如下:
前面分别总结了一些水平居中和垂直居中的布局方式,那么进行水平垂直居中的布局,也就没什么特别要说的了,直接上代码:
方案一.定位 + transform
.wrap {
position: relative;
width: 1200px;
height: 800px;
background-color: aqua;
}
.content {
position: absolute;
left: 50%;
top: 50%;
transform: translate(-50%, -50%);
width: 200px;
height: 200px;
background-color: blueviolet;
}
方案二. 结合水平布局方案三,垂直布局方案二
.wrap {
display: table-cell;
vertical-align: middle;
width: 1200px;
height: 800px;
background-color: aqua;
}
.content {
margin: 0 auto;
width: 200px;
height: 200px;
background-color: blueviolet;
}
1.4 使用flex
进行居中布局
分析:使用flex
,水平垂直居中会变得非常容易,默认情况下,align-items: center
垂直居中(交叉轴排列方式),justify-content: center
水平居中(主轴排列方式)注意:需要考虑浏览器兼容性问题。
.wrap {
display: flex;
align-items: center;
justify-content: center;
width: 1200px;
height: 800px;
background-color: aqua;
}
.content {
width: 200px;
height: 200px;
background-color: blueviolet;
}
2. N列布局
2.1 两列布局
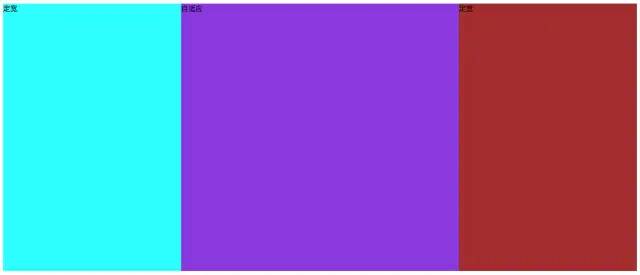
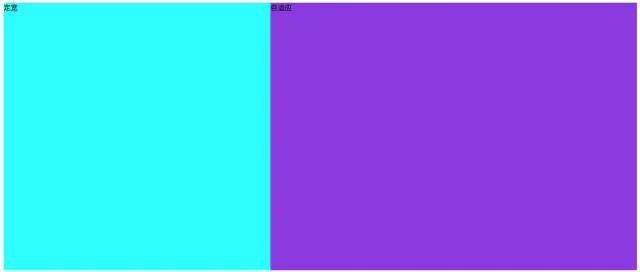
这里的两列布局指的是,其中一列是定宽元素,另一列元素宽度自适应。比如,我们实现做列定宽,右列自适应的布局。
效果图如下:
方案一. 左边元素浮动,定宽,右边元素设置margin-left
分析:一个最简单的做法,左边元素设置浮动,定宽,右边元素的margin-left
设置为左边元素宽度大小,可以实现效果。
注意:我们左边元素使用了浮动,但是右边元素没有浮动
.l, .r {
height: 600px;
}
.l {
width: 400px;
background-color: aqua;
float: left;
}
.r {
background-color: blueviolet;
margin-left: 400px;
}
定宽
自适应
方案二. 左边元素浮动,定宽,右边元素设置overflow:hidden
分析:右边元素由于设置overflow:hidden
开启BFC
,与外界隔离,所以能实现效果
注意:overflow:hidden
的设置也使得右边元素内容超出隐藏。这里如果不设置overflow:hidden
,右边元素的宽度是100%,有一部分被左边浮动元素盖住,不是我们要的结果,虽然看起来没什么区别。
.l, .r {
height: 600px;
}
.l {
width: 400px;
background-color: aqua;
float: left;
}
.r {
background-color: blueviolet;
overflow: hidden;
}
定宽
自适应
方案三.将左右元素用一个display:table
的元素包裹,左右元素设置为display: table-cell
分析:这里主要是基于表格元素,在没有设置宽度时,会自动分配宽度来实现布局的。
注意:设置为表格后,在某些浏览器可能会受到表格本身特有行为的影响,比如表格边框等等。
.w {
display: table;
table-layout: fixed;
width: 100%;
}
.l, .r {
display: table-cell;
height: 600px;
}
.l {
width: 400px;
background-color: aqua;
}
.r {
background-color: blueviolet;
}
定宽
自适应
方案四. flex
布局
分析:父容器采用flex
布局,左边元素定宽之后,右边元素,因为只有一个,所以flex
属性设置为不是0的正值(也就是设置flex-grow
),都会占满剩余空间。
注意:依然是,注意兼容性问题。
.p {
display: flex;
height: 600px;
}
.l {
background-color: aqua;
width: 400px;
}
.r {
flex: 1;
background-color: blueviolet;
}
定宽
自适应
2.2 三列布局
这里的三列布局,主要分三种情况介绍,第一种是普通三列布局,还有两种是比较有名的圣杯布局和双飞翼布局(两者都是实现一个两侧宽度固定,中间宽度自适应的三列布局,区别在于双飞翼布局比起圣杯布局,中间元素会多一个子元素,而左右元素需要定位relative
)
2.2.1. 普通三列布局
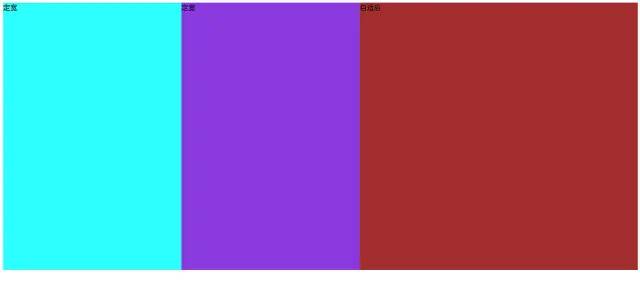
我们这里实现的是,左中两列定宽,右边一列自适应的布局,这个实际上和前面的两列布局是类似的。
效果图如下:
方案一. 定宽 + overflow:hidden
分析:这个方案和两列布局方案二是相同的。
.l, .c, .r {
height: 600px;
}
.l {
width: 400px;
background-color: aqua;
float: left;
}
.c {
width: 400px;
background-color: blueviolet;
float: left;
}
.r {
background-color: brown;
overflow: hidden;
}
定宽
定宽
自适应
方案二. flex
布局
分析:这里布局原理和两列布局中flex
布局方式是相同的。
.w {
display: flex;
height: 600px;
}
.l {
width: 400px;
background-color: aqua;
}
.c {
width: 400px;
background-color: blueviolet;
}
.r {
flex: 1;
background-color: brown;
}
定宽
定宽
自适应
2.2.2. 圣杯布局
两侧宽度固定,中间宽度自适应的三列布局(中间元素不需要嵌套子元素
)
效果图如下:
方案一. 左右两侧浮动,中间元素使用margin
分析:这种方法就是左右两边浮动,给定宽度,中间元素使用margin
空出左右两边元素的位置,实现比较简单。
注意:这种方式,需要在书写html
结构时,将右侧元素写在中间元素的前面,因为如果右侧元素在中间元素后面,由于浮动元素位置上不能高于(或平级)前面的非浮动元素,导致右侧元素会下沉。但是,中间元素一般都是页面的核心部分,放在比较后面的位置,不利于SEO
。
.l, .c, .r {
height: 600px;
}
.l {
width: 400px;
background-color: aqua;
float: left;
}
.c {
background-color: blueviolet;
margin-left: 400px;
margin-right: 400px;
}
.r {
width: 400px;
background-color: brown;
float: right;
}
定宽
定宽
自适应
方案二. 父容器使用margin
,左中右元素均浮动,利用定位和margin
移动到正确位置
分析:这种方法将中间元素c放置在最前面,有利于SEO
。
注意:实现细节在参考下面代码中的注释。
.w {
/* margin-left对应左边元素l的宽度,margin-right对应右边元素r的宽度 */
margin-left: 400px;
margin-right: 400px;
}
.l, .c, .r {
height: 600px;
float: left;
}
.l {
width: 400px;
background-color: aqua;
position: relative;
/* 为了让l元素从当前行移动到第一行同一位置*/
margin-left: -100%;
/* 移动到中间元素左侧正确位置 */
left: -400px;
}
.c {
width: 100%;
background-color: blueviolet;
}
.r {
width: 400px;
background-color: brown;
position: relative;
/* 为了让l元素从当前行移动到上一行*/
margin-left: -400px;
right: -400px;
}
自适应
定宽
定宽
2.2.3. 双飞翼布局
两侧宽度固定,中间宽度自适应的三列布局(中间元素内部增加子元素用于放置内容
)
效果图如下:
方案一. 中间元素子元素设置margin
,左中右元素均设置浮动,左右元素通过margin
移动到正确位置
分析:这种方法为中间元素增加子元素作为内容区域,通过子元素设置margin
完成。
注意:和圣杯布局对照,有相似处,也有不同,实现的结果是一样的。
.l, .c, .r {
height: 600px;
float: left;
}
.l {
width: 400px;
background-color: aqua;
/* 为了让l元素从当前行移动到第一行同一位置*/
margin-left: -100%;
}
.c {
width: 100%;
background-color: blue;
}
.i {
height: 600px;
background-color: blueviolet;
margin-left: 400px;
margin-right: 400px;
}
.r {
width: 400px;
background-color: brown;
/* 为了让r元素移动到第一行*/
margin-left: -400px;
}
自适应
定宽
定宽
2.2.4. flex
布局实现(中间自适应,左右等宽)
分析:flex
实现就很简单了,可以参照普通三列布局flex
实现。
注意:还是要注意浏览器兼容性问题。
.w {
display: flex;
height: 600px;
}
.l {
width: 400px;
background-color: aqua;
}
.c {
flex: 1;
background-color: blueviolet;
}
.r {
width: 400px;
background-color: brown;
}
定宽
自适应
定宽
2.3 多列等分布局
所谓多列等分布局,就是若干列在容器中自适应等分宽度,我们以五列等分布局为例。
效果图如下:
方案一. 浮动 + 百分数平分
分析:这种方案就是每一列浮动,之后按照百分比平分宽度,实现简单。
.col {
float: left;
width: 20%;
height: 300px;
}
.col1 {
background-color: blue;
}
.col2 {
background-color: blueviolet;
}
.col3 {
background-color: aqua;
}
.col4 {
background-color: beige;
}
.col5 {
background-color: salmon;
}
方案二. 使用display: table
布局
分析:父容器指定display: table
,设置布局行为table-layout: fixed
,指定每个表格等宽。
注意:table-layout: fixed
是需要设置的,默认情况下,列宽度由单元格内容设定,设置之后,列宽由表格宽度和列宽度设定。
.w {
display: table;
/* 列宽由表格宽度和列宽度设定 */
table-layout: fixed;
width: 100%;
}
.col {
display: table-cell;
height: 300px;
}
.col1 {
background-color: blue;
}
.col2 {
background-color: blueviolet;
}
.col3 {
background-color: aqua;
}
.col4 {
background-color: beige;
}
.col5 {
background-color: salmon;
}
方案三. 使用column
布局
分析:使用column
布局,指定内容区域需要分为5列即可。
注意:浏览器兼容性问题。
.w {
/* 指定列数 */
column-count: 5;
/* 指定列与列之间的间隙,默认1em */
column-gap: 0;
}
.col {
height: 300px;
}
.col1 {
background-color: blue;
}
.col2 {
background-color: blueviolet;
}
.col3 {
background-color: aqua;
}
.col4 {
background-color: beige;
}
.col5 {
background-color: salmon;
}
方案四. 使用flex
布局
分析:使用flex
布局十分简单,指定每一列所占空间相同即可
.w {
display: flex;
}
.col {
height: 300px;
flex: 1;
}
.col1 {
background-color: blue;
}
.col2 {
background-color: blueviolet;
}
.col3 {
background-color: aqua;
}
.col4 {
background-color: beige;
}
.col5 {
background-color: salmon;
}