
JuiceFS 集成Grafana性能监控
1.客户端设置
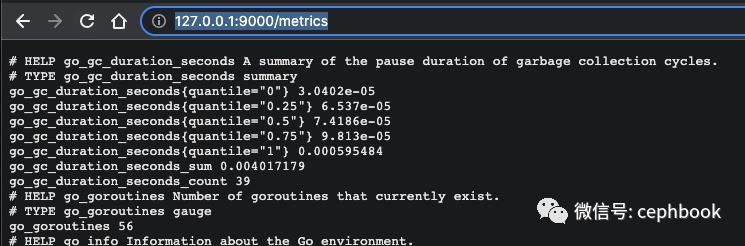
默认mount起来,会在客户端本地监听127.0.0.1:9567,这里修改了默认配置到127.0.0.1:9000,浏览器打开http://127.0.0.1:9000/metrics就能看到对应的数据
╭─qinmuyang@QinMuYangdeiMac /Volumes/OS2
╰─$ sudo ./juicefs mount --metrics 127.0.0.1:9000 redis://redisxxx ~/jfs
Password:
...
2. prometheus设置
prometheus的下载和安装过程网上文章翻翻就有了,这里略过。只需要在prometheus.yml配置中加上对应客户端的信息即可。
scrape_configs:
  - job_name: 'juicefs'
    scrape_interval: 15s
    scheme: 'http'
    metrics_path: '/metrics'
    static_configs:
      - targets: ['localhost:9000']
配置成功以后,打开prometheus的管理界面http://127.0.0.1:9090/targets,就可以看到对应的job信息,注意State=UP才算正常。

3. Grafana配置
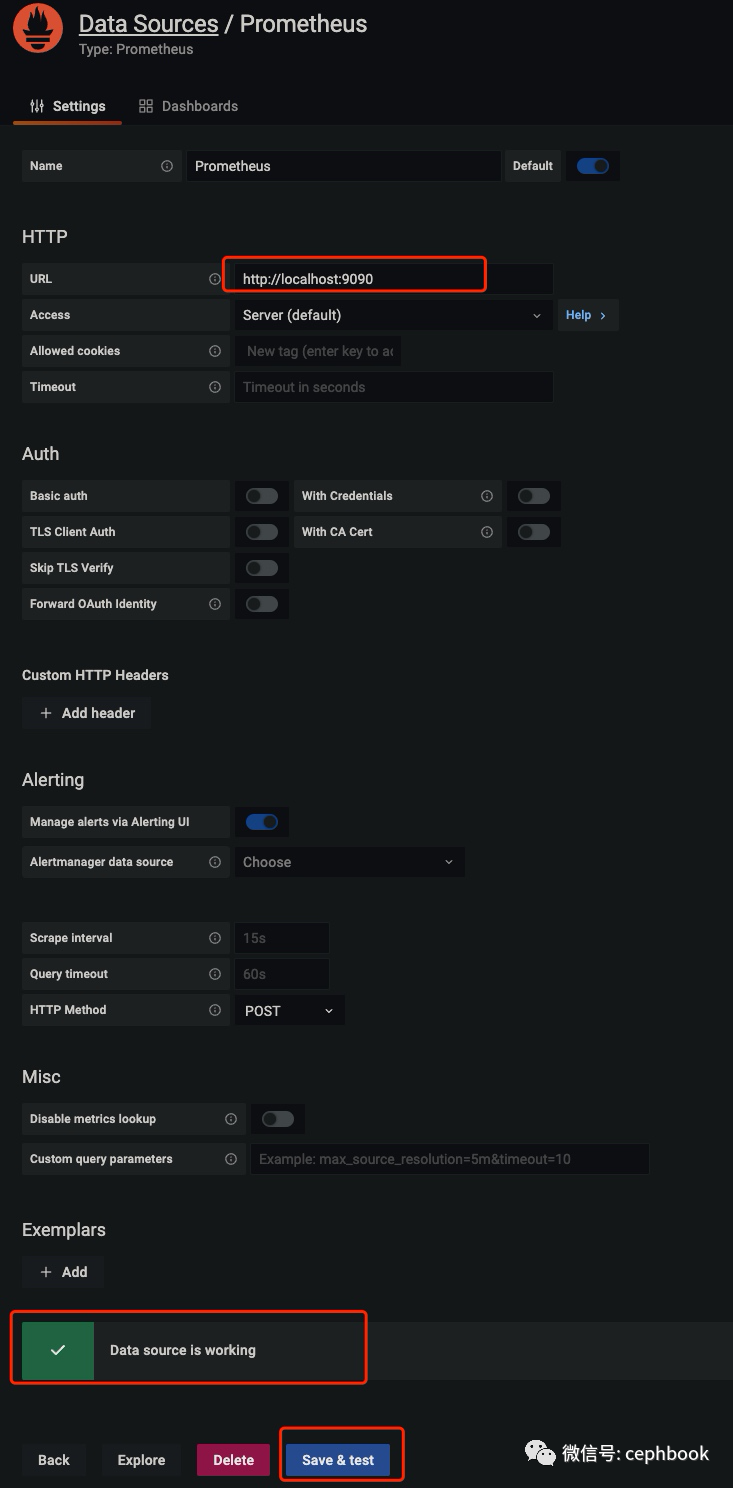
先导入数据源,选择Prometheus类型,添加对应的Prometheus服务地址,点击Save&Test,看到Data source is working就成功了
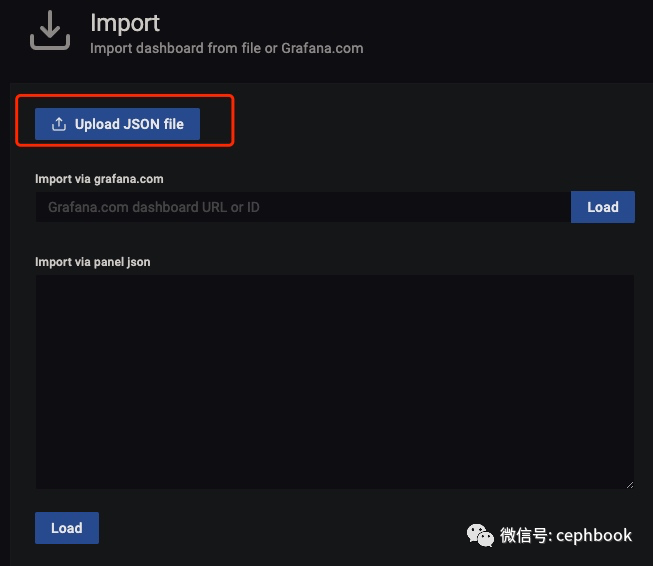
之后从Juicefs官方下载仪表盘模板,首页的+选择Import,选择对应的json文件即可完成导入
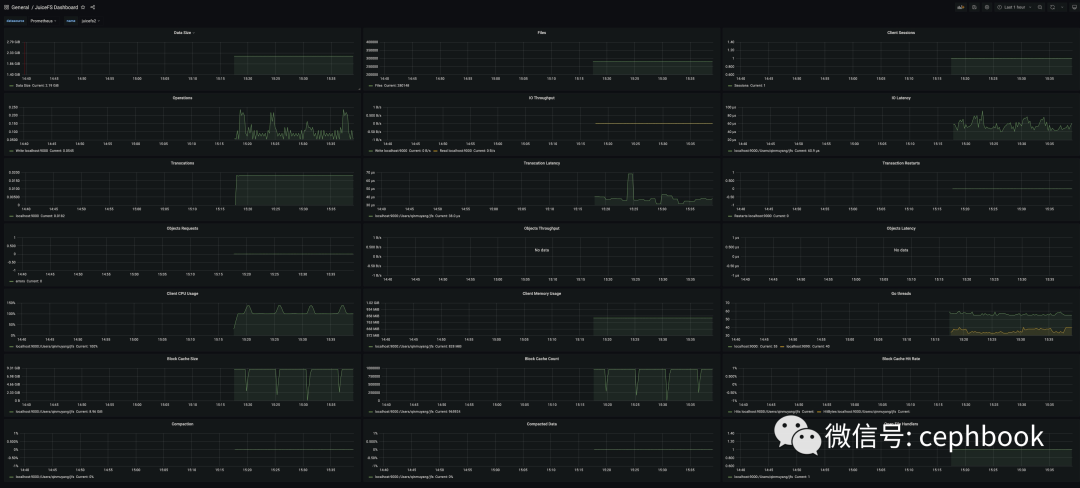
之后就可以在dashboard界面看到监控数据了
其他
仪表盘模板:https://github.com/juicedata/juicefs/blob/main/docs/en/grafana_template.json
参考资源 https://github.com/juicedata/juicefs/blob/0c40e3a9919731fd97ab538dc0ba393086090a4b/docs/zh_cn/administration/monitoring.md#%E7%9B%91%E6%8E%A7
评论