
springboot拦截器解耦——自定义注解

什么是注解
public Configuration {annotation = Component.class)String value() default "";boolean proxyBeanMethods() default true;}
创建注解的关键字是@interface 注解上也可以加注解 注解可以有属性
@Retention:保留期,声明注解的存活时间 RetentionPolicy.SOURCE:仅源代码时保留,在编译时会被丢弃忽略 RetentionPolicy.CLASS:编译为class时保留,但不会被加载到jvm中 RetentionPolicy.RUNTIME:运行环境保留,会被加载到jvm中 @Documented:保留本类中的注解并能够被javadoc识别 @Target:指定注解的添加位置(类/方法/变量等) ElementType.TYPE:类注解 ElementType.FIELD:字段注解 ElementType.METHOD:方法注解 ElementType.PARAMETER:方法内的参数注解 ElementType.CONSTRUCTOR:构造方法注解 ElementType.LOCAL_VARIABLE:局部变量注解 ElementType.ANNOTATION_TYPE:注解注解 ElementType.PACKAGE:包注解 ElementType.TYPE_PARAMETER ElementType.TYPE_USE @Inherited:注解是否能够被子类继承
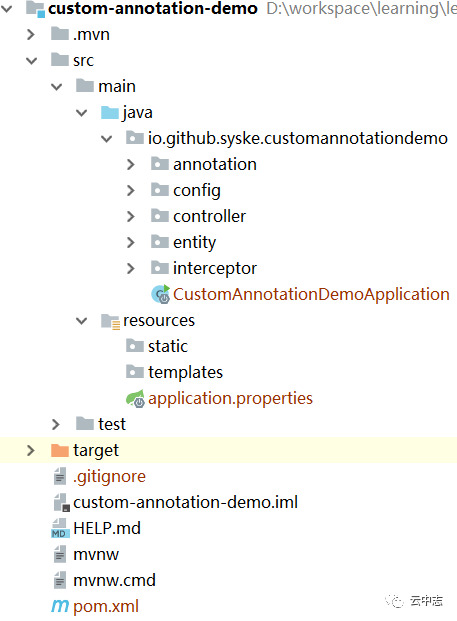
创建springboot项目
<project xmlns="http://maven.apache.org/POM/4.0.0" xmlns:xsi="http://www.w3.org/2001/XMLSchema-instance"xsi:schemaLocation="http://maven.apache.org/POM/4.0.0 https://maven.apache.org/xsd/maven-4.0.0.xsd"><modelVersion>4.0.0</modelVersion><groupId>io.github.syske</groupId><artifactId>custom-annotation-demo</artifactId><version>0.0.1-SNAPSHOT</version><name>custom-annotation-demo</name><description>Demo project for Spring Boot</description><properties><java.version>1.8</java.version><project.build.sourceEncoding>UTF-8</project.build.sourceEncoding><project.reporting.outputEncoding>UTF-8</project.reporting.outputEncoding><spring-boot.version>2.3.0.RELEASE</spring-boot.version></properties><dependencies><dependency><groupId>org.springframework.boot</groupId><artifactId>spring-boot-starter-web</artifactId></dependency><dependency><groupId>org.springframework.boot</groupId><artifactId>spring-boot-starter-test</artifactId><scope>test</scope><exclusions><exclusion><groupId>org.junit.vintage</groupId><artifactId>junit-vintage-engine</artifactId></exclusion></exclusions></dependency><dependency><groupId>com.alibaba</groupId><artifactId>fastjson</artifactId><version>1.2.61</version></dependency></dependencies><dependencyManagement><dependencies><dependency><groupId>org.springframework.boot</groupId><artifactId>spring-boot-dependencies</artifactId><version>${spring-boot.version}</version><type>pom</type><scope>import</scope></dependency></dependencies></dependencyManagement><build><plugins><plugin><groupId>org.apache.maven.plugins</groupId><artifactId>maven-compiler-plugin</artifactId><configuration><source>1.8</source><target>1.8</target><encoding>UTF-8</encoding></configuration></plugin><plugin><groupId>org.springframework.boot</groupId><artifactId>spring-boot-maven-plugin</artifactId></plugin></plugins></build></project>
自定义注解
import java.lang.annotation.ElementType;import java.lang.annotation.Retention;import java.lang.annotation.RetentionPolicy;import java.lang.annotation.Target;@Target(ElementType.METHOD)@Retention(RetentionPolicy.RUNTIME)public @interface CheckAuth {}
自定义注解应用
public class AuthenticationInterceptor implements HandlerInterceptor {public boolean preHandle(HttpServletRequest request, HttpServletResponse response, Object handler) throws Exception {if (handler instanceof HandlerMethod) {HandlerMethod handlerMethod = (HandlerMethod) handler;if (handlerMethod.hasMethodAnnotation(CheckAuth.class)) {System.out.println("有CheckAuth注解");String token = request.getParameter("token");if (!"ABCDEF12345".equals(token)) {throw new AuthException();}}}return true;}}
// 鉴权拦截器registry.addInterceptor(new AuthenticationInterceptor()).addPathPatterns("/**");
handlerMethod.hasMethodAnnotation(CheckAuth.class),即判断当前方法是否有CheckAuth.class注解。HandlerMethod:方法 ResourceHttpRequestHandler:静态资源
总结
评论