Spring框架自带分布式锁jdbc-lock-registry源码解析
你知道的越多,不知道的就越多,业余的像一棵小草!
你来,我们一起精进!你不来,我和你的竞争对手一起精进!
编辑:业余草
puhaiyang.blog.csdn.net
推荐:https://www.xttblog.com/?p=5349
在查看 spring cloud task 源码的时候发现它是通过使用 spring 自带的分布式锁实现的。
分布式锁一直以来都是分布式系统中很重要的一种技术,最常见的主要还是基于 redis 或 zookeeper 实现的分布式锁。基于 Spring 的分布式锁很少有人讨论,今天我们就一起来聊聊。
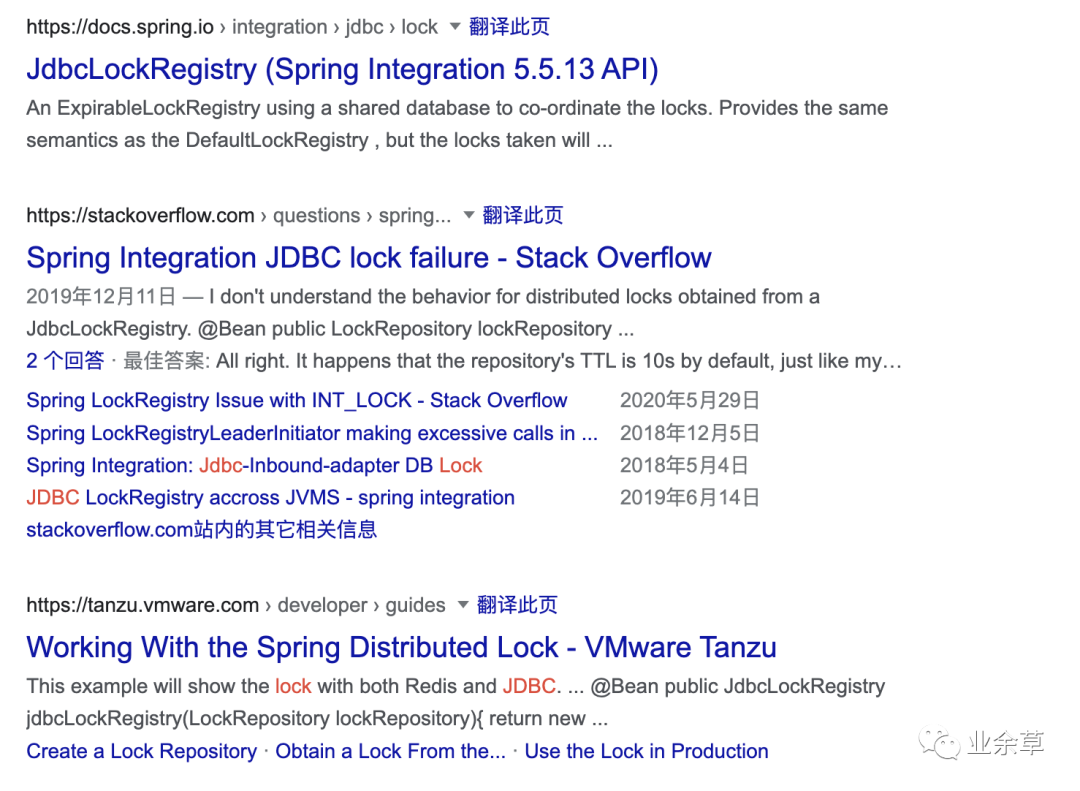
Spring 自带的常用分布式锁介绍文档如下:
jdbc-lock-registry: https://docs.spring.io/spring-integration/docs/current/reference/html/jdbc.html#jdbc-lock-registryredis-lock-registry: https://docs.spring.io/spring-integration/docs/current/reference/html/redis.html#redis-lock-registryzk-lock-registry: https://docs.spring.io/spring-integration/docs/current/reference/html/zookeeper.html#zk-lock-registry

对于并发不是很高,并对性能追求不是很迫切,又不想引入其他第三方组件的情况下,使用数据库来实现分布式锁也是一种很不错的实现方式。
spring 作为 JAVA 武林中的一个顶尖高手帮派,它又是如何通过 jdbc 实现分布式锁的呢?接下来我们一起拜读一下。
在spring cloud task中的应用
spring cloud task 中使用 jdbc-lock-registry 代码片段:
@BeforeTask
public void lockTask(TaskExecution taskExecution) {
  if (this.lockRegistry == null) {
    this.lockRegistry = getDefaultLockRegistry(taskExecution.getExecutionId());
  }
  this.lockRegistryLeaderInitiator = new LockRegistryLeaderInitiator(
      this.lockRegistry,
      new DefaultCandidate(String.valueOf(taskExecution.getExecutionId()),
          this.taskNameResolver.getTaskName()));
  this.lockRegistryLeaderInitiator
      .setApplicationEventPublisher(this.applicationEventPublisher);
  this.lockRegistryLeaderInitiator.setPublishFailedEvents(true);
  //分布式锁启动
  this.lockRegistryLeaderInitiator.start();
  while (!this.lockReady) {
    try {
      Thread.sleep(this.taskProperties.getSingleInstanceLockCheckInterval());
    }
    catch (InterruptedException ex) {
      logger.warn("Thread Sleep Failed", ex);
    }
    if (this.lockFailed) {
      String errorMessage = String.format(
          "Task with name \"%s\" is already running.",
          this.taskNameResolver.getTaskName());
      try {
        this.lockRegistryLeaderInitiator.destroy();
      }
      catch (Exception exception) {
        throw new TaskExecutionException("Failed to destroy lock.",
            exception);
      }
      throw new TaskExecutionException(errorMessage);
    }
  }
}

@AfterTask
public void unlockTaskOnEnd(TaskExecution taskExecution) throws Exception {
    //分布式锁销毁
  this.lockRegistryLeaderInitiator.destroy();
}

private LockRegistry getDefaultLockRegistry(long executionId) {
    DefaultLockRepository lockRepository = new DefaultLockRepository(this.dataSource,
        String.valueOf(executionId));
    lockRepository.setPrefix(this.taskProperties.getTablePrefix());
    lockRepository.setTimeToLive(this.taskProperties.getSingleInstanceLockTtl());
    lockRepository.afterPropertiesSet();
    return new JdbcLockRegistry(lockRepository);
}
通过上面的代码我们可以知道,在 spring cloud task 执行过程前会先执行 「lockRegistryLeaderInitiator.start()」 方法获取分布式锁,在task执行完毕后会执行 「lockRegistryLeaderInitiator.destroy()」 方法进行对锁的释放。
所以对于jdbc实现分布式锁的实现细节我们也主要看上面这个LockRegistryLeaderInitiator类的start方法和destroy方法就可以了。
在使用lockRegistryLeaderInitiator前需要对lockRegistryLeaderInitiator进行初始化,在spring cloud task中就定义了一个「JdbcLockRegistry」
lockRegistryLeaderInitiator.start
/**
 * Start the registration of the {@link #candidate} for leader election.
 */
@Override
public void start() {
  if (this.leaderEventPublisher == null && this.applicationEventPublisher != null) {
    this.leaderEventPublisher = new DefaultLeaderEventPublisher(this.applicationEventPublisher);
  }
  //加对象锁执行
  synchronized (this.lifecycleMonitor) {
      //如果running处于false则执行下面的代码,running初始时为false
    if (!this.running) {
        //buildLeaderPath应返回资源名称,spring cloud task为taskNameResolver.getTaskName()的值
      this.leaderSelector = new LeaderSelector(buildLeaderPath());
      //将running设为true
      this.running = true;
      //向线程池提交leaderSelector
      this.future = this.executorService.submit(this.leaderSelector);
      logger.debug("Started LeaderInitiator");
    }
  }
}

/**
 * @return the lock key used by leader election
 */
private String buildLeaderPath() {
  return this.candidate.getRole();
}
从上面的代码可以看出,start方法会以当前task的名称创建一个LeaderSelector出来,然后提交给线程池
对于LeaderSelector里干了什么事情,主要需要看一下它的构造方法和call方法
LeaderSelector
LeaderSelector构造方法
LeaderSelector(String lockKey) {
    //定义lock
  this.lock = LockRegistryLeaderInitiator.this.locks.obtain(lockKey);
  this.lockKey = lockKey;
}
LeaderSelector是这一个内部类。上面的代码最终会执行LockRegistryLeaderInitiator类中的locks对应方法。也就是JdbcLockRegistry的obtain方法
具体代码为:
@Override
public Lock obtain(Object lockKey) {
  Assert.isInstanceOf(String.class, lockKey);
  //根据lockKey产生一个uuid出来,相当于时来个md5
  String path = pathFor((String) lockKey);
  //locks为:Map<String, JdbcLock> locks = new ConcurrentHashMap<>();
  //如是不存在path,则产生一个JdbcLock放到locks这个map中
  //三个参数值分别为:DefaultLockRepository、100、key(task的名称)
  return this.locks.computeIfAbsent(path, (key) -> new JdbcLock(this.client, this.idleBetweenTries, key));
}

private String pathFor(String input) {
  return input == null ? null : UUIDConverter.getUUID(input).toString();
}
LeaderSelector的call方法
@Override
public Void call() {
  try {
      //获取running状态,如果running为true,就一直执行下面的代码
    while (isRunning()) {
      try {
          //尝试获取锁,具体看下面的代码
        tryAcquireLock();
      }
      catch (Exception e) {
        if (handleLockException(e)) {
          return null;
        }
      }
    }
  }
  finally {
      //running为false,或上面的代码异常了,执行finally代码块
      //locked为true代表还占用资源的锁
    if (this.locked) {
        //锁标志修改为false
      this.locked = false;
      try {
          //执行JdbcLock的unlock方法,释放锁
        this.lock.unlock();
      }
      catch (Exception e) {
        logger.debug("Could not unlock during stop for " + this.context
            + " - treat as broken. Revoking...", e);
      }
      // We are stopping, therefore not leading any more
      handleRevoked();
    }
  }
  return null;
}

private void handleRevoked() {
  LockRegistryLeaderInitiator.this.candidate.onRevoked(this.context);
  if (LockRegistryLeaderInitiator.this.leaderEventPublisher != null) {
    try {
      LockRegistryLeaderInitiator.this.leaderEventPublisher.publishOnRevoked(
          LockRegistryLeaderInitiator.this, this.context,
          LockRegistryLeaderInitiator.this.candidate.getRole());
    }
    catch (Exception e) {
      logger.warn("Error publishing OnRevoked event.", e);
    }
  }
}
通过call方法可以看出,如果running处于true,则会一直执行tryAcquireLock方法获取锁,当运行完毕后会执行lock(JdbcLock)的unlock方法进行锁释放
LeaderSelector的tryAcquireLock方法
private void tryAcquireLock() throws InterruptedException {
    if (logger.isDebugEnabled()) {
      logger.debug("Acquiring the lock for " + this.context);
    }
    //heartBeatMillis默认为500
    //在锁的过期时间内一直尝试获取锁
    // We always try to acquire the lock, in case it expired
    boolean acquired = this.lock.tryLock(LockRegistryLeaderInitiator.this.heartBeatMillis,
        TimeUnit.MILLISECONDS);
    //之前没有获得到锁
    if (!this.locked) {
        //现在把锁获得到了
      if (acquired) {
        // Success: we are now leader
        this.locked = true;
        //进行通知
        handleGranted();
      }
      else if (isPublishFailedEvents()) {
        publishFailedToAcquire();
      }
    }
    else if (acquired) {
      // If we were able to acquire it but we were already locked we
      // should release it
      this.lock.unlock();
      if (isRunning()) {
        // Give it a chance to expire.
        Thread.sleep(LockRegistryLeaderInitiator.this.heartBeatMillis);
      }
    }
    else {
      this.locked = false;
      // We were not able to acquire it, therefore not leading any more
      handleRevoked();
      if (isRunning()) {
        // Try again quickly in case the lock holder dropped it
        Thread.sleep(LockRegistryLeaderInitiator.this.busyWaitMillis);
      }
    }
  }
JdbcLockRegistry
JdbcLockRegistry的tryLock方法
@Override
public boolean tryLock(long time, TimeUnit unit) throws InterruptedException {
  long now = System.currentTimeMillis();
  //private final ReentrantLock delegate = new ReentrantLock();
  //delegate获取锁失败才会直接返回false
  if (!this.delegate.tryLock(time, unit)) {
    return false;
  }
  //当前时间加上锁的TTL值则为过期时间
  long expire = now + TimeUnit.MILLISECONDS.convert(time, unit);
  boolean acquired;
  while (true) {
    try {
        //在超时时间内,获取锁失败,则进行休眠稍后再次尝试
      while (!(acquired = doLock()) && System.currentTimeMillis() < expire) { //NOSONAR
        Thread.sleep(this.idleBetweenTries.toMillis());
      }
      if (!acquired) {
          //一直获取锁失败,本地锁解锁
        this.delegate.unlock();
      }
      return acquired;
    }
    catch (TransientDataAccessException | TransactionTimedOutException e) {
      // try again
    }
    catch (Exception e) {
      this.delegate.unlock();
      rethrowAsLockException(e);
    }
  }
}

private boolean doLock() {
    //执行获取锁的方法
  boolean acquired = this.mutex.acquire(this.path);
  if (acquired) {
  //获取锁成功后,记录上次获取锁的时间
    this.lastUsed = System.currentTimeMillis();
  }
  return acquired;
}
DefaultLockRepository.acquire
@Transactional(isolation = Isolation.SERIALIZABLE, timeout = 1)
@Override
public boolean acquire(String lock) {
    //删除过期的锁
  deleteExpired(lock);
  //更新已获取的锁
  //private String updateQuery = "UPDATE %sLOCK SET CREATED_DATE=? WHERE REGION=? AND LOCK_KEY=? AND CLIENT_ID=?";
  if (this.template.update(this.updateQuery, new Date(), this.region, lock, this.id) > 0) {
    return true;
  }
  //初始化获取锁
  //private String insertQuery = "INSERT INTO %sLOCK (REGION, LOCK_KEY, CLIENT_ID, CREATED_DATE) VALUES (?, ?, ?, ?)";
  try {
    return this.template.update(this.insertQuery, this.region, lock, this.id, new Date()) > 0;
  }
  catch (DuplicateKeyException e) {
    return false;
  }
}

private void deleteExpired(String lock) {
// private String deleteExpiredQuery = "DELETE FROM %sLOCK WHERE REGION=? AND LOCK_KEY=? AND CREATED_DATE<?";
  this.template.update(this.deleteExpiredQuery, this.region, lock,
      new Date(System.currentTimeMillis() - this.ttl));
}
到这里,源码和用法我们就已经介绍完了,感兴趣的可以自己阅读源码,结合自己的理解,实现一个小 demo,跑起来加强自己的记忆。用法倒是其次,Spring 的封装思想很值得我们学习!
