Jenkins 流水线自动化部署 Go 项目
原文链接:https://juejin.cn/post/6969968007690846238

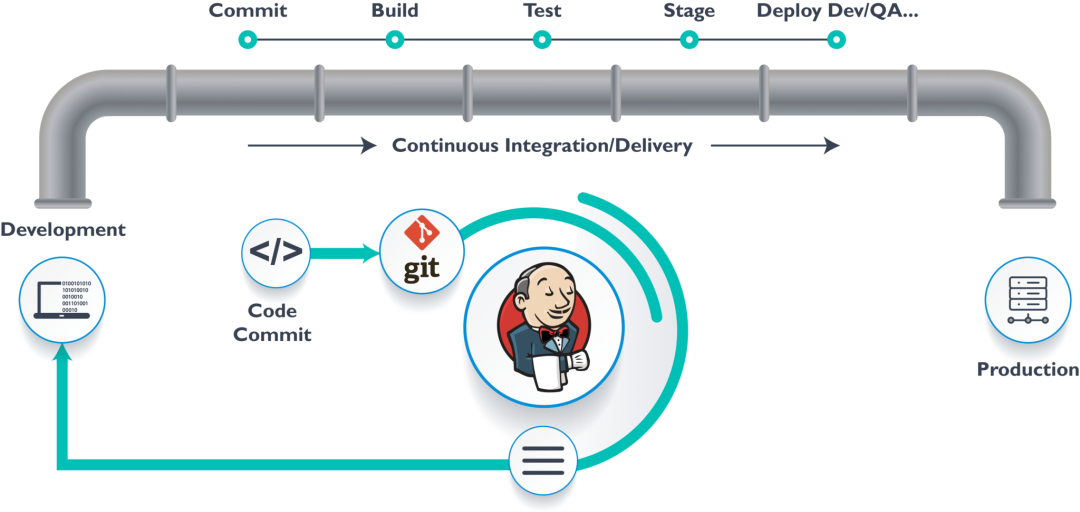
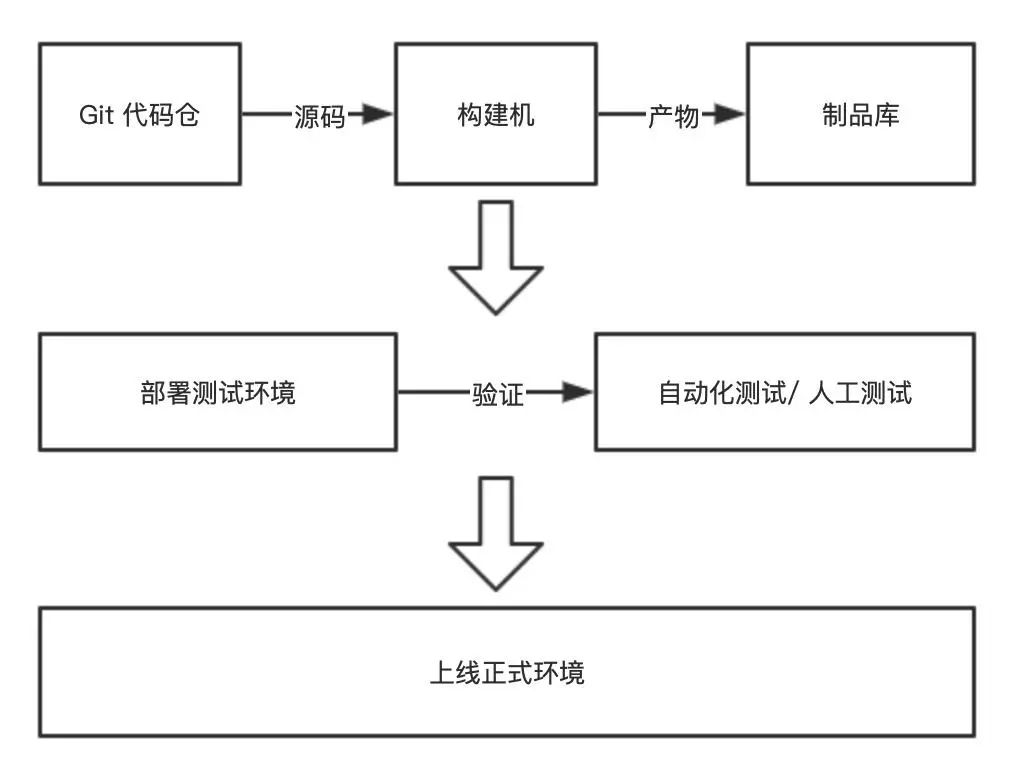
自动化流程

项目结构
|-- my-app|-- .gitignore|-- README.md|-- LICENSE|-- go.mod|-- go.sum|-- main.go|-- pkg|-- ...
项目构建
passwordVariable 。stage('Build') {steps {withCredentials(bindings: [usernamePassword(credentialsId: 'GITHUB_CREDENTIAL', usernameVariable: 'GITHUB_USER', passwordVariable: 'GITHUB_ACCESS_TOKEN')]) {sh '''git config --global url."https://${GITHUB_ACCESS_TOKEN}:x-oauth-basic@github.com/".insteadOf "https://github.com/"go mod tidygo build -o bin/my-app main.go'''}}}
远程部署
stage('Deploy') {environment {DEPLOY_HOST = credentials('DEPLOY_HOST')DEPLOY_PORT = credentials('DEPLOY_PORT')}steps {withCredentials([sshUserPrivateKey(credentialsId: 'SSH_CREDENTIAL', keyFileVariable: 'SSH_KEY', usernameVariable: 'SSH_USERNAME'),]) {sh """mkdir -p ~/.ssh && chmod 700 ~/.sshecho 'StrictHostKeyChecking no' >> /etc/ssh/ssh_configcat ${SSH_KEY} > ~/.ssh/id_rsa && chmod 400 ~/.ssh/id_rsascp -P ${DEPLOY_PORT} bin/my-app ${SSH_USER}@${DEPLOY_HOST}:/data/my-appssh -p ${DEPLOY_PORT} ${SSH_USER}@${DEPLOY_HOST} \"nohup /data/my-app >> /data/my-app.log 2>&1 &\""""}}}
复制构建产物到部署服务器 在部署服务器上执行部署命令,比如 nohup /data/my-app >> /data/my-app.log 2>&1 &
其中简化了一些细节,比如在部署前,我们需要先备份数据。所以这里我们可以写一个复杂的部署脚本 deploy.sh 放在项目中,然后在 Jenkins Pipeline 中使用 scp 将部署脚本文件复制到部署服务器,假设放在 /data/deploy.sh,最后只需 ssh -p ${DEPLOY_PORT} {DEPLOY_HOST} /bin/bash /data/deploy.sh 即可。
完整的 Jenkins Pipeline
pipeline {agent {docker {image 'golang:1.15-alpine'args '-v /data/my-app-cache:/go/.cache'}}options {timeout(time: 20, unit: 'MINUTES')disableConcurrentBuilds()}stages {stage('Build') {steps {withCredentials(bindings: [usernamePassword(credentialsId: 'GITHUB_CREDENTIAL', usernameVariable: 'GITHUB_USER', passwordVariable: 'GITHUB_ACCESS_TOKEN')]) {sh '''git config --global url."https://${GITHUB_ACCESS_TOKEN}:x-oauth-basic@github.com/".insteadOf "https://github.com/"go mod tidygo build -o bin/my-app main.go'''}}}stage('Deploy') {environment {DEPLOY_HOST = credentials('DEPLOY_HOST')DEPLOY_PORT = credentials('DEPLOY_PORT')}steps {withCredentials([sshUserPrivateKey(credentialsId: 'SSH_CREDENTIAL', keyFileVariable: 'SSH_KEY', usernameVariable: 'SSH_USERNAME'),]) {sh """mkdir -p ~/.ssh && chmod 700 ~/.sshecho 'StrictHostKeyChecking no' >> /etc/ssh/ssh_configcat ${SSH_KEY} > ~/.ssh/id_rsa && chmod 400 ~/.ssh/id_rsascp -P ${DEPLOY_PORT} bin/my-app ${SSH_USER}@${DEPLOY_HOST}:/data/my-appssh -p ${DEPLOY_PORT} ${SSH_USER}@${DEPLOY_HOST} \"nohup /data/my-app >> /data/my-app.log 2>&1 &\""""}}}}}
- END -
推荐阅读 最新Kubernetes实战指南:从零到架构师的进阶之路 互联网公司招聘运维工程师【内推】,7月 从18年公司基础架构开始转向 Kubernetes 使用Go语言,25秒读取16GB文件 企业级日志平台新秀Graylog,比ELK轻量~ 下一代Docker镜像构建神器 BuildKit 面试数十家Linux运维工程师,总结了这些面试题(含答案) 七年老运维实战中的 Shell 开发经验总结 运维的工作边界,这次真的搞明白了! 搭建一套完整的企业级 K8s 集群(v1.20,二进制方式) 12年资深运维老司机的成长感悟
点亮,服务器三年不宕机
评论


