
VS code 插件配置手册

来源:OpenCV学堂
本文约4100字,建议阅读8分钟 本文为你介绍了常见的插件配置问题。
VS code 插件配置手册
安装
库文件的配置
GDB本地调试配置
GDB远程调试配置
安装
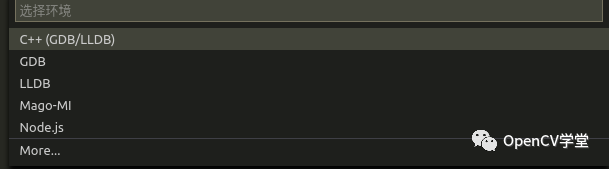
环境配置
在本地端的配置
在远程端的配置
工作流
安装
环境配置
工作流
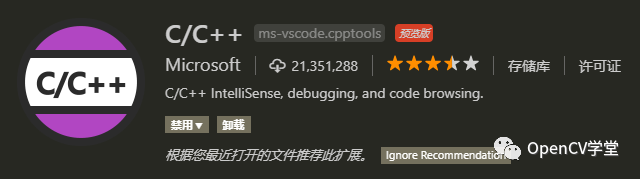
C/C++ Tools插件---C/C++支持
此扩展的预览版本为C / C ++添加了对Visual Studio Code的语言支持,包括:
语言服务:
代码格式(clang格式) 自动补全 符号搜索 签名帮助 快速信息 转到定义/声明 查看定义/声明 类/方法导航
支持调试Windows、Linux和macOS应用程序 断点 变量查看 逐行代码调试 支持多线程调试 支持核心转储调试
安装
库文件的配置
open settings json
选择Preferences:Opem Settings (JSON),打开settings.json文件

在settings.json文件中添加:
/*****C/C++ Tools*****/
"C_Cpp.autocomplete": "Default",
"[cpp]": {
    "editor.quickSuggestions": true
},
"[c]": {
    "editor.quickSuggestions": true
},
"C_Cpp.default.cStandard": "c11",
"C_Cpp.default.cppStandard": "c++11",
/*****C/C++ Tools*****/
按F1打开命令行,输入:
edit configuration json
选择C/C++:Edit configurations (JSON),打开c_cpp_properties.json文件

在settings.json文件中添加:
{
    "configurations": [
        {
            "name": "system",                //系统类型
            "includePath": [                //头文件目录,**表示匹配目录文件及子目录
                "${workspaceFolder}/**"
            ],
            "defines": [],
            "compilerPath": "path",            //编译器地址
            "intelliSenseMode": "mode"        //编译器类型
            "cStandard": "c11",
            "cppStandard": "c++11"
        }
    ],
    "version": 4
}
{
    "configurations": [
        {
            "name": "Win32",
            "includePath": [
                "${workspaceFolder}/**",
                "C:/opencv/build/include/opencv2/**"
            ],
            "defines": [
                "_DEBUG",
                "UNICODE",
                "_UNICODE"
            ],
            "intelliSenseMode": "msvc-x64",
            "cStandard": "c11",
            "cppStandard": "c++11"
        }
    ],
    "version": 4
}
{
    "configurations": [
        {
            "name": "Linux",
            "includePath": [
                "${workspaceFolder}/**"
            ],
            "defines": [],
            "compilerPath": "/usr/bin/gcc",
            "intelliSenseMode": "clang-x64",
            "cStandard": "c11",
            "cppStandard": "c++11"
        }
    ],
    "version": 4
}
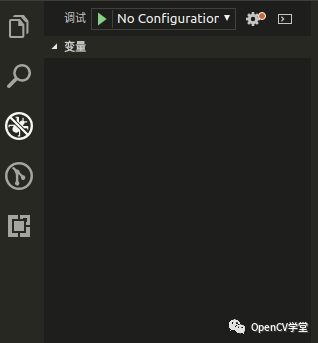
GDB本地调试配置
{
    // 使用 IntelliSense 了解相关属性。
    // 悬停以查看现有属性的描述。
    // 欲了解更多信息,请访问: https://go.microsoft.com/fwlink/?linkid=830387
    "version": "0.2.0",
    "configurations": [
        {
            "name": "(gdb) Launch",        // 配置名称,将会在启动配置的下拉菜单中显示
            "type": "cppdbg",            // 配置类型,不需修改
            "request": "launch",        // 请求配置类型,可以为launch(启动)或attach(附加)
            "program": "${workspaceFolder}/bin文件",    // 将要进行调试的程序的路径
            "args": [],                    // 程序调试时传递给程序的命令行参数,["arg1", "arg2].
            "stopAtEntry": false,        // 设为true时程序将暂停在程序入口处,一般设置为false
            "cwd": "${workspaceFolder}",        // 程序调试程序时要搜索的代码的目录
            "additionalSOLibSearchPath": "path" // 程序调试程序时要搜索的.so文件的目录(选填)
            "environment": [],            // 针对调试的程序,要添加到环境中的环境变量(选填)
            "externalConsole": true,    // 调试时是否显示控制台窗口,一般设置为true显示控制台
            "MIMode": "gdb",            // VSCode要使用的调试工具,必须设置为gdb或lldb
            "miDebuggerPath": "path",    // VSCode要使用的调试工具路径(需要绝对路径)
            "preLaunchTask": "g++",     // 调试开始前执行的任务,需要配置tasks.json文件(选填)
            "setupCommands": [
                {
                    "description": "Enable pretty-printing for gdb",
                    "text": "-enable-pretty-printing",
                    "ignoreFailures": true
                }
            ]
        }
    ]
}
{
    "version": "0.2.0",
    "configurations": [
        {
            "name": "(gdb) Launch",
            "type": "cppdbg",
            "request": "launch",
            "program":"${workspaceRoot}/bin/pthread.exe",
            "args": [],
            "stopAtEntry": false,
            "cwd": "${workspaceFolder}",
            "externalConsole": true,
            "MIMode": "gdb",
            "miDebuggerPath": "C:\\MinGw\\bin\\gdb.exe"
            "setupCommands": [
                {
                    "description": "Enable pretty-printing for gdb",
                    "text": "-enable-pretty-printing",
                    "ignoreFailures": true
                }
            ]
        }
    ]
}
{
    "version": "0.2.0",
    "configurations": [
        {
            "name": "(gdb local) L",
            "type": "cppdbg",
            "request": "launch",
            "program": "${workspaceFolder}/bin/pthread",
            "args": [],
            "stopAtEntry": false,
            "cwd": "${workspaceFolder}",
            "externalConsole": true,
            "MIMode": "gdb",
            "setupCommands": [
                {
                    "description": "Enable pretty-printing for gdb",
                    "text": "-enable-pretty-printing",
                    "ignoreFailures": true
                }
            ]
        }
    ]
}
打开侧栏的“调试”界面->点击“开始调试”按钮,开始调试

{
    // 使用 IntelliSense 了解相关属性。
    // 悬停以查看现有属性的描述。
    // 欲了解更多信息,请访问: https://go.microsoft.com/fwlink/?linkid=830387
    "version": "0.2.0",
    "configurations": [
        {
            "name": "(gdb) Launch",        // 配置名称,将会在启动配置的下拉菜单中显示
            "type": "cppdbg",            // 配置类型,不需修改
            "request": "launch",        // 请求配置类型,可以为launch(启动)或attach(附加)
            "program": "${workspaceFolder}/bin文件",    // 将要进行调试的程序的路径
            "args": [],                    // 程序调试时传递给程序的命令行参数,["arg1", "arg2].
            "stopAtEntry": false,        // 设为true时程序将暂停在程序入口处,一般设置为false
            "cwd": "${workspaceFolder}",        // 程序调试程序时的代码所在的目录
            "additionalSOLibSearchPath": "path",// 程序调试程序时要搜索的.so文件的目录(选填)
            "environment": [],            // 针对调试的程序,要添加到环境中的环境变量(选填)
            "externalConsole": true,    // 调试时是否显示控制台窗口,一般设置为true显示控制台
            "MIMode": "gdb",            // VSCode要使用的调试工具,必须设置为gdb或lldb
            "miDebuggerPath": "path",    // VSCode要使用的调试工具路径(需要绝对路径)
            /**********与本地调试不同的地方**********/
            "miDebuggerServerAddress": "addr:port",    // 要远程调试的地址,IP地址:端口号
            "debugServerArgs": "args",                // 调试器服务器的参数
            /**********与本地调试不同的地方**********/
            "preLaunchTask": "g++",     // 调试开始前执行的任务,需要配置tasks.json文件(选填)
            "setupCommands": [
                {
                    "description": "Enable pretty-printing for gdb",
                    "text": "-enable-pretty-printing",
                    "ignoreFailures": true
                }
            ]
        }
    ]
}
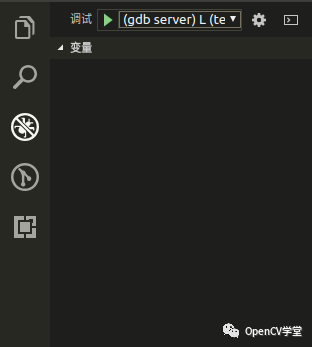
{
    "version": "0.2.0",
    "configurations": [
      {
            "name": "(gdb server) L",
            "type": "cppdbg",
            "request": "launch",
            "program": "${workspaceFolder}/bin/pthread",
            "args": [],
            "stopAtEntry": false,
            "cwd": "${workspaceFolder}",
            "externalConsole": true,
            "MIMode": "gdb",
           /**********与本地调试不同的地方**********/
            "miDebuggerServerAddress": "192.168.0.100:2333",
              "debugServerArgs": "",
           /**********与本地调试不同的地方**********/
            "setupCommands": [
                {
                    "description": "Enable pretty-printing for gdb",
                    "text": "-enable-pretty-printing",
                    "ignoreFailures": true
                }
            ]
        }
    ]
}
先远程端:
打开一个新终端,运行gdbserver打开要调试的程序:
gdbserver localhost:port bin文件路径(与launch.json文件配置路径相同)
gdbserver localhost:2333 ./bin/pthread
若想关闭gdbserver,需要在远程打开新终端,输入:
killall gdbserver
打开侧栏的“调试”界面->点击“开始调试”按钮,开始调试
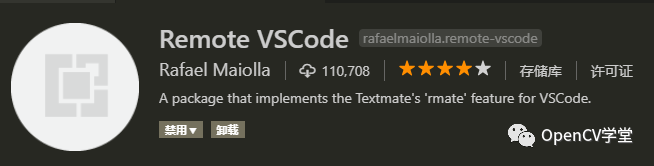
Remote VSCode插件---远程编辑文件
安装
在本地端的配置
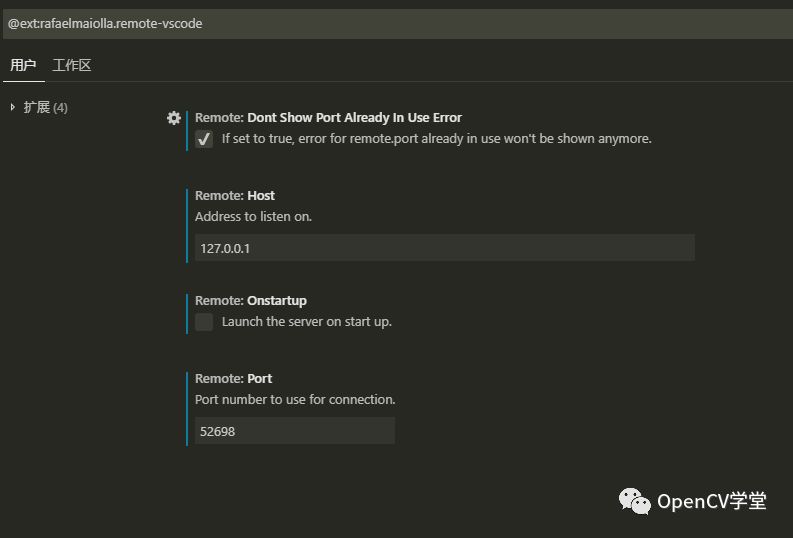
open settings json
/*****Remote VSCode*****/
"remote.host": "127.0.0.1",
"remote.port": 52698,
"remote.onstartup": false,
"remote.dontShowPortAlreadyInUseError": false,
/*****Remote VSCode*****/
在远程端的配置
wget https://raw.githubusercontent.com/sclukey/rmate-python/master/bin/rmate

chmod +x ./rmate

mv ./rmate /usr/local/bin/rmate
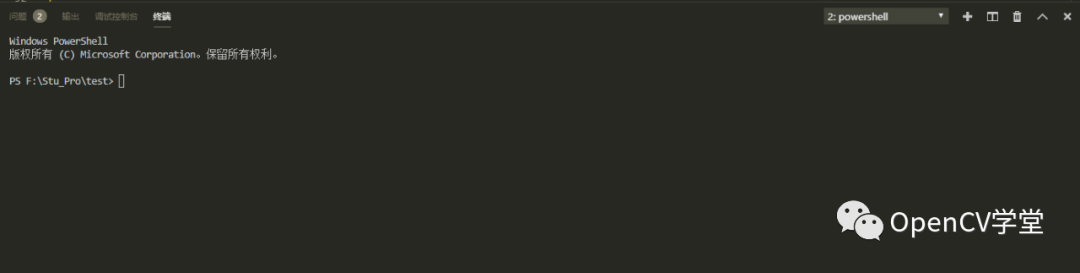
工作流
remote:start server
选择Remote:Start Server,开启插件

remote:stop server :关闭插件
ssh -R 52698:127.0.0.1:52698 远端用户名@远端地址
ssh -R 52698:127.0.0.1:52698 linux@192.168.0.111
rmate -p 52698 打开要编辑的文件
如:
rmate -p 52698 ./main.cpp
Ftp Sync插件--—远程代码的同步
安装
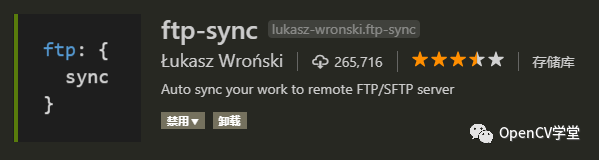
ftp-sync
选择Ftp-sync: Init ,新建并打开ftp-sync.json文件,初始化配置

{
    "remotePath": "path",        //要传输的文件的远端站点的目录
    "host": "host",                //远端地址
    "username": "username",        //远端用户名
    "password": "password",        //远端密码
    "protocol": "sftp",         //sftp协议,默认值为ftp协议
    "port": 22,                 //ftp默认端口是21,sftp的默认端口是22
    "uploadOnSave": false,        //是否应该自动保存上传文件,默认值为false
    "secure": false,            //安全设置,默认值为false
    "ignore": [                    //忽略上传路径
        "\\.vscode",
        "\\.git",
        "\\.DS_Store"
    ],
    "passive": false,
    "debug": false,
    "privateKeyPath": null,
    "passphrase": null,
    "agent": null,
    "allow": [],
    "generatedFiles": {
        "extensionsToInclude": [
            ""
        ],
        "path": ""
    }
}
如:
{
    "remotePath": "/home/linux/pro/",
    "host": "192.168.0.111",
    "username": "linux",
    "password": "123456",
    "protocol": "sftp",
    "port": 22,
    "uploadOnSave": false,
    "secure": false,
    "ignore": [
        "\\.vscode",
        "\\.git",
        "\\.DS_Store"
    ],
    "passive": false,
    "debug": false,
    "privateKeyPath": null,
    "passphrase": null,
    "agent": null,
    "allow": [],
    "generatedFiles": {
        "extensionsToInclude": [
            ""
        ],
        "path": ""
    }
}
工作流
编辑:王菁
校对:林亦霖
评论