Python 轻松爬取上千张小姐姐图片,并用Web页面呈现!
↑ 关注 + 星标 ,每天学Python新技能
后台回复【大礼包】送你Python自学大礼包
废话不多说,咱们直接上最终的效果图:
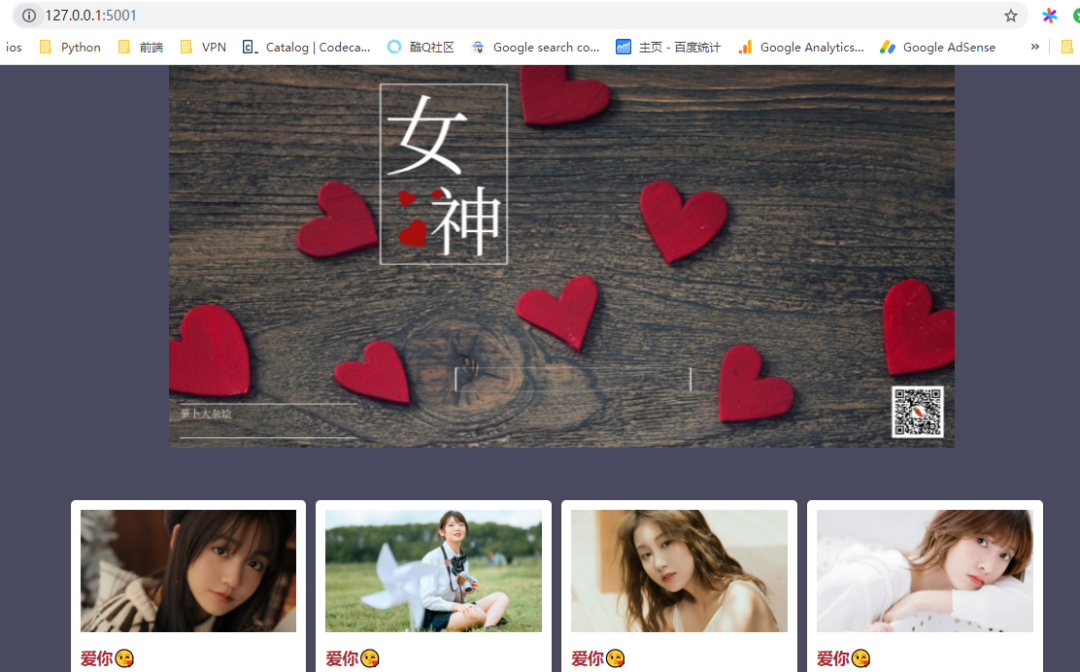

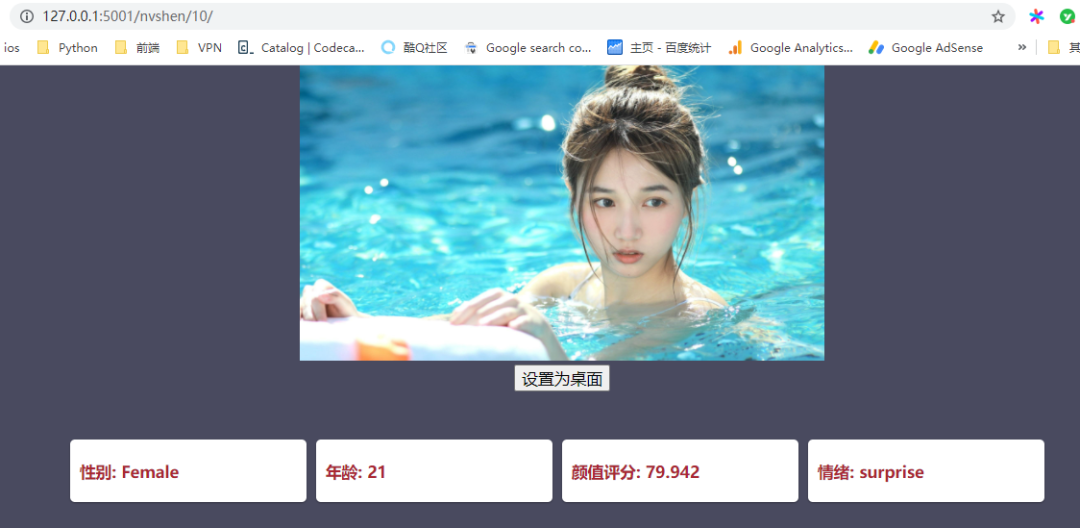
我们获取图片的目标地址是 360 壁纸库,网上有大神已经做过一波分析了,我们直接拿来使用
https://mkblog.cn/581/
美图获取
我们首先获取壁纸分类信息
先使用 postman 调用,查看响应数据情况
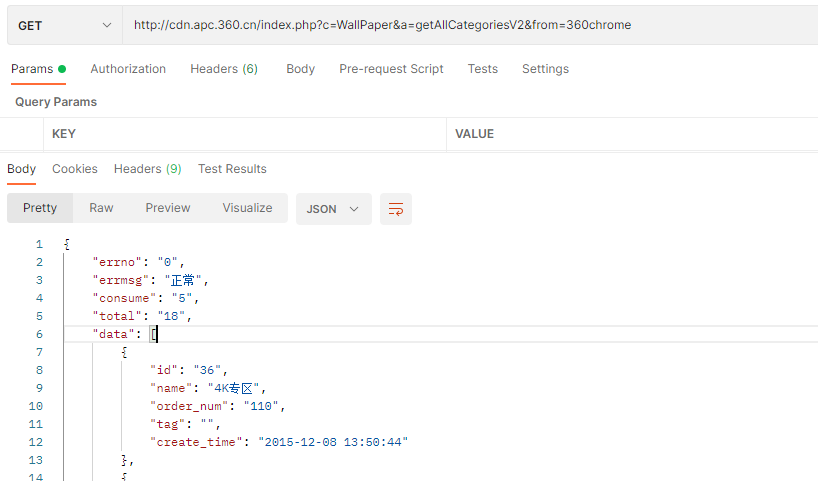
使用代码保存分类信息
import requests
import json
import time

category = requests.get("http://cdn.apc.360.cn/index.php?c=WallPaper&a=getAllCategoriesV2&from=360chrome")
category_list = category.json()['data']
# 保存category到json文件
category_list
with open("categoty.json",'w', encoding='utf-8') as file_obj:
    json.dump(category_list, file_obj, ensure_ascii=False, indent=4)
接下来再看下具体的获取图片的接口情况
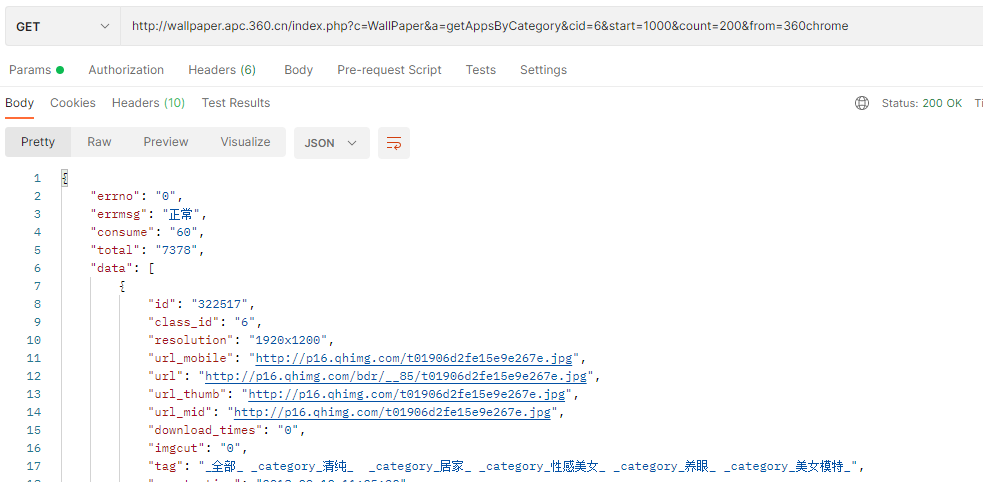
同样可以根据响应信息,来编写解析代码
def get_pic(categoty, count):
    for i in range(1, 100):
        pic_list = []
        pic_url = "http://wallpaper.apc.360.cn/index.php?c=WallPaper&a=getAppsByCategory&cid=%s&start=%s&count=%s&from=360chrome" % (categoty, str(i), count)
        pic = requests.get(pic_url)
        pic_data = pic.json()["data"]
        if pic_data:
            tmp = deal_pic_data(pic_data)
        else:
            break
        time.sleep(5)
其中在函数 deal_pic_data 当中,我们调用了两个子函数,分别用来下载图片和 tag 信息
def download_img(img_url, name):
    print (img_url)
    r = requests.get(img_url, stream=True)
    print(r.status_code) # 返回状态码
    if r.status_code == 200:
        open("pic\\" + name + '_img.png', 'wb').write(r.content) # 将内容写入图片
        print("done")
    del r


def save_tag(tag, name):
    print(tag)
    with open("tag\\" + name + ".txt", "w") as f:
        f.write(tag)
下图即为爬取过程
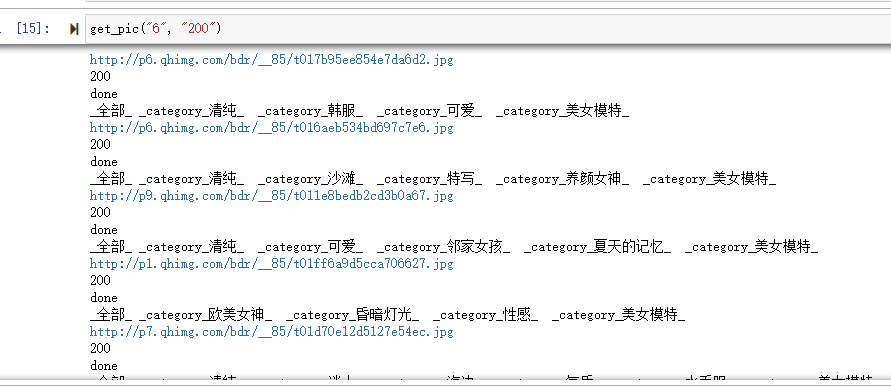
最终我们在本地就成功保存了上千张小姐姐照片

你以为这样就结束了吗,当然没有
制作网站
毕竟这么多的小姐姐,都在文件夹里是多么的不方便查看呀,我们做成 web 浏览起来是真的香!
我们先编写 index 页面的视图函数
@app.route('/', methods=['GET', 'POST'])
def index():
    pic_path = basedir + "\static\img\pic"
    pic_list = os.listdir(pic_path)
    seg = int(len(pic_list)/4)
    data = []
    socre = 5
    for n in pic_list[:seg]:
        tmp_data = []
        pic_url = random.choice(pic_list)
        tmp_data.append(r"\static\img\pic\\" + pic_url)
        tmp_data.append(pic_list.index(n))
        data.append(tmp_data)
    return render_template('index.html', data=data, score=socre)
我们从本地文件夹中拿到小姐姐图片,然后组装成需要的数据格式,传递给前端
对于 index.html 代码
<section id="gallery-wrapper">
        {% for p in data %}
            <article class="white-panel">
            <img class="thumb" data-original="{{ p[0] }}">
                <h1><a href="{{ url_for('nvshen', id=p[1]) }}" title="去设置" target="_blank">喜欢😘</a>
                </h1>

        </article>
        {% endfor %}

    </section>
在拿到后端传递的数据后,依次展示在 section 标签中
接下来是详情页面
@app.route('/nvshen/<id>/', methods=['GET', 'POST'])
def nvshen(id):
    pic_path = basedir + "\static\img\pic"
    pic_list = os.listdir(pic_path)
    pic_url = r"\static\img\pic\\" + pic_list[int(id)]
    data = []
    score_pic_path = r"static\img\pic\\" + pic_list[int(id)]
    gender, age, female_score, male_score, emotion_data = fire_score(score_pic_path)
    data.append('性别: %s' % gender)
    data.append('年龄: %s' % age)
    data.append('颜值评分: %s' % female_score)
    data.append('情绪: %s' % emotion_data)
    return render_template('nvshen.html', nvshenid=id, main_url=pic_url, data_list=data, user_score=5)
我这里调用了旷视 Face++ 的人脸识别接口,自动返回不同小姐姐的颜值信息
再来看看前端的 HTML 代码
<div align="center">
    <section style="width: 100%">
        <img src="{{ main_url }}" width="40%" height="20%">
        <div id="starBg1" class="">
            <input type="button" name="设置为桌面" value="设置为桌面" onclick="setWallpaper('{{ main_url }}')" id="btn">
        </div>
    </section>
</div>

<section id="gallery-wrapper">
    {% for d in data_list %}
    <article class="white-panel">
        <h1><a href="#">{{ d }}</a>
        </h1>
    </article>
    {% endfor %}

</section>
分别展示设置桌面按钮和颜值信息卡片
最后我们再来看看如何设置桌面壁纸
可以看到在上面的代码中,调用了一个 setWallpaper 函数
<script>
    function setWallpaper(pic) {
        var filename;
        if (pic.indexOf("\\") > 0)//如果包含有"/"号 从最后一个"/"号+1的位置开始截取字符串
        {
            filename = pic.substring(pic.lastIndexOf("\\") + 1, pic.length);
        }
        else {
            filename = pic;
        }
        var xhr = new XMLHttpRequest();
        xhr.responseType = "json";
        xhr.open('GET', '/setwallpaper/' + filename, true);
        xhr.setRequestHeader("Content-Type", "application/x-www-form-urlencoded");
        xhr.onload = function (ev) {
            if (this.status === 200) {
                if (this.response['end'] === true) {
                    flag = false;
                }
                var mydata = this.response['msg'];
                //console.log(mydata[1][2]);
            } else if (this.status === 422) {
                console.log("Set Wallpaper error");
            }
        };
        xhr.send();
    }
</script>
我们这里调用了后端的 setwallpaper 接口
@app.route("/setwallpaper/<pic>")
def setWallpaperView(pic):
    try:
        pic_path = basedir + "\static\img\pic\\" + pic
        result = setWallpaper(pic_path)
        return jsonify({"msg": "OK"}), 200
    except Exception as e:
        return jsonify({"msg": "ERROR"}), 422


import win32api
import win32gui
import win32con

def setWallpaper(imagepath):
    k = win32api.RegOpenKeyEx(win32con.HKEY_CURRENT_USER,"Control Panel\\Desktop",0,win32con.KEY_SET_VALUE)
    win32api.RegSetValueEx(k, "WallpaperStyle", 0, win32con.REG_SZ, "2") # 2拉伸,0居中,6适应,10填充,0平铺
    win32api.RegSetValueEx(k, "TileWallpaper", 0, win32con.REG_SZ, "0")  # 1表示平铺,拉伸居中等都是0
    win32gui.SystemParametersInfo(win32con.SPI_SETDESKWALLPAPER,imagepath, 1+2)
    return "Set OK"
通过后端代码,来进行桌面壁纸的设置,设置壁纸采用的是直接通过 win32gui 改写注册表信息。
整体代码下来,我们主要用到了 Python 爬虫简单技术,Flask 的简单应用以及部分 HTML&JavaScript 技术,技术栈还是比较简单的,喜欢的小伙伴一起来实现下吧。
推荐阅读
评论
