
SpringBoot+Vue项目实战之前后端分离开发登录页面
场景:公司要开发一个新的项目,但是我们的前端就一个,还要忙着维护处理其他的项目,但是后端人员比较多,所以就要求后台管理系统的页面由后端人员开发,实在不会的找前端协助,这就没办法了,只能自己上了!
题外话:上次写了vue的搭建,这次记录下页面开发,前后端是怎么样分离开发的,给自己的目标是先写一个登录页面内,后台判断账户名密码,验证通过后返回code码,前端跳转到下一个页面即OK!
Login.vue
首先我们开发登录页面组件,右键 src\components 文件夹,New -> Vue Component,命名为 Login,如果没有 Vue Component 这个选项,可以选择新建一个 File,命名为 Login.vue 即可。代码如下:

<template>
    <div>
        用户名:<input type="text" v-model="loginForm.username" placeholder="请输入用户名"/>
        <br><br>
        密码:<input type="password" v-model="loginForm.password" placeholder="请输入密码"/>
        <br><br>
        <button v-on:click="login">登录</button>
    </div>
</template>

<script>
    export default {
        name: "Login",
        data () {
            return {
                loginForm:{
                  username:'',
                  password:''
                },
                responseResult:[]
            }
        },
        methods:{
            login() {
                this.$axios
                    .post('/login', {
                        username: this.loginForm.username,
                        password: this.loginForm.password
                    })
                    .then(successRespones =>{
                        if (successRespones.data.code === 200) {
                            this.$router.replace({path: '/home'})
                        }
                    })
                    // eslint-disable-next-line no-unused-vars
                .catch(failResponse => {
                })
            }
        }
    }
</script>

<style scoped>

</style>
Home.vue
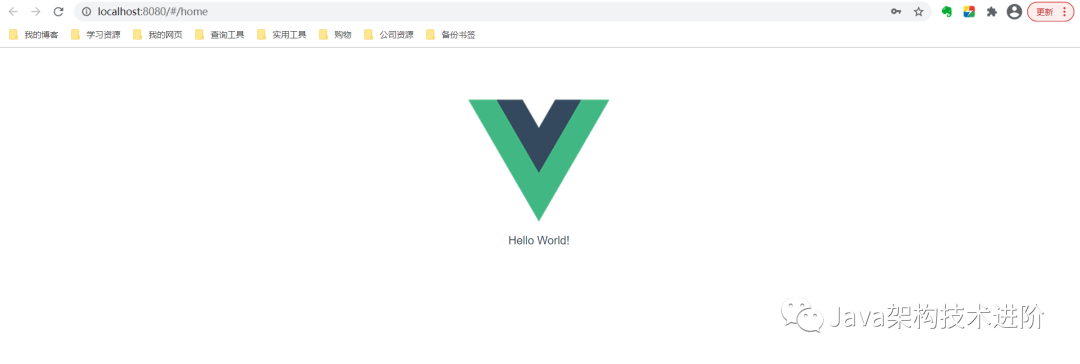
右键 src\components 文件夹,新建一个 directory,命名为 home,再在 home 下新建一个Home.vue ,即首页组件,这里暂时不做过多开发,先随便写个 Hello World。
<template>
    <div>
        Hello World!
    </div>
</template>

<script>
    export default {
        name: "Home"
    }
</script>

<style scoped>

</style>
设置反向代理
import Vue from 'vue'
import App from './App.vue'
import router from './router'

// 设置反向代理,前端请求默认发送到 http://localhost:8443/api
var axios = require('axios')
axios.defaults.baseURL = 'http://localhost:18181/api'
// 全局注册,之后可在其他组件中通过 this.$axios 发送数据
Vue.prototype.$axios = axios
Vue.config.productionTip = false

new Vue({
  router,
  render: h => h(App),
}).$mount('#app')
因为使用了新的模块 axios,所以需要进入到项目文件夹中,执行 npm install --save axios,以安装这个模块。

配置页面路由
修改src/router/index.js
import Vue from 'vue'
import Router from 'vue-router'
// 导入刚才编写的组件
import Home from '@/components/home/Home'
import Login from '@/components/Login'

Vue.use(Router)

export default new Router({
    routes: [
        {
            path: '/',
            redirect: '/login'
        },
        // 下面都是固定的写法
        {
            path: '/login',
            name: 'Login',
            component: Login
        },
        {
            path: '/home',
            name: 'Home',
            component: Home
        }
    ]
})
重新注册路由,修改App.vue
<template>
  <div id="app">
    <img alt="Vue logo" src="./assets/logo.png">
    <router-view/>
  </div>
</template>

<script>

export default {
  name: 'App'
}
</script>

<style>
#app {
  font-family: Avenir, Helvetica, Arial, sans-serif;
  -webkit-font-smoothing: antialiased;
  -moz-osx-font-smoothing: grayscale;
  text-align: center;
  color: #2c3e50;
  margin-top: 60px;
}
</style>
启动项目

前端页面已经写出来了,后台写个接口。
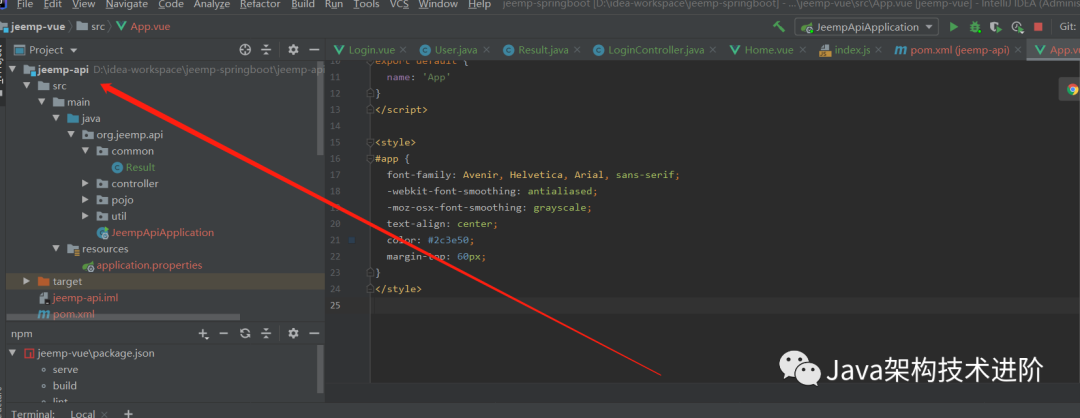
创建后台项目并提供接口
springboot创建项目这里不再说了,实在搞不了的可以私聊我,下面直接贴代码
实体类
package org.jeemp.api.pojo;

import lombok.Data;

/**
 * @author JackRen
 * @date 2021-03-07 11:46
 * @description:
 */
@Data
public class User {

    int id;
    String username;
    String password;

}
自定义返回类
package org.jeemp.api.common;

import lombok.Data;

/**
 * @author JackRen
 * @date 2021-03-07 11:47
 * @description:
 */
@Data
public class Result {

    //响应码
    private int code;

    public Result(int code) {
        this.code = code;
    }

}
接口
package org.jeemp.api.controller;

import org.jeemp.api.common.Result;
import org.jeemp.api.pojo.User;
import org.springframework.stereotype.Controller;
import org.springframework.web.bind.annotation.CrossOrigin;
import org.springframework.web.bind.annotation.PostMapping;
import org.springframework.web.bind.annotation.RequestBody;
import org.springframework.web.bind.annotation.ResponseBody;
import org.springframework.web.util.HtmlUtils;

import java.util.Objects;

/**
 * @author JackRen
 * @date 2021-03-07 11:48
 * @description:
 */
@Controller
public class LoginController {

    @CrossOrigin
    @PostMapping(value = "api/login")
    @ResponseBody
    public Result login(@RequestBody User requestUser) {
        // 对 html 标签进行转义,防止 XSS 攻击
        String username = requestUser.getUsername();
        username = HtmlUtils.htmlEscape(username);

        if (!Objects.equals("admin", username) || !Objects.equals("111111", requestUser.getPassword())) {
            String message = "账号密码错误";
            return new Result(400);
        } else {
            return new Result(200);
        }
    }

}
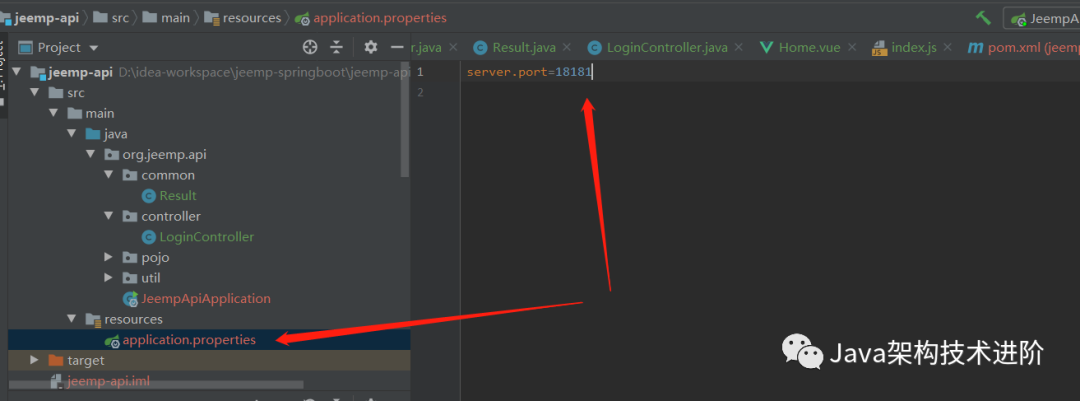
配置信息,修改端口
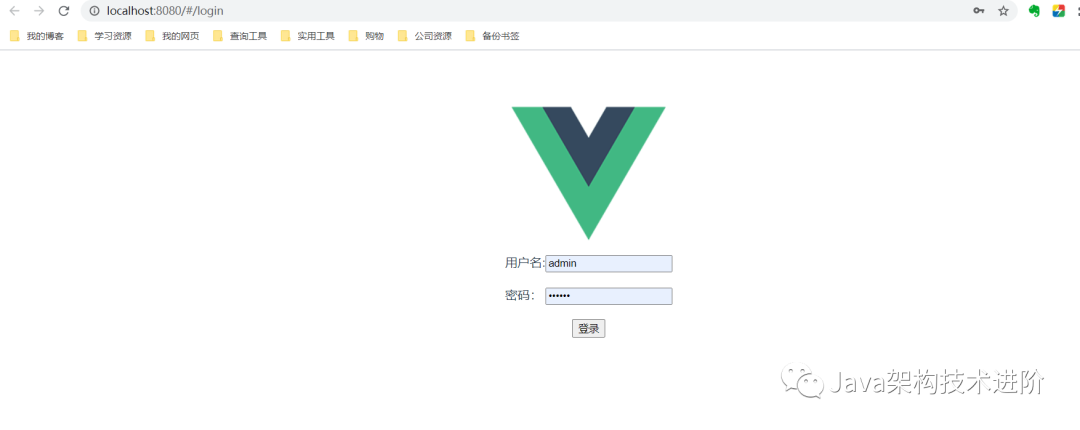
整体测试
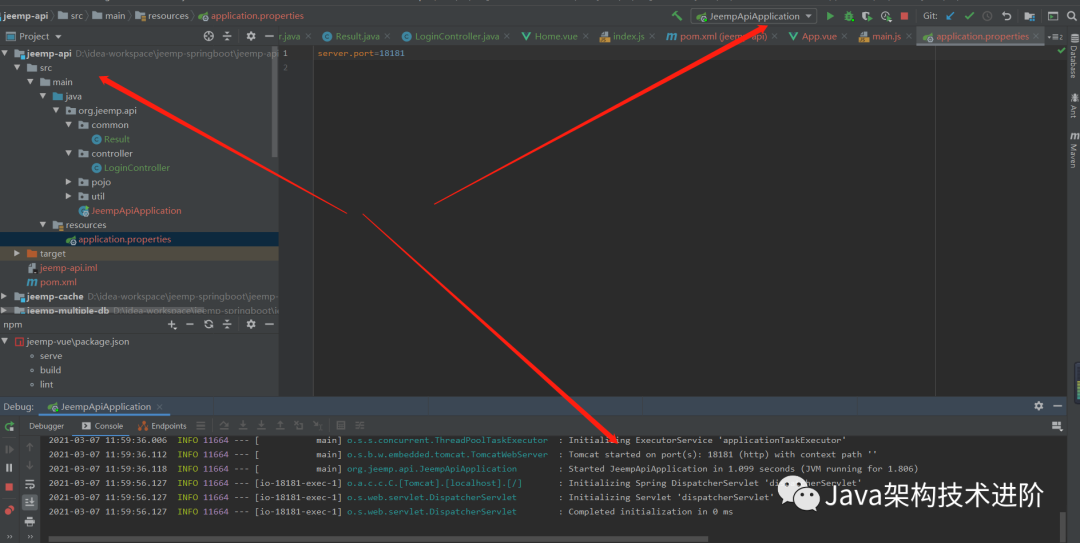
启动后台项目
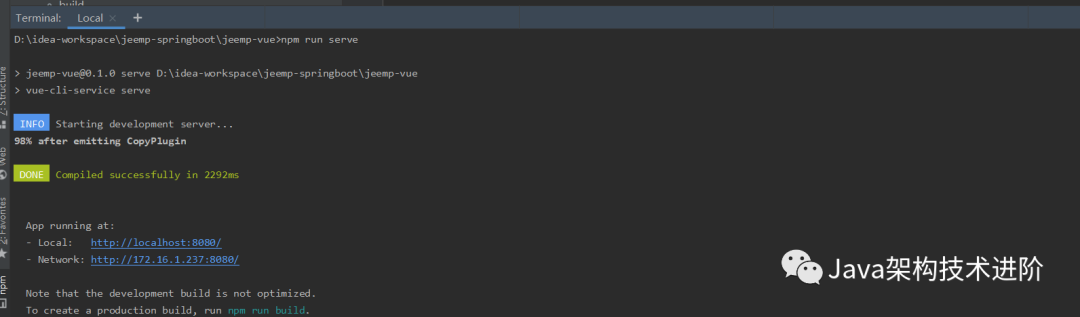
启动前端项目
登录账户admin 密码111111
号外:因公司需要开始学习前端基础,写的不对的地方欢迎指正!
评论