真是没想到,Springboot + Flowable 开发工作流会这么简单!
“程序员是块砖,哪里需要哪里搬。
”
公司内部的OA系统最近要升级改造,由于人手不够就把我借调过去了,但说真的我还没做过这方面的功能,第一次接触工作流的开发,还是有点好奇是个怎样的流程。
项目主要用 Springboot + Flowable 重构原有的工作流程,Flowable 是个用 Java语言写的轻量级工作流引擎,上手比较简单开发效率也挺高的,一起学习下这个框架。
官方地址:https://www.flowable.org/docs/userguide/index.html,分享的只是简单应用,深入研究还得看官方文档。
Flowable 核心依赖
<dependency>
 <groupId>org.flowablegroupId>
 <artifactId>flowable-spring-boot-starterartifactId>
 <version>6.3.0version>
dependency>
<dependency>
 <groupId>org.springframework.bootgroupId>
 <artifactId>spring-boot-starter-jdbcartifactId>
dependency>
<dependency>
 <groupId>org.springframework.bootgroupId>
 <artifactId>spring-boot-starter-webartifactId>
dependency>
<dependency>
 <groupId>org.mybatis.spring.bootgroupId>
 <artifactId>mybatis-spring-boot-starterartifactId>
 <version>1.3.2version>
dependency>
<dependency>
 <groupId>mysqlgroupId>
 <artifactId>mysql-connector-javaartifactId>
 <scope>runtimescope>
dependency>
流程设计
工作流开发的核心是任务流程的设计,Flowable 官方建议采用业界标准BPMN2.0的 XML来描述需要定义的工作流。
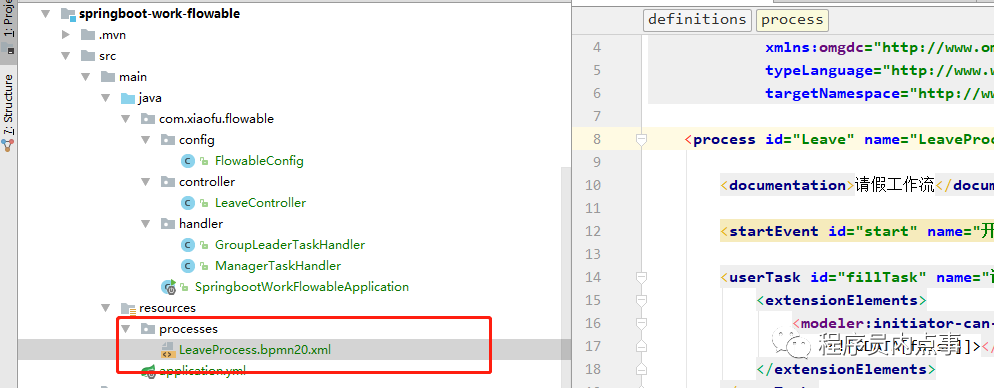
我们需要在 resource 目录下创建 processes路径,存放相关的 XML流程配置文件。Flowable 框架会默认加载此目录下的工作流文件并解析 XML,并将解析后的流程配置信息持久化到数据库。
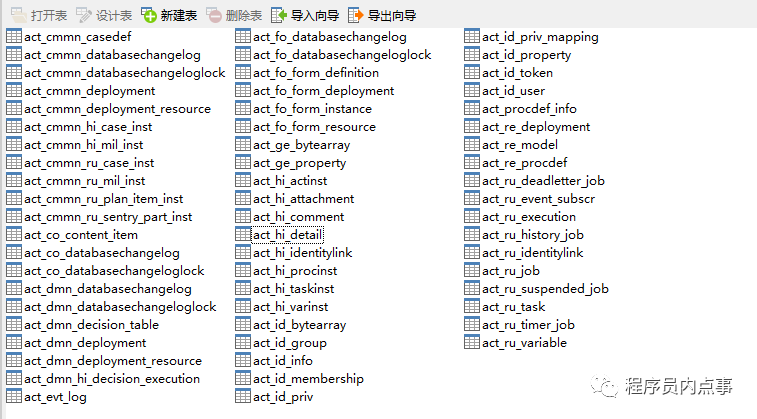
Flowable 是依赖于数据库的,但它并不需要我们手动的创建表,而是在程序第一次启动时,自动的向MySQL 中创建它所需要的一系列表。
spring:
  datasource:
    url: jdbc:mysql://47.93.6.5:3306/order?serverTimezone=UTC
    username: root
    password: 123455
看到项目启动成功一共生成了60个表,数量还是比较多的,建议使用专门的数据库存在这些工作流表。
举个栗子:假如一个请假流程,需要经理审核通过,请假才能生效,如果他驳回流程结束。
接下来我们用 XML 翻译下上边的请假流程图,整体非常简单只要够细心就行了,一起看看每个标签都是什么含义。
"1.0" encoding="UTF-8"?>
"http://www.omg.org/spec/BPMN/20100524/MODEL" xmlns:xsi="http://www.w3.org/2001/XMLSchema-instance"
             xmlns:flowable="http://flowable.org/bpmn" xmlns:bpmndi="http://www.omg.org/spec/BPMN/20100524/DI"
             xmlns:omgdc="http://www.omg.org/spec/DD/20100524/DC" xmlns:omgdi="http://www.omg.org/spec/DD/20100524/DI"
             typeLanguage="http://www.w3.org/2001/XMLSchema" expressionLanguage="http://www.w3.org/1999/XPath"
             targetNamespace="http://www.flowable.org/processdef">
    "Leave" name="LeaveProcess" isExecutable="true">
        "leaveTask" name="请假" flowable:assignee="${leaveTask}"/>
        "managerTask" name="经理审核"/>
        "managerJudgeTask"/>
        "endLeave" name="结束"/>
        "startLeave" name="开始"/>
        "modeFlow" sourceRef="leaveTask" targetRef="managerTask"/>
        "flowStart" sourceRef="startLeave" targetRef="leaveTask"/>
        "jugdeFlow" sourceRef="managerTask" targetRef="managerJudgeTask"/>
        "endLeave2"/>
        "flowEnd" name="通过" sourceRef="managerJudgeTask" targetRef="endLeave">
            "tFormalExpression">
                '通过'}]]>


        "rejectFlow" name="驳回" sourceRef="managerJudgeTask"
                      targetRef="endLeave2">
            "tFormalExpression">
                '驳回'}]]>


    "BPMNDiagram_process">
        "Leave" id="BPMNPlane_process">
            "leaveTask" id="BPMNShape_leaveTask">
                "79.99999999999999" width="100.0" x="304.60807973558974" y="122.00000000000001"/>

            "managerTask" id="BPMNShape_managerTask">
                "80.0" width="100.0" x="465.0" y="122.0"/>

            "managerJudgeTask" id="BPMNShape_managerJudgeTask">
                "40.0" width="40.0" x="611.5" y="142.0"/>

            "endLeave" id="BPMNShape_endLeave">
                "28.0" width="28.0" x="696.5" y="148.0"/>

            "startLeave" id="BPMNShape_startLeave">
                "30.0" width="30.0" x="213.2256558149128" y="147.0"/>

            "endLeave2"
                              id="BPMNShape_endLeave2">
                "28.0" width="28.0" x="617.5" y="73.32098285753572"/>

            "flowEnd" id="BPMNEdge_flowEnd">
                "651.1217948717949" y="162.37820512820514"/>
                "696.5002839785394" y="162.0891701657418"/>

            "rejectFlow" id="BPMNEdge_rejectFlow">
                "631.866093577786" y="142.36609357778607" />
                "631.5931090276993" y="101.32067323657485" />

            "modeFlow" id="BPMNEdge_modeFlow">
                "404.60807973558974" y="162.0" />
                "465.0" y="162.0" />

            "flowStart" id="BPMNEdge_flowStart">
                "243.2256558149128" y="162.0" />
                "304.60807973558974" y="162.0" />

            "jugdeFlow" id="BPMNEdge_jugdeFlow">
                "565.0" y="162.21367521367523" />
                "611.9141630901288" y="162.41416309012877" />
其实就是把流程图的各种线条逻辑,用不同的XML标签描绘出来了。
sourceRef 属性表示线的起始节点,targetRef 属性表示线指向的节点。
上边这一大坨XML是不是看着超级麻烦,要是有自动生成工具就好了,我发现IDEA自带设计工具,但实在是太难用了。
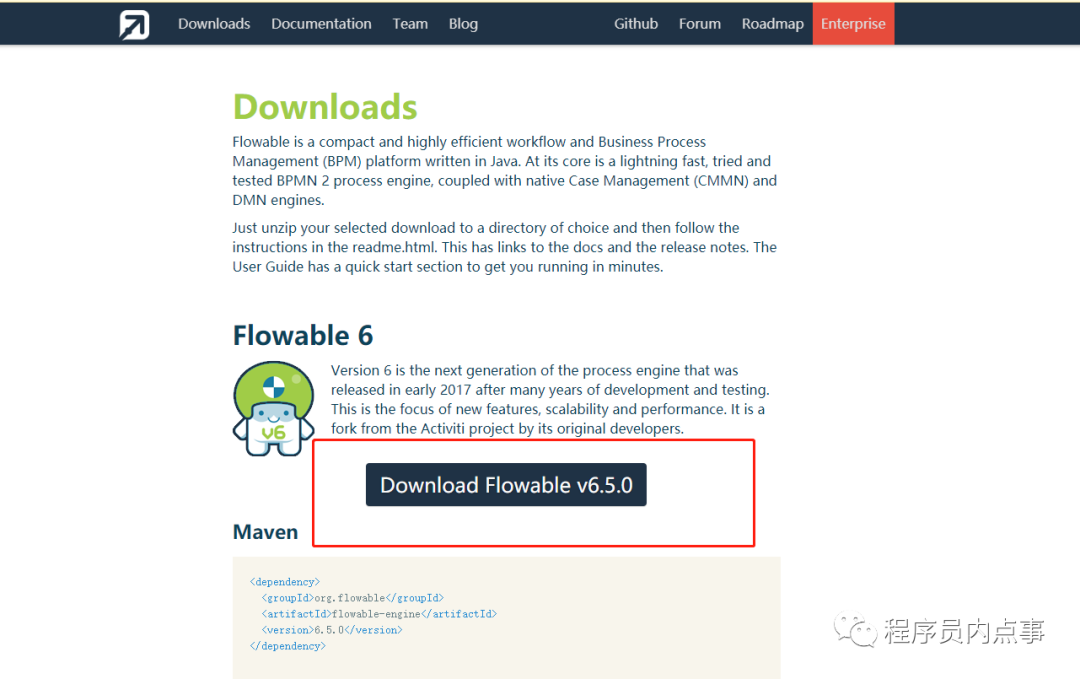
作为一个面向百度编程的程序员,别的不行上网找答案的能力还是可以的,既然我都觉得写XML麻烦,那么想来官方肯定也想到了,说不定有现成的工具,逛了一圈官网https://www.flowable.org/downloads.html ,居然真的找到了。
github下载地址:https://github.com/flowable/flowable-engine/releases/download/flowable-6.4.0/flowable-6.4.0.zip,下载速度那是相当感人,而且这个工具需要自己安装.......
 又找了个在线编辑的工具:http://www.learun.cn:8090/home_online.htm,各种折腾~,设计完流程后,直接复制自动生成的代码即可。
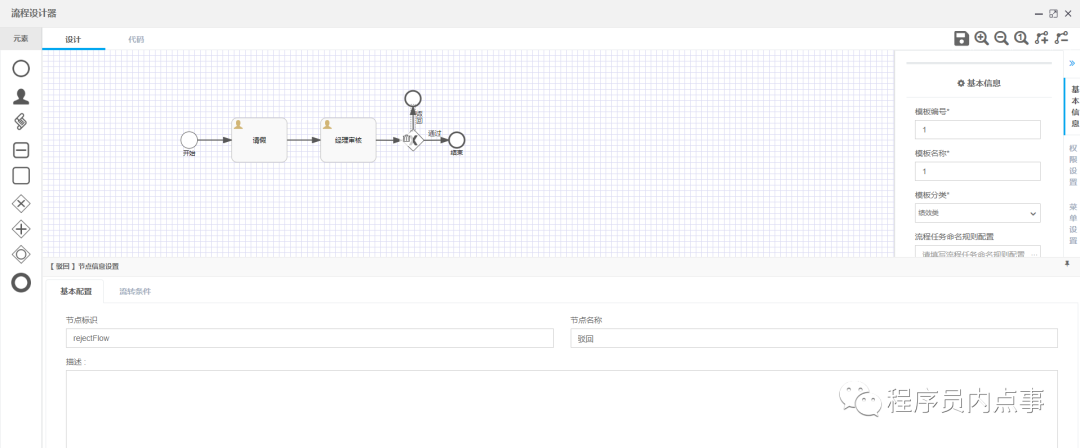
流程审批
流程设计完后剩下的就是对工作流的审批和生成流程图。
首先启动一个请假的流程,以员工ID staffId 作为唯一标识,XML文件中会接收变量 leaveTask,Flowable内部会进行数据库持久化,并返回一个流程Id processId ,用它可以查询工作流的整体情况,任务Id task为员工具体的请假任务。
注意:一个请假流程 processId中可以包含多个请假任务 taskId。
/**
     * @author xiaofu
     * @description 启动流程
     * @date 2020/8/26 17:36
     */
    @RequestMapping(value = "startLeaveProcess")
    @ResponseBody
    public String startLeaveProcess(String staffId) {
        HashMap<String, Object> map = new HashMap<>();
        map.put("leaveTask", staffId);
        ProcessInstance processInstance = runtimeService.startProcessInstanceByKey("Leave", map);
        StringBuilder sb = new StringBuilder();
        sb.append("创建请假流程 processId:" + processInstance.getId());
        List tasks = taskService.createTaskQuery().taskAssignee(staffId).orderByTaskCreateTime().desc().list();
        for (Task task : tasks) {
            sb.append("任务taskId:" + task.getId());
        }
        return sb.toString();
    }
用启动流程时返回的 processId 看一下一下当前的流程图
http://localhost:4000/leave/createProcessDiagramPic?processId=37513
接下来将请假申请进行驳回 ,传入相应的 taskId 后执行驳回,再看看整个工作流的效果。
http://localhost:4000/leave/rejectTask?taskId=10086
 /**
     * @param taskId
     * @author xinzhifu
     * @description 驳回
     * @date 2020/8/27 14:30
     */
    @ResponseBody
    @RequestMapping(value = "rejectTask")
    public String rejectTask(String taskId) {
        HashMap<String, Object> map = new HashMap<>();
        map.put("checkResult", "驳回");
        taskService.complete(taskId, map);
        return "申请审核驳回~";
    }
看到整个请假流程在经理审核这成功阻断了。
http://localhost:4000/leave/createProcessDiagramPic?processId=37513
总结
开发工作流一般多用在OA系统等传统项目中,我也是第一次尝试做此类功能,收获还是蛮多的,技术栈又压进了一个知识点。今天分享的是个超级简单的demo,因为也是刚开始接触,等我用的贼溜的时候,再给小伙伴们做更成熟更深入的分享。
demo的github 地址:https://github.com/chengxy-nds/Springboot-Notebook/tree/master/springboot-work-flowable

原创不易,燃烧秀发输出内容,如果有一丢丢收获,点个赞鼓励一下吧!
整理了几百本各类技术电子书,送给小伙伴们。关注公号回复【666】自行领取。和一些小伙伴们建了一个技术交流群,一起探讨技术、分享技术资料,旨在共同学习进步,如果感兴趣就加入我们吧!

