Flutter 黏贴卡动画效果

老孟导读:这是我前段时候发现的一篇文章,动画效果相当酷炫。
原文地址:https://medium.com/flutterdevs/slimycard-animated-in-flutter-700f92b8f382
设计非常出色的动画会使UI感觉更直觉,应用程序具有光滑的外观和感觉,改善用户体验。Flutter的动画支持使实现各种动画类型变得容易。许多小部件,特别是“Material”小部件,都伴随着其设计规范中所描述的标准运动效果,但是与此同时,也可以自定义这些效果。
在这个博客,我们将探讨 SlimyCard动画。我们将看到如何在flutter应用程序中实现使用slimy_card包制作动画的粘纸卡。
pub 地址:https://pub.dev/packages/slimy_card
SlimyCard:
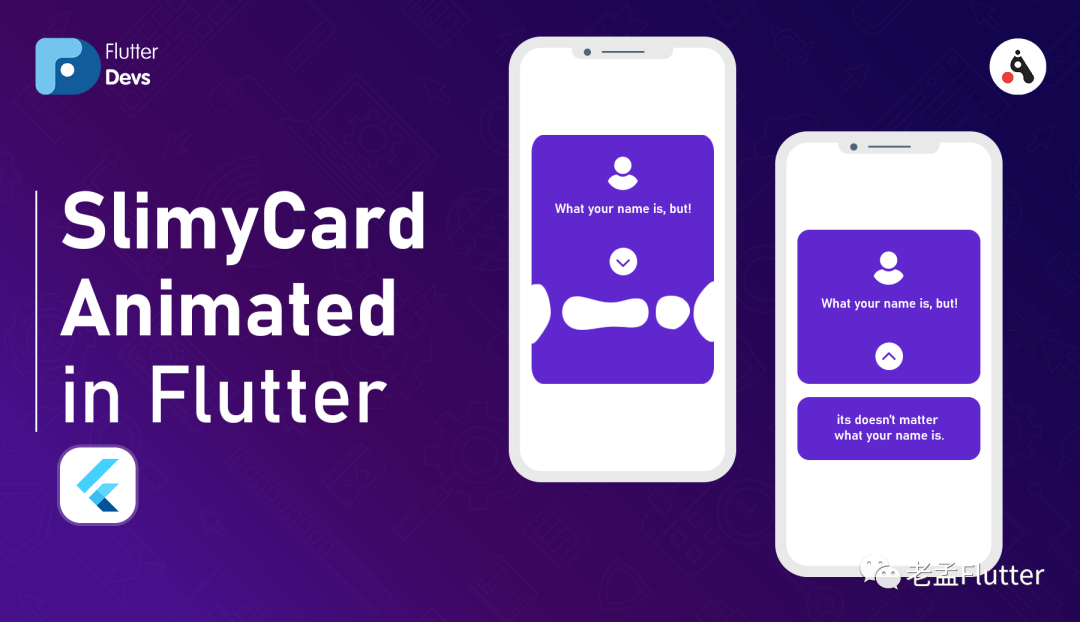
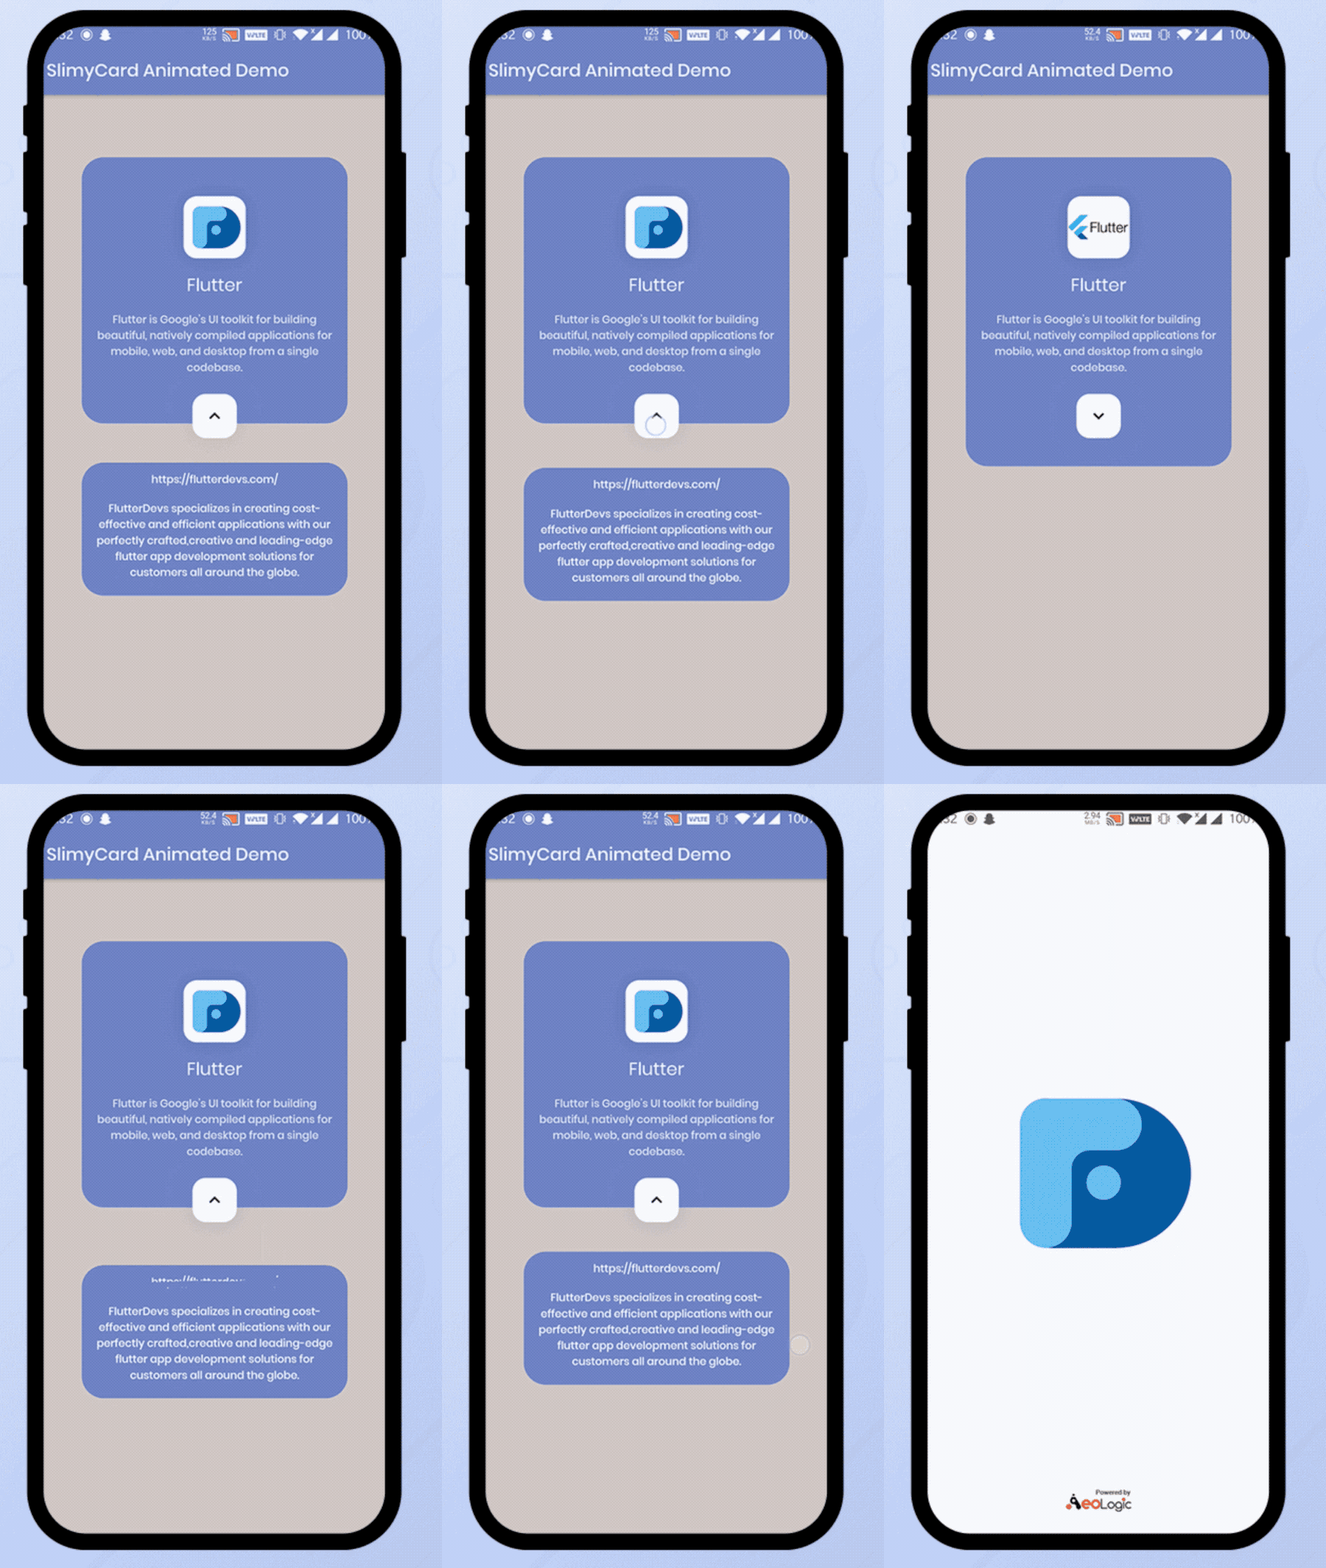
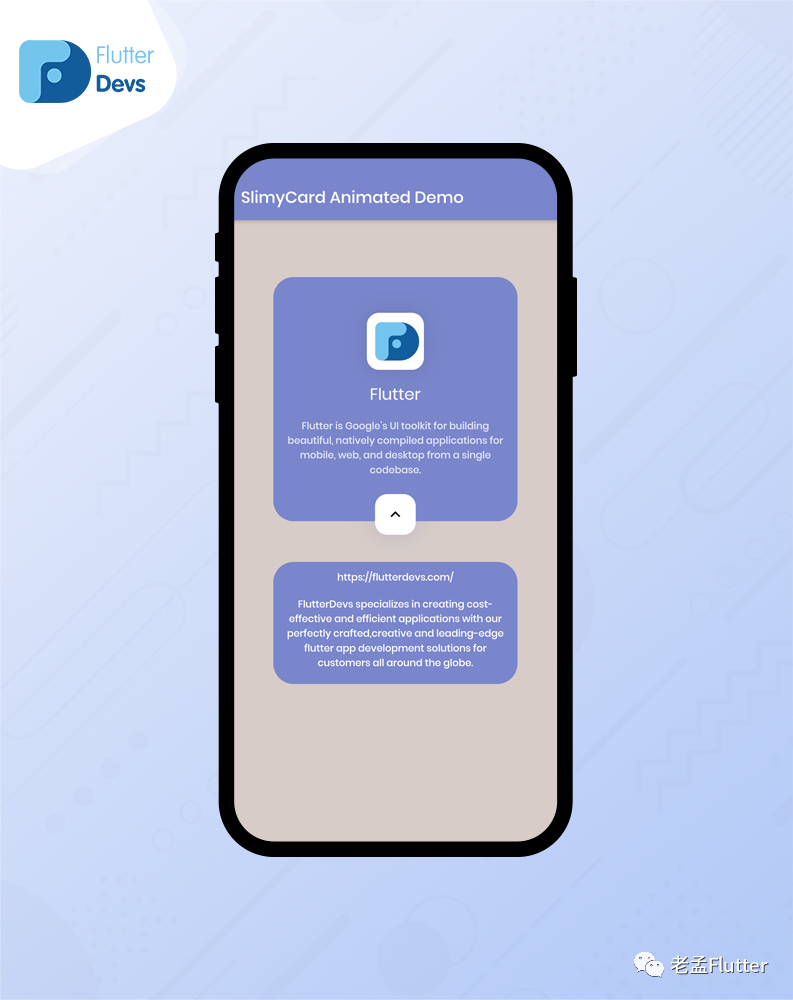
SlimyCard提供了一张类似于卡的粘液状动画,可分为两张不同的卡,一张在顶部,另一张在底部。可以将任何自定义窗口小部件放置在这两个单独的卡中。

属性
slimy_card 包的一些属性:
**颜色:**这些属性表示用户添加他们想要的任何颜色。 **width:**这些属性表示宽度必须至少为100。 **topCardHeight:**这些属性表示“顶部卡”的高度必须至少为150。 **bottomCardHeight:**这些属性意味着Bottom Card的高度必须至少为100。 **borderRadius:**这些属性表示border-radius不能超过30,也不能为负。
使用
步骤1:添加依赖项
slimy_card:^ 1.0.4
步骤2:导入
import 'package:slimy_card/slimy_card.dart';
**步骤3:**运行 flutter packages get 。
**步骤4:**启用 AndriodX,gradle.properties 配置如下:
org.gradle.jvmargs=-Xmx1536M
android.enableR8=true
android.useAndroidX=true
android.enableJetifier=true
Demo:
StreamBuilder(
  initialData: false,
  stream: slimyCard.stream,
  builder: ((BuildContext context, AsyncSnapshot snapshot) {
    return ListView(
      padding: EdgeInsets.zero,
      children: <Widget>[
        SizedBox(height: 70),
        SlimyCard(
          color: Colors.indigo[300],
          topCardWidget: topCardWidget((snapshot.data)
              ? 'assets/images/devs.jpg'
              : 'assets/images/flutter.png'),
          bottomCardWidget: bottomCardWidget(),
        ),
      ],
    );
  }),
),
在Demo中,添加一个StreamBuilder()。在StreamBuilder中,添加一个initialData;SlimyCard支持Streams(BLoC)提供其实时状态。为此,将SlimyCard 包在StreamBuilder中。在SlimyCard中,我们将添加颜色,topCardWidget和bottomCardWidget。我们将在下面描述代码。
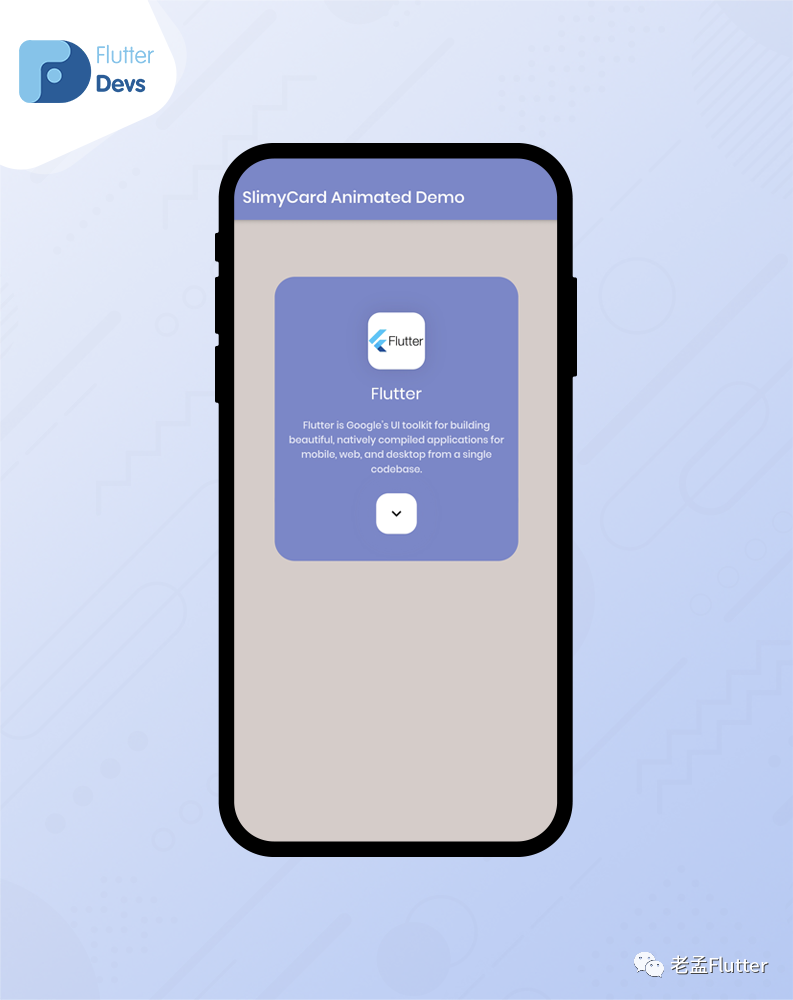
在topCardWidget中,我们将添加一个列小部件。在该列内,我们将添加一个容器小部件。在容器中,我们将添加高度,宽度和装饰图像。我们还将添加两个文本并将它们包装到中心。
Widget topCardWidget(String imagePath) {
  return Column(
    mainAxisAlignment: MainAxisAlignment.center,
    children: <Widget>[
      Container(
        height: 70,
        width: 70,
        decoration: BoxDecoration(
          color: Colors.white,
          borderRadius: BorderRadius.circular(15),
          image: DecorationImage(image: AssetImage(imagePath)),
          boxShadow: [
            BoxShadow(
              color: Colors.black.withOpacity(0.1),
              blurRadius: 20,
              spreadRadius: 1,
            ),
          ],
        ),
      ),
      SizedBox(height: 15),
      Text(
        'Flutter',
        style: TextStyle(color: Colors.white, fontSize: 20),
      ),
      SizedBox(height: 15),
      Center(
        child: Text(
          'Flutter is Google’s UI toolkit for building beautiful, natively compiled applications'
              ' for mobile, web, and desktop from a single codebase.',
          style: TextStyle(
              color: Colors.white.withOpacity(0.8),
              fontSize: 12,
              fontWeight: FontWeight.w500),
          textAlign: TextAlign.center,
        ),
      ),
      SizedBox(height: 10),
    ],
  );
}

在bottomCardWidget中,我们将返回 column。在 column 中,我们将添加两个文本并将它们包装在中间。当用户点击下拉按钮时,bottomCardWidget将被激活并显示在您的设备上。
Widget bottomCardWidget() {
  return Column(
    children: [
      Text(
        'https://flutterdevs.com/',
        style: TextStyle(
          color: Colors.white,
          fontSize: 12,
          fontWeight: FontWeight.w500,
        ),
        textAlign: TextAlign.center,
      ),
      SizedBox(height: 15),
      Expanded(
        child: Text(
          'FlutterDevs specializes in creating cost-effective and efficient '
              'applications with our perfectly crafted,creative and leading-edge '
              'flutter app development solutions for customers all around the globe.',
          style: TextStyle(
            color: Colors.white,
            fontSize: 12,
            fontWeight: FontWeight.w500,
          ),
          textAlign: TextAlign.center,
        ),
      ),
    ],
  );
}

完整Demo:
import 'package:flutter/material.dart';
import 'package:slimy_card/slimy_card.dart';

class SlimyCardDemo extends StatefulWidget {
  @override
  _SlimyCardDemoState createState() => _SlimyCardDemoState();
}

class _SlimyCardDemoState extends State<SlimyCardDemo> {
  @override
  Widget build(BuildContext context) {
    return Scaffold(
      backgroundColor: Colors.brown[100],
      appBar: AppBar(
        backgroundColor: Colors.indigo[300],
        automaticallyImplyLeading: false,
        title: Text("SlimyCard Animated Demo"),
      ),
      body: StreamBuilder(
        initialData: false,
        stream: slimyCard.stream,
        builder: ((BuildContext context, AsyncSnapshot snapshot) {
          return ListView(
            padding: EdgeInsets.zero,
            children: <Widget>[
              SizedBox(height: 70),
              SlimyCard(
                color: Colors.indigo[300],
                topCardWidget: topCardWidget((snapshot.data)
                    ? 'assets/images/devs.jpg'
                    : 'assets/images/flutter.png'),
                bottomCardWidget: bottomCardWidget(),
              ),
            ],
          );
        }),
      ),
    );
  }

  Widget topCardWidget(String imagePath) {
    return Column(
      mainAxisAlignment: MainAxisAlignment.center,
      children: <Widget>[
        Container(
          height: 70,
          width: 70,
          decoration: BoxDecoration(
            color: Colors.white,
            borderRadius: BorderRadius.circular(15),
            image: DecorationImage(image: AssetImage(imagePath)),
            boxShadow: [
              BoxShadow(
                color: Colors.black.withOpacity(0.1),
                blurRadius: 20,
                spreadRadius: 1,
              ),
            ],
          ),
        ),
        SizedBox(height: 15),
        Text(
          'Flutter',
          style: TextStyle(color: Colors.white, fontSize: 20),
        ),
        SizedBox(height: 15),
        Center(
          child: Text(
            'Flutter is Google’s UI toolkit for building beautiful, natively compiled applications'
                ' for mobile, web, and desktop from a single codebase.',
            style: TextStyle(
                color: Colors.white.withOpacity(0.8),
                fontSize: 12,
                fontWeight: FontWeight.w500),
            textAlign: TextAlign.center,
          ),
        ),
        SizedBox(height: 10),
      ],
    );
  }

  Widget bottomCardWidget() {
    return Column(
      children: [
        Text(
          'https://flutterdevs.com/',
          style: TextStyle(
            color: Colors.white,
            fontSize: 12,
            fontWeight: FontWeight.w500,
          ),
          textAlign: TextAlign.center,
        ),
        SizedBox(height: 15),
        Expanded(
          child: Text(
            'FlutterDevs specializes in creating cost-effective and efficient '
                'applications with our perfectly crafted,creative and leading-edge '
                'flutter app development solutions for customers all around the globe.',
            style: TextStyle(
              color: Colors.white,
              fontSize: 12,
              fontWeight: FontWeight.w500,
            ),
            textAlign: TextAlign.center,
          ),
        ),
      ],
    );
  }
}
总结
在这篇文章中,我用Flutter的方式解释了SlimyCard Animated的基本结构。您可以根据自己的选择修改此代码。这是 我对SlimyCard Animated进行的简短介绍。
