
应用开发组件学习笔记:使用脚手架快速搭建 Java DApp
注:本文对《如何快速构建区块链应用?这款脚手架支持一键生成》一文有所参考。
区块链应用开发有多种模式,分别适配于不同的项目。如:
开启一个节点前置服务,区块链应用访问节点前置服务;使用针对该语言的SDK,如Java SDK、Python SDK 等;通过脚手架自动生成项目。
本文将介绍第三种方式——通过脚手架生成项目。
这种方式适用于:
刚上手区块链开发,但是想快速实现区块链项目的同学 想快速开展项目开发,不想在非业务层以外的代码上投入太多成本的同学
适用于FISCO BCOS的应用开发脚手架简介

脚手架组件关键特性
快速实践
2.1 从 Github 或者 Gitee 获得脚手架源码
git clone https://gitee.com/WeBankBlockchain/SmartDev-Scaffold.git # Gitee# git clone https://gitee.com/WeBankBlockchain/SmartDev-Scaffold.git # Githubcd SmartDev-Scaffold
2.2 编译项目
gradle build -x test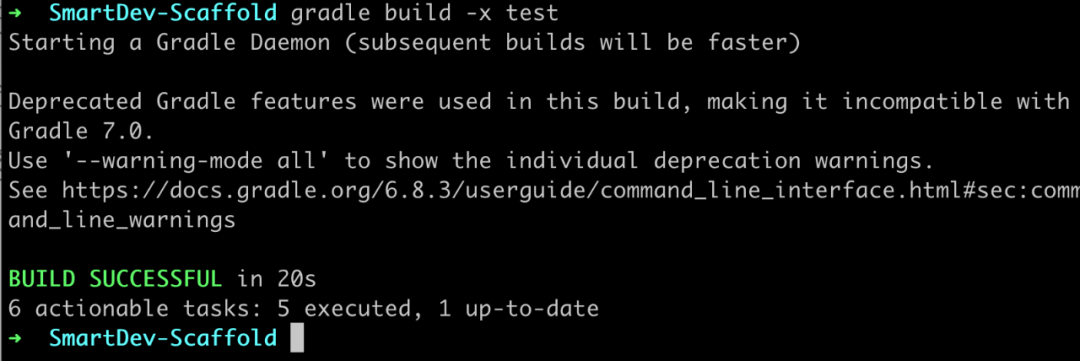
cd tools
2.3.1 合约配置
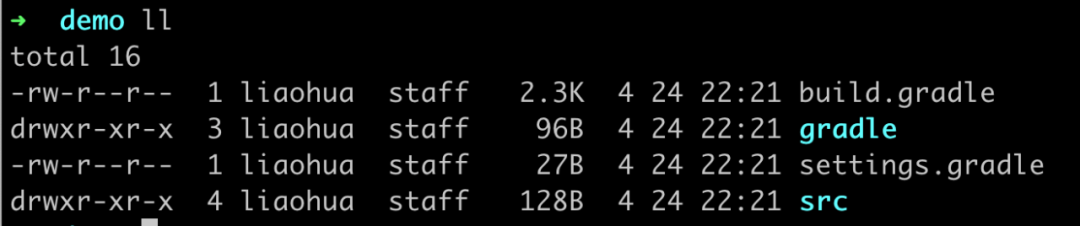
2.3.2 项目配置
### 项目名称artifact=demo### 组名称group=org.example### 所支持的合约列表,通常为空即可selector=
2.3.3 运行脚手架
chmod +x run.sh & bash run.sh
准备工作
在进行具体业务逻辑开发前,我们还需要做如下几项工作:
部署合约
证书拷贝
补充配置文件
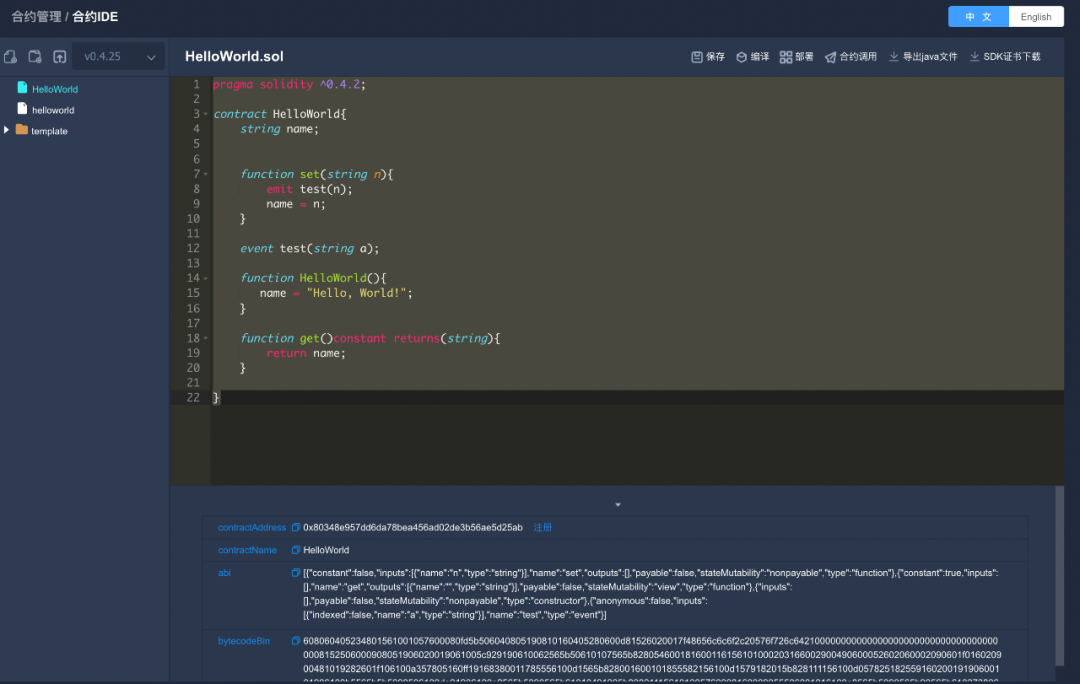
3.1 通过WeBASE-Front部署合约
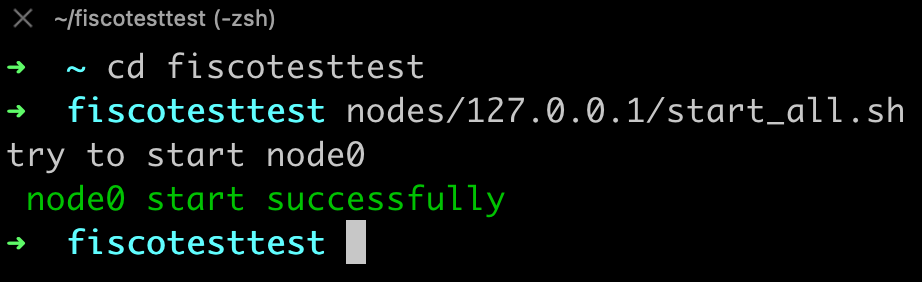
简介:WeBASE-Front是和FISCO-BCOS节点配合使用的一个子系统。此分支支持FISCO-BCOS 2.0以上版本,集成web3sdk,对接口进行了封装,可通过HTTP请求和节点进行通信。另外,具备可视化控制台,可以在控制台上开发智能合约,部署合约和发送交易,并查看交易和区块详情。还可以管理私钥,对节点健康度进行监控和统计。 文档地址: https://webasedoc.readthedocs.io/zh_CN/latest/docs/WeBASE-Front/README.html
bash start.sh

http://localhost:5002/WeBASE-Front/#/contract
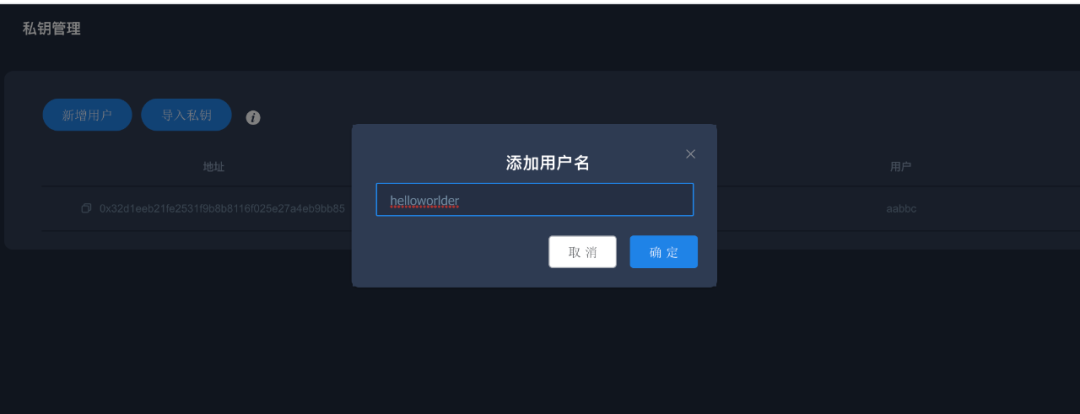
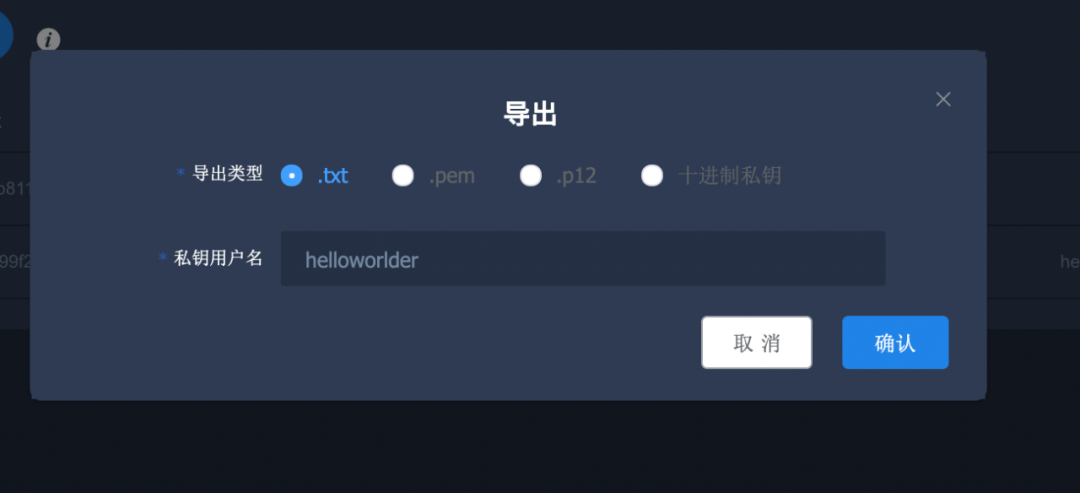
合约管理 > 测试用户 > 新增用户
3.2 复制证书文件到Conf目录下
/src/main/resources/conf
cp ~/fisco/nodes/127.0.0.1/sdk/* src/main/resources/conf/# 此处按节点具体位置进行调整
3.3 补充配置文件
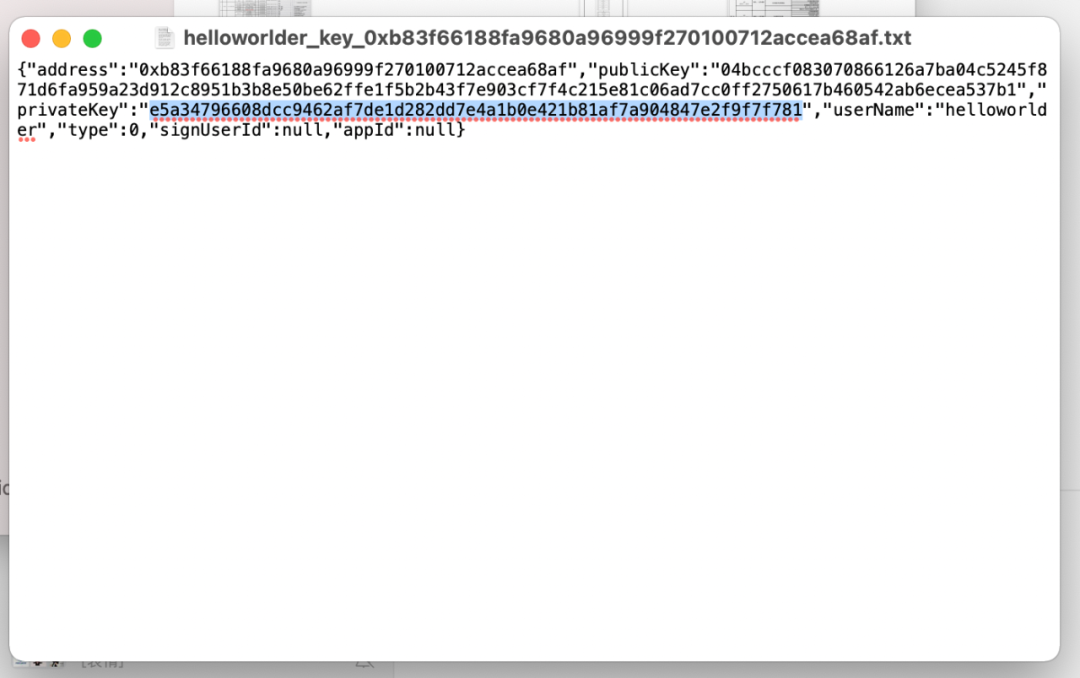
## Required## (1)此处改为节点地址+端口system.peers=127.0.0.1:20200## Requiredsystem.groupId=1## Optional. Default will search conf,config,src/main/conf/src/main/configsystem.certPath=conf,config,src/main/resources/conf,src/main/resources/config## Optional. If don't specify a random private key will be used## (2)此处改为 4.1 中拿到的私钥system.hexPrivateKey=e5a34796608dcc9462af7de1d282dd7e4a1b0e421b81af7a904847e2f9f7f781## Optional. Please fill this address if you want to use related service## (2)此处改为 4.1 中的合约地址system.contract.helloWorldAddress=0xf6035ce1d6b1b689e25bc2893179c00fbac2645a## ### Springboot server configserver.port=8080server.session.timeout=60banner.charset=UTF-8spring.jackson.date-format=yyyy-MM-dd HH:mm:ssspring.jackson.time-zone=GMT+8
3.4 编译与运行
gradle build -x test
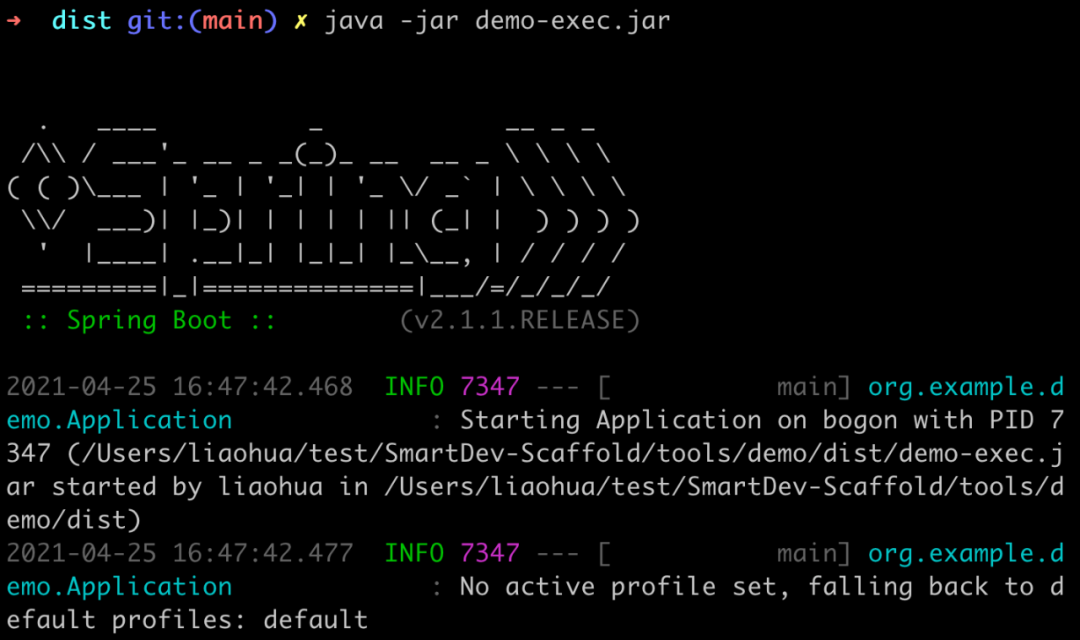
cd distjava -jar demo-exec.jar
添加业务逻辑
package org.example.demo.controller;import org.springframework.beans.factory.annotation.Autowired;import org.springframework.core.io.InputStreamResource;import org.springframework.http.ResponseEntity;import org.springframework.web.bind.annotation.DeleteMapping;import org.springframework.web.bind.annotation.GetMapping;import org.springframework.web.bind.annotation.PathVariable;import org.springframework.web.bind.annotation.PostMapping;import org.springframework.web.bind.annotation.RequestBody;import org.springframework.web.bind.annotation.RequestMapping;import org.springframework.web.bind.annotation.RequestParam;import org.springframework.web.bind.annotation.RestController;import org.springframework.web.multipart.MultipartFile;import org.example.demo.service.HelloWorldService;import org.example.demo.model.bo.HelloWorldSetInputBO;public class HelloController {private HelloWorldService service;public String set( String n) throws Exception{HelloWorldSetInputBO input = new HelloWorldSetInputBO(n);return service.set(input).getTransactionReceipt().getTransactionHash();}public String get() throws Exception{return service.get().getValues();}}
gradle build -x testcd distjava -jar demo-exec.jar
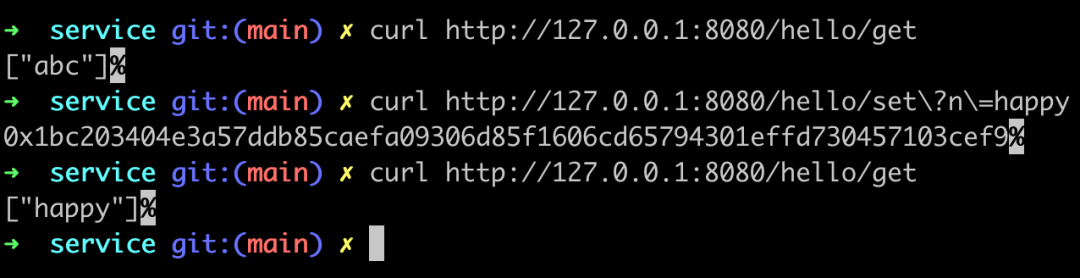
curl http://127.0.0.1:8080/hello/getcurl http://127.0.0.1:8080/hello/set\?n\=happycurl http://127.0.0.1:8080/hello/get

评论