
美化 Jupyter Notebook 格式就没输过谁!
转自:数据STUDIO
结构和风格的重要性在编码世界中从未如此明显。在Jupyter笔记本中通过自定义布局、颜色和单元格样式为你的代码添加维度是非常容易的,这将确保你的辛勤工作是值得注意的、引人注目的和令人难忘的。
我的博文概述并解释了各种方法,这些方法将使你的笔记本的界面、标记和编码单元发生蜕变。这些方便的演示技巧将确保你的下一个项目在视觉上有吸引力,有条不紊,非同一般
在进一步说明之前,让我们深入了解一下吧!
1. 整体界面 - Jupyter 主题
安装Jupyterthemes
!pip install jupyterthemes
!pip install --upgrade jupyterthemes
仔细阅读可用的主题清单
!jt -l
应用你选择的主题
!jt -t <主题名称>
我在下面展示了所有可用的Jupyter笔记本主题。

注: 第一次可能需要重新启动Jupyter笔记本来激活主题,之后只需运行代码 jt -t <themes>,点击shift+enter并重新加载笔记本就可以了。
重置为默认主题
!jt -r
2. Markdown
首先,什么是Markdown?
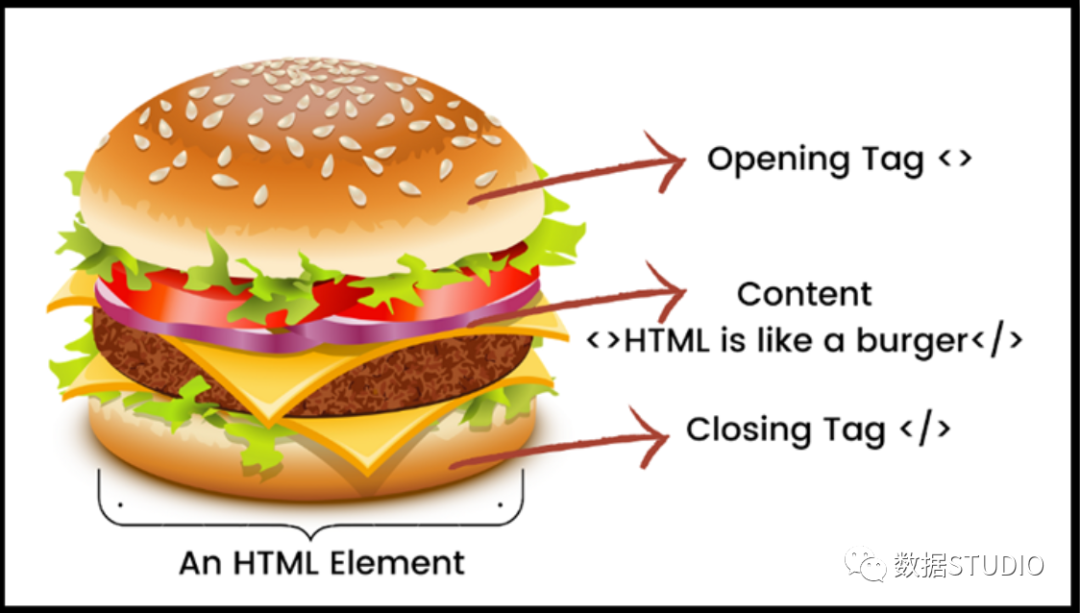
Markdown是一种用于格式化文档的人类可读语言。我们可以把它的效用比作微软Word主功能区下的文本格式化工具。粗体、斜体、标题、字体大小、缩进、字体颜色、创建列表等等

Jupyter笔记本允许我们在一个文件中结合markdown文本和代码,以产生更好的文件化工作流程。这种markdown允许你使用原始HTML来操作文本格式。
要将Jupyter笔记本的代码单元转换为markdown,只需在单元内点击Esc+m。
a. 标题
# HEADING
## HEADING
### HEADING
#### HEADING
渲染后的输出。

注意:确保在 "#"和你的标记文本之间有一个空格,否则标记文本将不能正确显示。
b. 粗体
**Bold Text**
渲染后的输出。

c.斜体字
*Italicized text*
渲染后的输出。

补充:如果你希望你的文本是斜体和粗体,请将你的文本笼罩在六个星号之间,如下所示。
***Bold and Italicized Text***
渲染后的输出。

d. 对齐
默认情况下,Jupyter Notebooks文本是左对齐的。
右对齐
为了使文本右对齐,我们将文本包围在一个开放和关闭的p标签和一个内联的 CSS "样式" 属性之间。
<p style='text-align: right'> **Your Right Aligned Text** </p>
渲染后的输出。

中心化
要使文本居中,我们只需将文本包围在中心标签之间。
<center> **Your Centered Text** </center>
渲染后的输出。

e.突出显示文本
为了突出显示文本,我们将文本包围在一个开放和关闭的标记标签之间。
<mark>highlight text</mark>
渲染后的输出。

f.背景颜色
# <div style = 'background-color:skyblue'> <center> TEXT WITH BACKGROUND COLOR </div>
渲染后的输出。

g. 换行
添加换行符有助于将你的文件分成若干部分,使其结构化。
---
渲染后的输出。

此外,换行符也可以与其他HTML标签一起使用,以加强格式化,如下所示。

h.警示短信
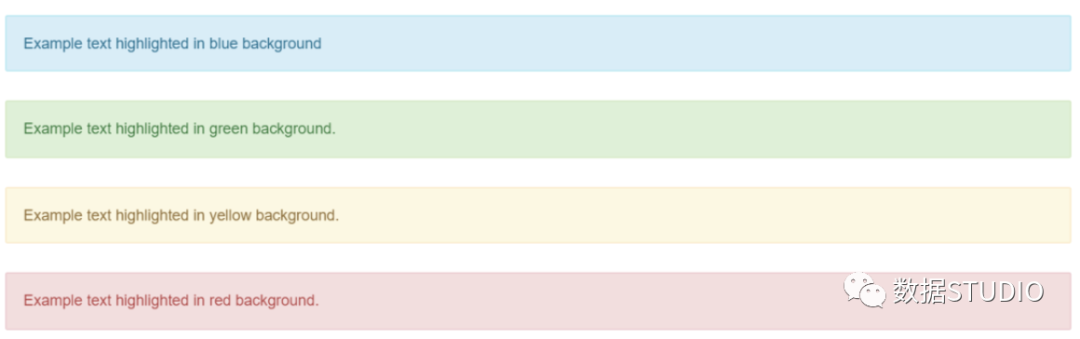
警报是我最喜欢的markdown格式化语法,因为它们可以立即使嵌入其中的任何编码笔记本变得生动起来有4种方法可以将HTML警报样式应用到你的markdown中。
#Blue Background
<div class="alert alert-info"> Example text highlighted in blue background </div>
#Green Background
<div class="alert alert-success">Example text highlighted in green background.</div>
#Yellow Background
<div class="alert alert-warning">Example text highlighted in yellow background.</div>
#Red Background
<div class="alert alert-danger">Example text highlighted in red background.</div>
注意:由于红色往往带有负面的含义,在专业场合避免使用红色背景,除非你想突出负面的趋势或观察。
渲染后的输出。
i.下划线
为了给markdown文本加下划线,我们使用开放和关闭u标签。
<u> Underlined Text </u>
渲染后的输出。

j. 字体颜色
Markdown文本的颜色可以通过HTML字体标签来改变。
<font color='maroon'>Maroon colored Text </font>

注意:你也可以使用十六进制颜色代码来代替颜色名称。请查看https://redketchup.io/color-picker,以玩转不同的色调!
k. 符号
虽然我们可以在markdown中编码的符号的选项是无限的,但让我们来探索一些箭头符号。
注:被用作文本中断标签。
➤ Bullet point one</br>
➟ Bullet point two</br>
➣ Bullet point three</br>
➡ Bullet point four</br>
➠ Bullet point five</br>
➞ Bullet point six</br>
➝ Bullet point seven</br>
➜ Bullet point eight</br>
渲染后的输出。

更多符号,请访问https://coolsymbol.com/
l. 字体的风格
查看https://tools.picsart.com/text/font-generator/,了解可以复制和粘贴到Jupyter笔记本Markdowns的字体。
# 𝕋𝕙𝕚𝕤 𝕤𝕥𝕙𝕖 𝔻𝕠𝕦𝕓𝕝𝕖𝕊𝕥𝕣𝕦𝕔𝕜 𝕗𝕠𝕟𝕥 𝕤𝕥𝕪𝕝𝕖
m. 缩进
> Text that will be indented upon rendering
渲染后的输出。

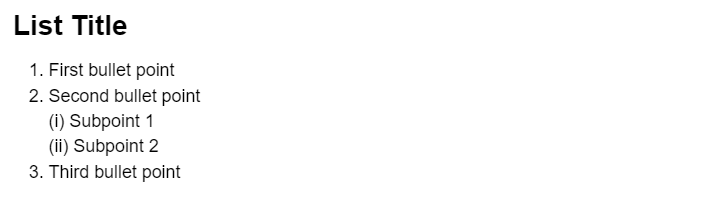
n. 列表
有序列表
## List Title
1. First bullet point
2. Second bullet point </br>
    (i) Subpoint 1 </br>
    (ii) Subpoint 2
3. Third bullet point
无序列表
## List Title
- First bullet point
- Second bullet point
- Third bullet point
渲染后的输出。

3. 代码单元格
信不信由你,它也可以在Python打印语句中对代码进行格式化。这样做,完全改变了你的代码的表现形式,使它更容易理解和吸引人。
当你第一次看到这些HTML标签时不要惊慌--我们将多次使用它,它很快就会成为你的第二天性。
a.粗体字
print('\033[1;3m This is bold\033[0m')
渲染后的输出。
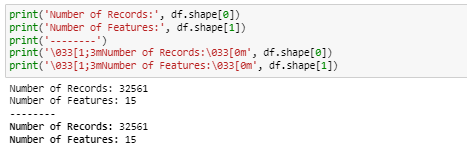
我们再仔细分析一下打印语句中的代码。
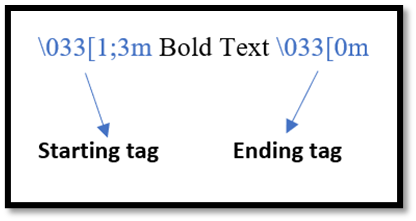
请注意,开始和结束标签都必须在开始时包含一个/033。
对于b和c部分:我们可以完全忽略结束标签,因为它在整个过程中保持不变。相反,我们将篡改起始标签中的数字,以解锁非常有趣的格式化选项。
b.代码颜色
(i) 有色文本
print('\033[31;3m This is red\033[0m')
print('\033[32;3m This is green\033[0m')
print('\033[33;3m This is yellow\033[0m')
print('\033[34;3m This is blue\033[0m')
print('\033[35;3m This is pink\033[0m')
print('\033[36;3m This is skyblue\033[0m')
print('\033[37;3m This is grey\033[0m')
渲染后的输出。

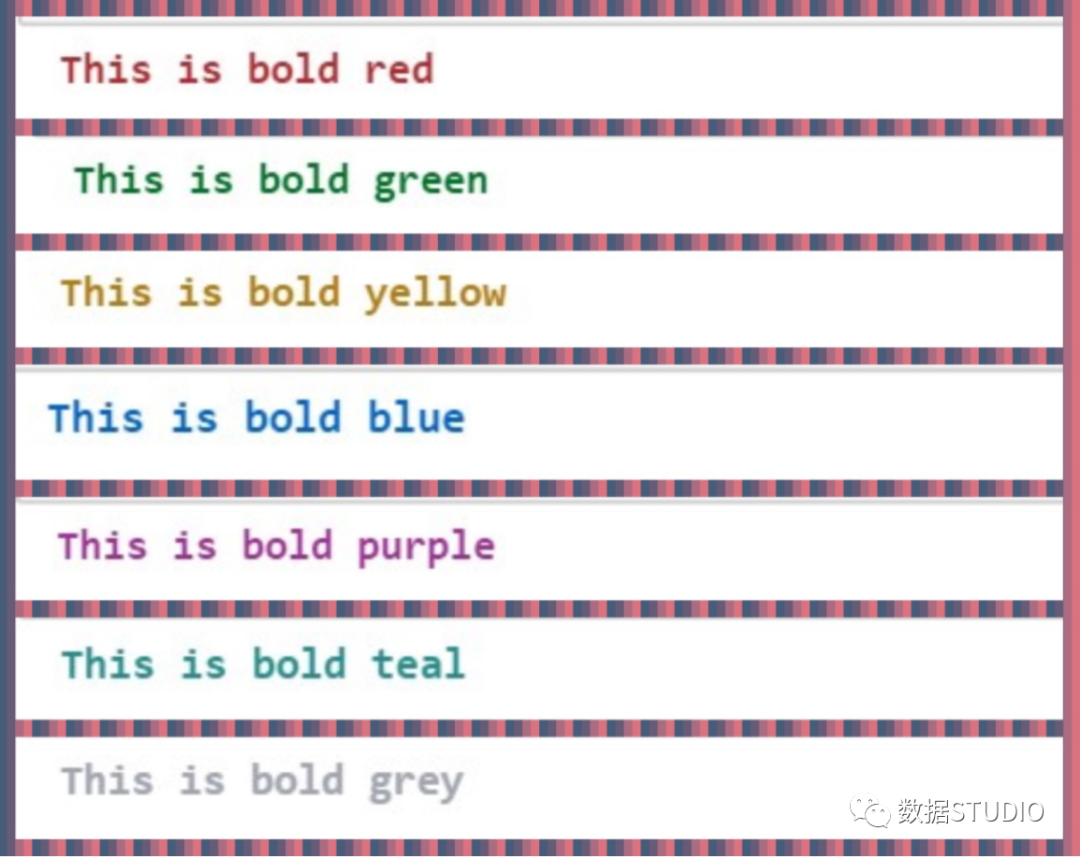
(ii)黑体字的文字
print('\033[1;31m This is bold red \033[0m')
print('\033[1;32m This is bold green\033[0m')
print('\033[1;33m This is bold yellow\033[0m')
print('\033[1;34m This is bold blue\033[0m')
print('\033[1;35m This is bold purple\033[0m')
print('\033[1;36m This is bold teal\033[0m')
print('\033[1;37m This is bold grey\033[0m')
渲染后的输出。
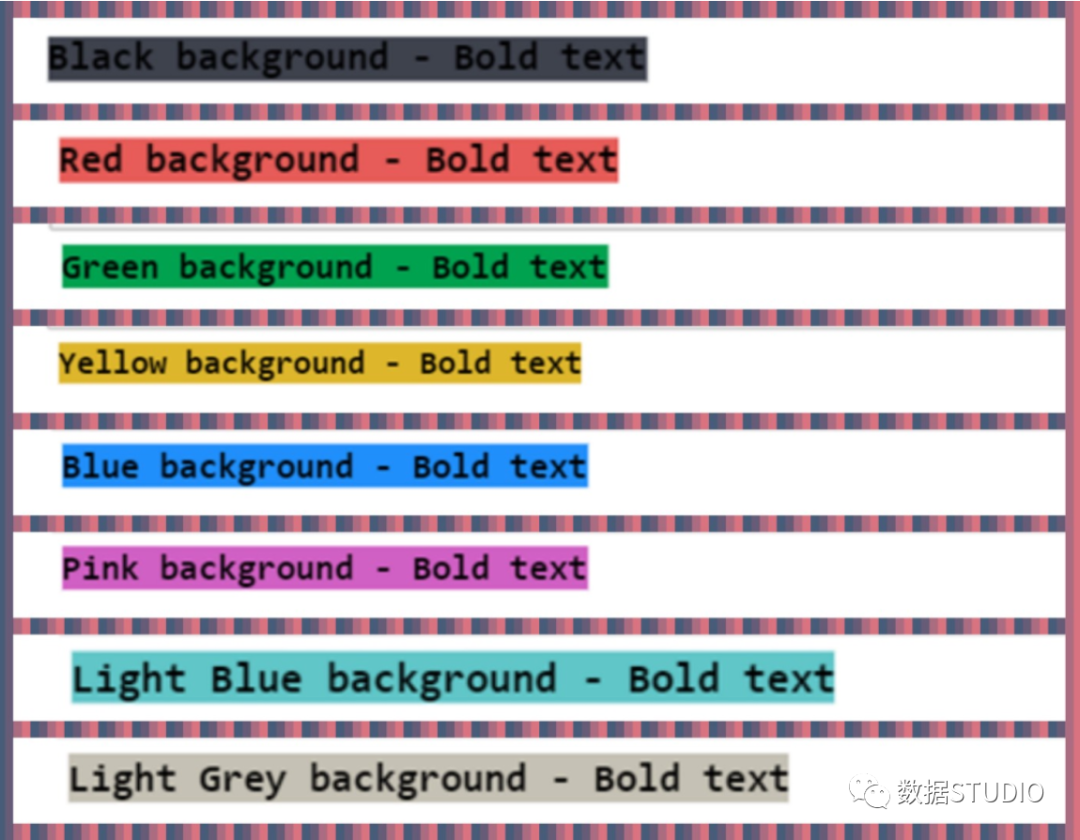
c.背景颜色
print('\033[1;40mBlack background - Bold text\033[0m')
print('\033[1;41mRed background - Bold text\033[0m')
print('\033[1;42mGreen background - Bold text\033[0m')
print('\033[1;43mYellow background - Bold text\033[0m')
print('\033[1;44mBlue background - Bold text\033[0m')
print('\033[1;45mPink background - Bold text\033[0m')
print('\033[1;46mLight Blue background - Bold text\033[0m')
print('\033[1;47mLight Grey background - Bold text\033[0m')
总结
只写代码,不做造型,使杰克成为一个无趣的程序员!
如果你觉得这篇文章很有用,那么一定要按下拍手按钮,与你的朋友和同事分享这个蟹皇堡的秘密编码配方。
来源:vihasharma1099/a-complete-guide-to-beautify-your-jupyter-notebooks
编辑:@公众号:数据STUDIO
