OpenGL ES渲染播放视频

PS: 学会合理安排,留足空间和时间。
MediaPlayer和 OpenGL ES 来实现基本视频渲染以及视频画面的矫正,主要内容如下:SurfaceTexture
渲染视频
画面矫正
SurfaceTexture
SurfaceTexture 从 Android 3.0 开始加入,其对图像流的处理并不直接显示,而是从图像流中捕获帧作为 OpenGL 的外部纹理,图像流主要来自相机预览和视频解码,可对图像流进行二次处理,如滤镜以及特效等,可以理解为SurfaceTexture 是Surface 和 OpenGL ES 纹理的结合。SurfaceTexture 创建的 Surface 是数据的生产者,而 SurfaceTexture是对应的消费者,Surface接收媒体数据并将数据发送到SurfaceTexture,当调用 updateTexImage 的时候,创建SurfaceTexture的纹理对象相应的内容将更新为最新图像帧,也就是会将图像帧转换为 GL 纹理,并将该纹理绑定到GL_TEXTURE_EXTERNAL_OES纹理对象上,updateTexImage 仅在 OpenGL ES 上下文线程中调用,一般在onDrawFrame中进行调用。渲染视频
MediaPlayer如何播放视频大家应该非常熟悉,这里不在赘述,有了上面小节SurfaceTexture的介绍,使用 OpenGL ES 实现视频渲染非常简单,定义顶点坐标和纹理坐标如下:1// 顶点坐标
2private val vertexCoordinates = floatArrayOf(
3 1.0f, 1.0f,
4 -1.0f, 1.0f,
5 -1.0f, -1.0f,
6 1.0f, -1.0f
7)
8// 纹理坐标
9private val textureCoordinates = floatArrayOf(
10 1.0f, 0.0f,
11 0.0f, 0.0f,
12 0.0f, 1.0f,
13 1.0f, 1.0f
14)
 1/**
 2 * 生成纹理ID
 3 */
 4fun createTextureId(): Int {
 5    val tex = IntArray(1)
 6    GLES20.glGenTextures(1, tex, 0)
 7    if (tex[0] == 0) {
 8        throw RuntimeException("create OES texture failed, ${Thread.currentThread().name}")
 9    }
10    return tex[0]
11}
12
13/**
14 * 创建OES纹理
15 * YUV格式到RGB的自动转化
16 */
17fun activeBindOESTexture(textureId:Int) {
18    // 激活纹理单元
19    GLES20.glActiveTexture(GLES20.GL_TEXTURE0)
20    // 绑定纹理ID到纹理单元的纹理目标上
21    GLES20.glBindTexture(GLES11Ext.GL_TEXTURE_EXTERNAL_OES, textureId)
22    // 设置纹理参数
23    GLES20.glTexParameterf(GLES11Ext.GL_TEXTURE_EXTERNAL_OES, GL10.GL_TEXTURE_MIN_FILTER, GL10.GL_NEAREST.toFloat())
24    GLES20.glTexParameterf(GLES11Ext.GL_TEXTURE_EXTERNAL_OES, GL10.GL_TEXTURE_MAG_FILTER, GL10.GL_LINEAR.toFloat())
25    GLES20.glTexParameterf(GLES11Ext.GL_TEXTURE_EXTERNAL_OES, GL10.GL_TEXTURE_WRAP_S, GL10.GL_CLAMP_TO_EDGE.toFloat())
26    GLES20.glTexParameterf(GLES11Ext.GL_TEXTURE_EXTERNAL_OES, GL10.GL_TEXTURE_WRAP_T, GL10.GL_CLAMP_TO_EDGE.toFloat())
27    Log.d(TAG, "activeBindOESTexture: texture id $textureId")
28}
GL_TEXTURE_EXTERNAL_OES,可以自动完成 YUV 格式到 RGB 的自动转换,下面来看下着色器,其中顶点着色器中接收纹理坐标并保存到vTextureCoordinate供片段着色器使用,具体如下:1// 顶点着色器
2attribute vec4 aPosition; // 顶点坐标
3attribute vec2 aCoordinate; // 纹理坐标
4varying vec2 vTextureCoordinate;
5void main() {
6 gl_Position = aPosition;
7 vTextureCoordinate = aCoordinate;
8}
9
10// 片段着色器
11#extension GL_OES_EGL_image_external : require
12precision mediump float;
13varying vec2 vTextureCoordinate;
14uniform samplerExternalOES uTexture; // OES纹理
15void main() {
16 gl_FragColor=texture2D(uTexture, vTextureCoordinate);
17}
 1class PlayRenderer(
 2    private var context: Context,
 3    private var glSurfaceView: GLSurfaceView
 4) : GLSurfaceView.Renderer,
 5    VideoRender.OnNotifyFrameUpdateListener, MediaPlayer.OnPreparedListener,
 6    MediaPlayer.OnVideoSizeChangedListener, MediaPlayer.OnCompletionListener,
 7    MediaPlayer.OnErrorListener {
 8    companion object {
 9        private const val TAG = "PlayRenderer"
10    }
11    private lateinit var videoRender: VideoRender
12    private lateinit var mediaPlayer: MediaPlayer
13    private val projectionMatrix = FloatArray(16)
14    private val viewMatrix = FloatArray(16)
15    private val vPMatrix = FloatArray(16)
16    // 用于视频比例的计算,详见下文
17    private var screenWidth: Int = -1
18    private var screenHeight: Int = -1
19    private var videoWidth: Int = -1
20    private var videoHeight: Int = -1
21
22    override fun onSurfaceCreated(gl: GL10?, config: EGLConfig?) {
23        L.i(TAG, "onSurfaceCreated")
24        GLES20.glClearColor(0f, 0f, 0f, 0f)
25        videoRender = VideoRender(context)
26        videoRender.setTextureID(TextureHelper.createTextureId())
27        videoRender.onNotifyFrameUpdateListener = this
28        initMediaPlayer()
29    }
30
31    override fun onSurfaceChanged(gl: GL10?, width: Int, height: Int) {
32        L.i(TAG, "onSurfaceChanged > width:$width,height:$height")
33        screenWidth = width
34        screenHeight = height
35        GLES20.glViewport(0, 0, width, height)
36    }
37
38    override fun onDrawFrame(gl: GL10) {
39        L.i(TAG, "onDrawFrame")
40        gl.glClear(GL10.GL_COLOR_BUFFER_BIT or GL10.GL_DEPTH_BUFFER_BIT)
41        videoRender.draw(vPMatrix)
42    }
43
44    override fun onPrepared(mp: MediaPlayer?) {
45        L.i(OpenGLActivity.TAG, "onPrepared")
46        mediaPlayer.start()
47    }
48
49    override fun onVideoSizeChanged(mp: MediaPlayer?, width: Int, height: Int) {
50        L.i(OpenGLActivity.TAG, "onVideoSizeChanged > width:$width ,height:$height")
51        this.videoWidth = width
52        this.videoHeight = height
53    }
54
55    override fun onCompletion(mp: MediaPlayer?) {
56        L.i(OpenGLActivity.TAG, "onCompletion")
57    }
58
59    override fun onError(mp: MediaPlayer?, what: Int, extra: Int): Boolean {
60        L.i(OpenGLActivity.TAG, "error > what:$what,extra:$extra")
61        return true
62    }
63
64    private fun initMediaPlayer() {
65        mediaPlayer = MediaPlayer()
66        mediaPlayer.setOnPreparedListener(this)
67        mediaPlayer.setOnVideoSizeChangedListener(this)
68        mediaPlayer.setOnCompletionListener(this)
69        mediaPlayer.setOnErrorListener(this)
70        mediaPlayer.setDataSource(Environment.getExternalStorageDirectory().absolutePath + "/video.mp4")
71        mediaPlayer.setSurface(videoRender.getSurface())
72        mediaPlayer.prepareAsync()
73    }
74    // 通知请求渲染
75    override fun onNotifyUpdate() {
76        glSurfaceView.requestRender()
77    }
78
79    fun destroy() {
80        mediaPlayer.stop()
81        mediaPlayer.release()
82    }
83}
VideoRender主要是渲染操作,这部分代码和上篇文章中的大同小异,这里就不贴了。SurfaceTetre的updateTexImage方法更新图像帧,该方法必须在 OpenGL ES 上下文中使用,可以设置GLSurfaceView的渲染模式为RENDERMODE_WHEN_DIRTY避免一直绘制,当onFrameAvailable会调的时候,也就是有了可用的数据之后再进行requestRender以减少必要的消耗。
画面矫正
Shader的修改,主要是顶点顶点着色器的变化,如下:1attribute vec4 aPosition;
2attribute vec2 aCoordinate;
3uniform mat4 uMVPMatrix;
4varying vec2 vTextureCoordinate;
5void main() {
6 gl_Position = uMVPMatrix * aPosition;
7 vTextureCoordinate = aCoordinate;
8}
uMVPMatrix,而uMVPMatrix是投影矩阵和视图矩阵的乘积,投影矩阵的计算,OpenGL ES 使用Matrix来进行矩阵运算,正交投影使用Matrix.orthoM来生成投影矩阵,计算方式如下:1// 计算视频缩放比例(投影矩阵)
2val screenRatio = screenWidth / screenHeight.toFloat()
3val videoRatio = videoWidth / videoHeight.toFloat()
4val ratio: Float
5if (screenWidth > screenHeight) {
6 if (videoRatio >= screenRatio) {
7 ratio = videoRatio / screenRatio
8 Matrix.orthoM(
9 projectionMatrix, 0,
10 -1f, 1f, -ratio, ratio, 3f, 5f
11 )
12 } else {
13 ratio = screenRatio / videoRatio
14 Matrix.orthoM(
15 projectionMatrix, 0,
16 -ratio, ratio, -1f, 1f, 3f, 5f
17 )
18 }
19} else {
20 if (videoRatio >= screenRatio) {
21 ratio = videoRatio / screenRatio
22 Matrix.orthoM(
23 projectionMatrix, 0,
24 -1f, 1f, -ratio, ratio, 3f, 5f
25 )
26 } else {
27 ratio = screenRatio / videoRatio
28 Matrix.orthoM(
29 projectionMatrix, 0,
30 -ratio, ratio, -1f, 1f, 3f, 5f
31 )
32 }
33}
ratio就是就是正交投影视景体的边界,以本人手机为例计算一下ratio,这里为了方便计算屏幕宽等于视频宽,屏幕 1080 * 2260,视频 1080 * 540,则ratio为 2260 / 540 约等于 4.18,显然如果按照屏幕高度为基准,当视频高度为 2260 的时候,视频宽度为 4520 远远超出了屏幕宽度,故按照视频宽度来进行适配,下面看下相机位置设置:1// 设置相机位置(视图矩阵)
2Matrix.setLookAtM(
3 viewMatrix, 0,
4 0.0f, 0.0f, 5.0f, // 相机位置
5 0.0f, 0.0f, 0.0f, // 目标位置
6 0.0f, 1.0f, 0.0f // 相机正上方向量
7)
projectionMatrix和viewMatrix合并为vPMatrix:1// 计算投影和视图变换
2Matrix.multiplyMM(vPMatrix, 0, projectionMatrix, 0, viewMatrix, 0)
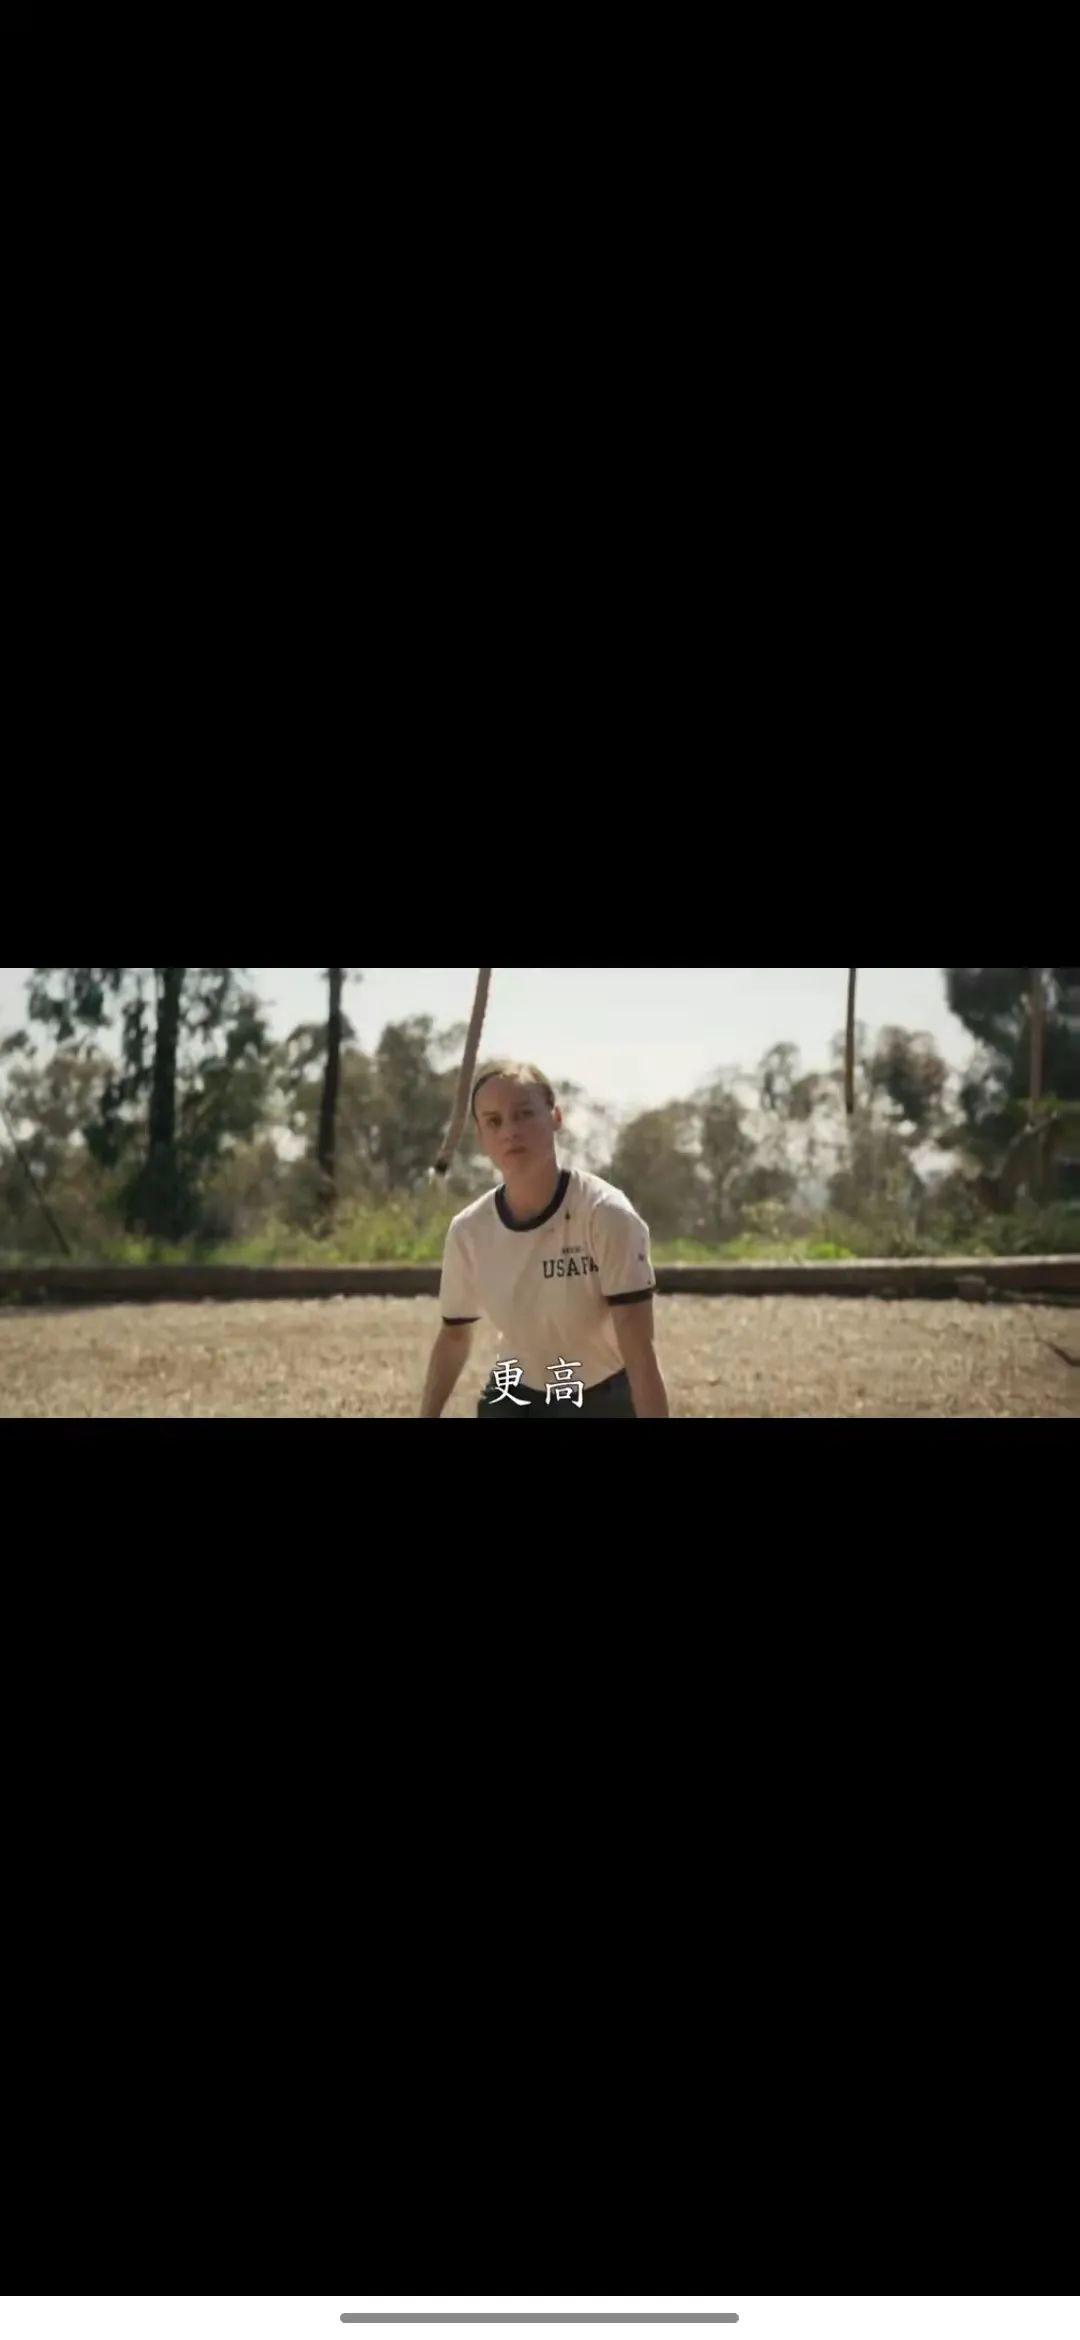
MediaPlayer的onVideoSizeChanged回调中获取视频宽高并初始化矩阵数据,下面来看下画面矫正后的效果:
评论
