云GPU租用及CUDA profile工具入门教程
有一篇很好的CUDA入门文章《An Even Easier Introduction to CUDA》,这篇文章中用到的nvprof在CUDA高版本已经不支持,需要换成nsys。所以本文中仍然沿用它的代码,附加nsys的安装方式以及简单应用。
Part1云服务器租用使用云服务器可以避免一部分复杂的环境安装工作,这里我以gpushare.com为例,其他云服务厂商的操作流程应该都差不多。
首先从云市场选一张卡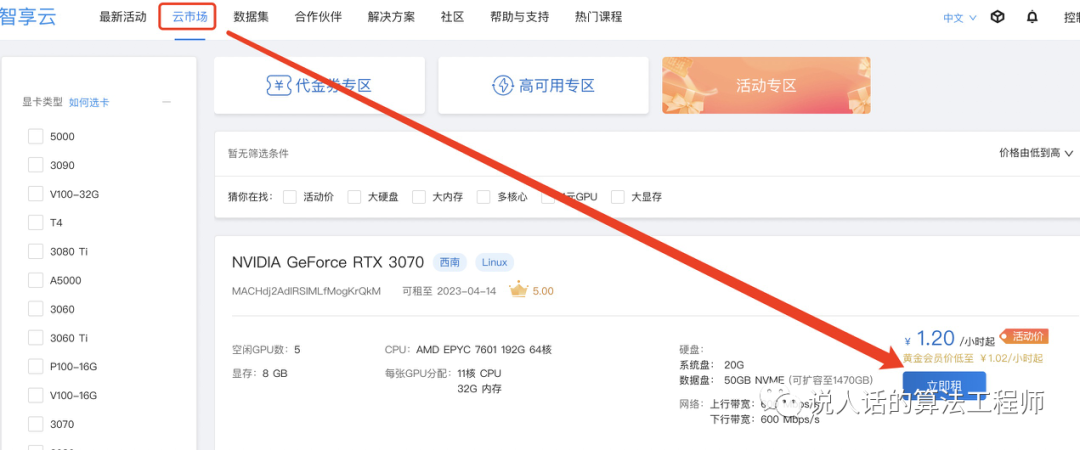
选择框架版本,创建实例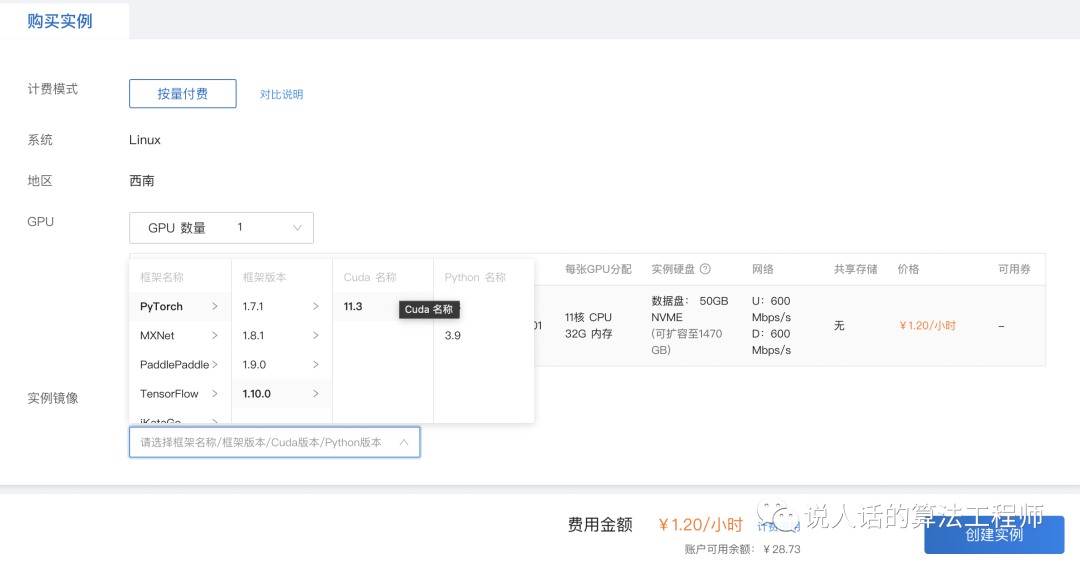
等待片刻,实例启动后即可登录
复制ssh命令到terminal中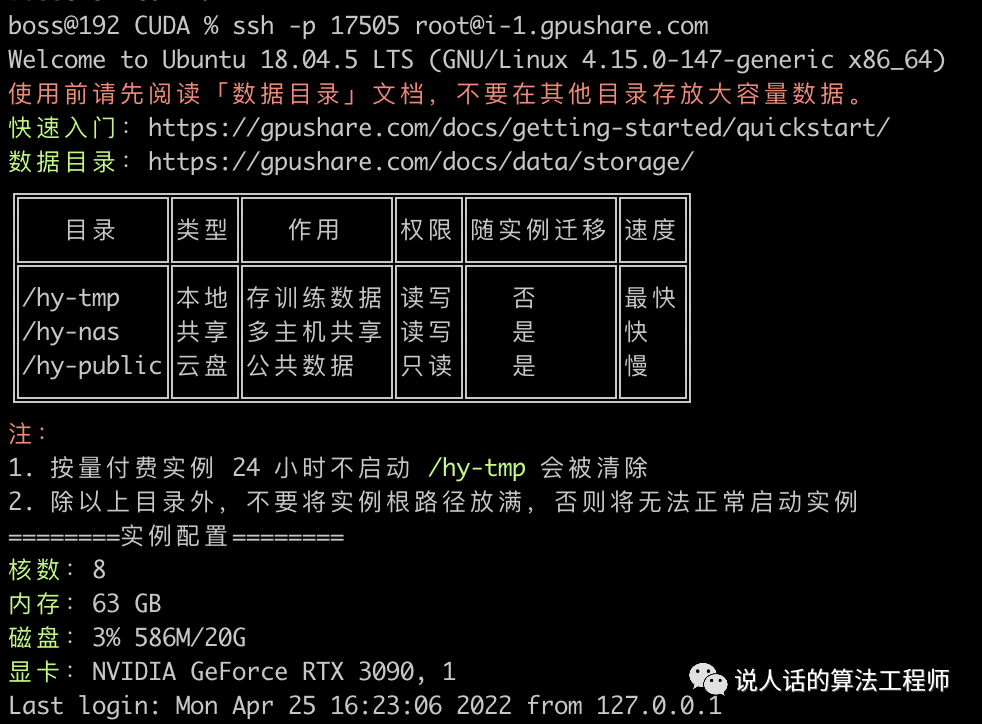
nvidia-smi查看显卡环境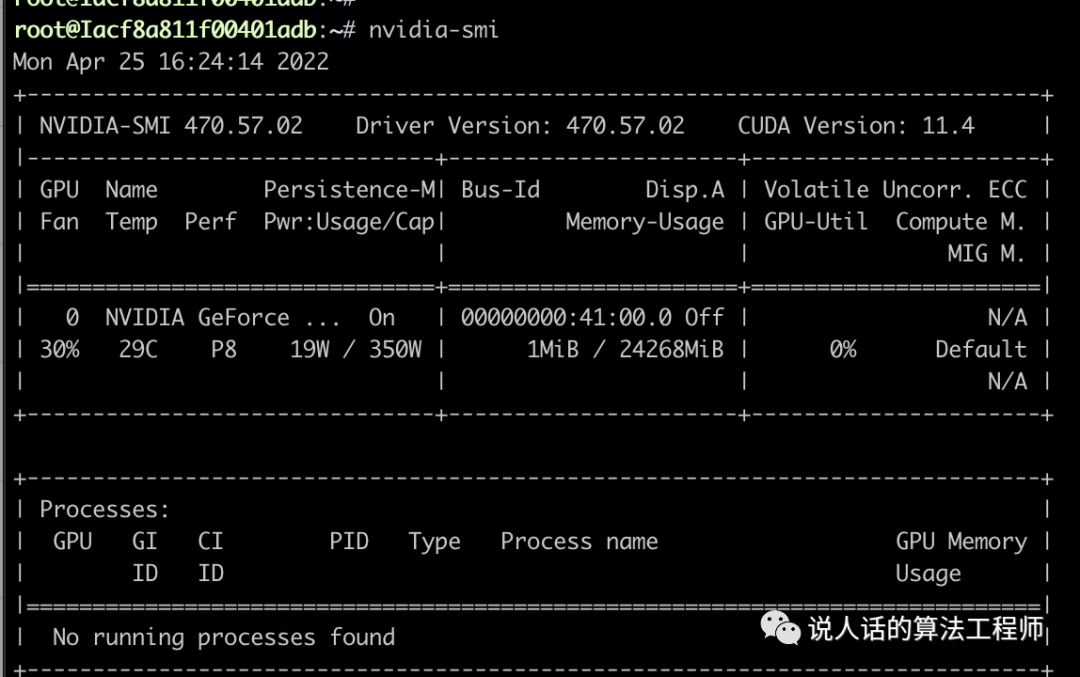
NsightSystems是CUDA高版本的profile工具,低版本CUDA用的nvprof工具已经不支持了。
首先将安装包上传到服务器上(安装包下载比较麻烦,要到nvidia官网注册) 我用这家云GPU厂商提供的工具是个ftp客户端:FileZilla。
填写主机地址,端口和用户密码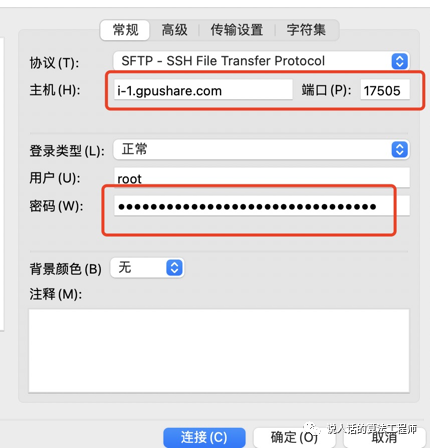
密码在登录命令的下面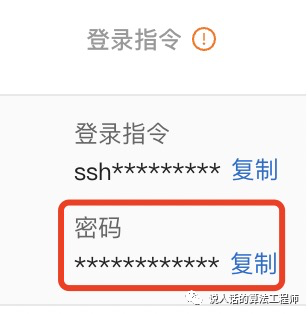
连接成功后只要两边互相拖动就可以传文件了
把下载到的NsightSystems-linux-cli-public-2022.2.1.31-5fe97ab.deb文件传到服务器上,用命令安装
dpkg -i NsightSystems-linux-cli-public-2022.2.1.31-5fe97ab.deb
nvprof -V验证安装成功
将以下代码命名为add.cu
#include <iostream>
#include <math.h>
// Kernel function to add the elements of two arrays
__global__
void add(int n, float *x, float *y)
{
  for (int i = 0; i < n; i++)
    y[i] = x[i] + y[i];
}

int main(void)
{
  int N = 1<<20;
  float *x, *y;

  // Allocate Unified Memory – accessible from CPU or GPU
  cudaMallocManaged(&x, N*sizeof(float));
  cudaMallocManaged(&y, N*sizeof(float));

  // initialize x and y arrays on the host
  for (int i = 0; i < N; i++) {
    x[i] = 1.0f;
    y[i] = 2.0f;
  }

  // Run kernel on 1M elements on the GPU
  add<<<1, 1>>>(N, x, y);

  // Wait for GPU to finish before accessing on host
  cudaDeviceSynchronize();

  // Check for errors (all values should be 3.0f)
  float maxError = 0.0f;
  for (int i = 0; i < N; i++)
    maxError = fmax(maxError, fabs(y[i]-3.0f));
  std::cout << "Max error: " << maxError << std::endl;

  // Free memory
  cudaFree(x);
  cudaFree(y);

  return 0;
}
用nvcc命令编译并执行
nvcc add.cu -o add_cuda -run
用nvprof进行性能分析,
nsys profile --stats=true ./add_cuda
可以得到一系列指标数据,以及两个结果文件report1.nsys-rep和report1.sqlite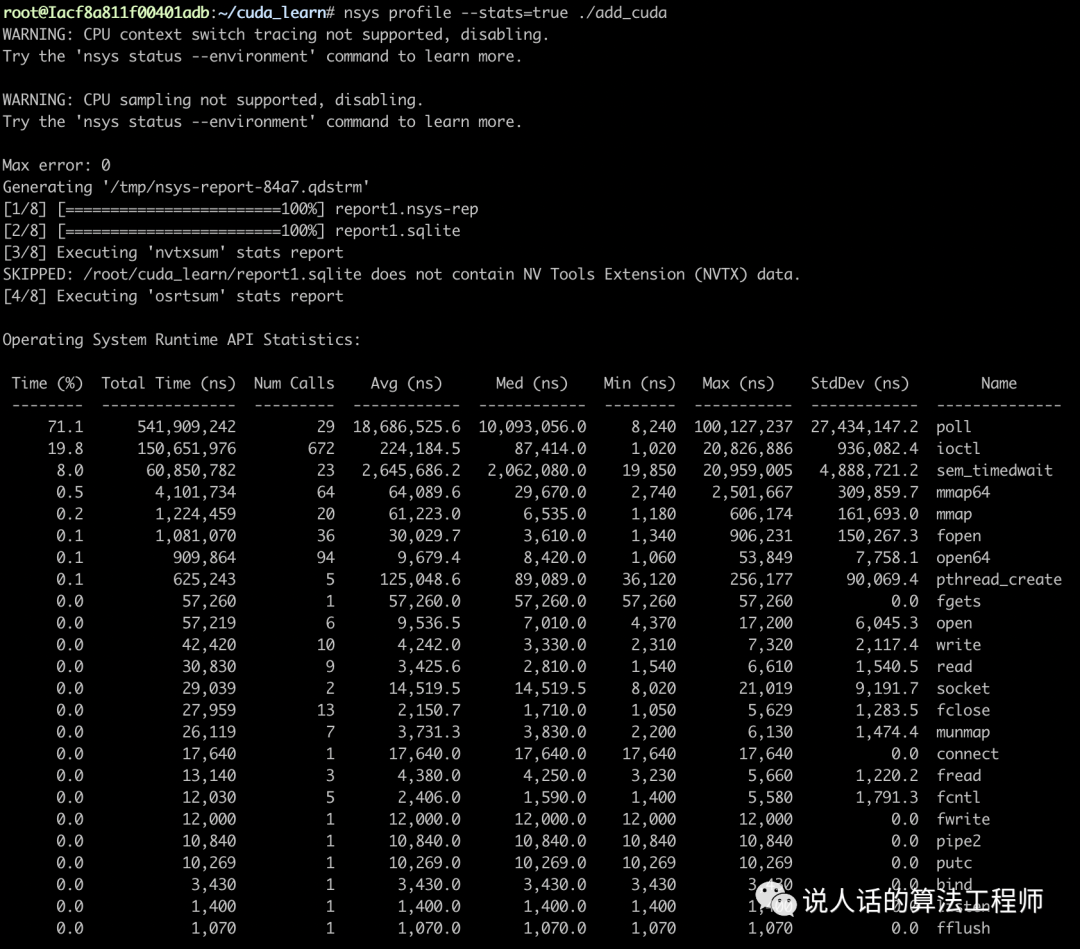
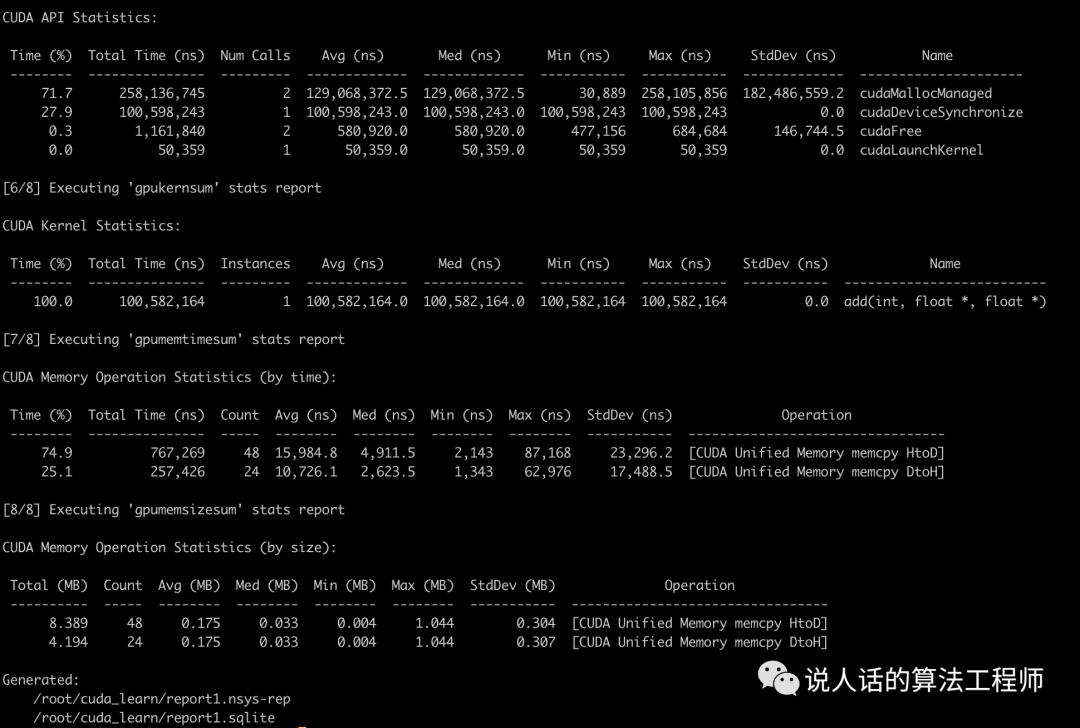
大家还可以从Even Easier教程中找到add_block和add_grid的代码,同样用nvcc和nvprof来比较几种不同的并行方式的性能差异。
如果大家想自己动手,配置实验环境的话,可以点击阅读原文租用gpushare的GPU。新人任务只要充值30元即可获得100元礼券,其中60元都可以按小时租用。白嫖15个小时(3.9一小时的3090)够做很多入门级的实验了~


 Part4Ref
Even Easier教程:https://developer.nvidia.com/blog/even-easier-introduction-cuda/
filezilla使用教程:https://gpushare.com/docs/data/upload/#filezilla
