前端项目接入Sentry监控系统
本文适合项目需要接入错误监控的小伙伴阅读
欢迎关注前端早茶,与广东靓仔携手共同进阶~
一、前言
场景:我们的项目在本地测试时没有问题,but在线上运行就遇到各种奇奇怪怪的问题。相信不少小伙伴应该都遇到过这样的情况,为了减少对用户的影响,引入一个线上监控系统是必不可少的。
方案:对于一些大型的团队,往往会自研一套监控系统。如果团队资源有限引入个第三方的异常监控系统也是一个不错的方案。
二、原题
本文基于:
https://github.com/getsentry/sentry
https://github.com/getsentry/sentry-javascript
https://docs.sentry.io/
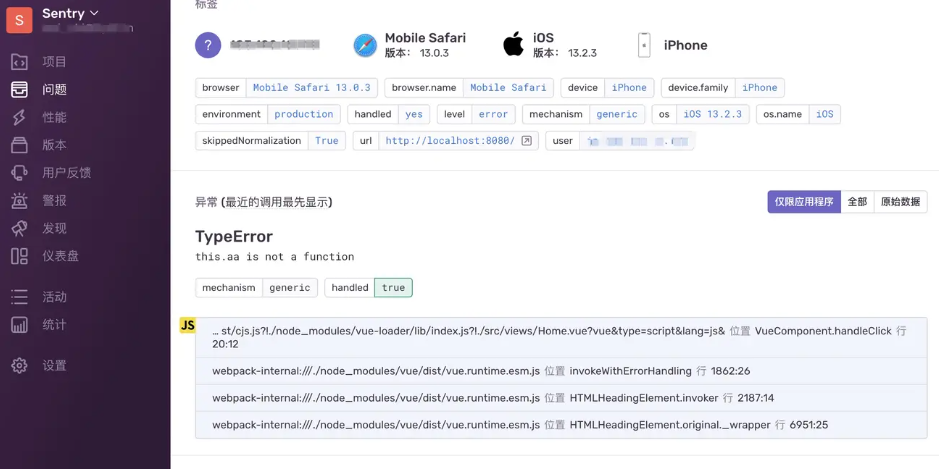
效果预览
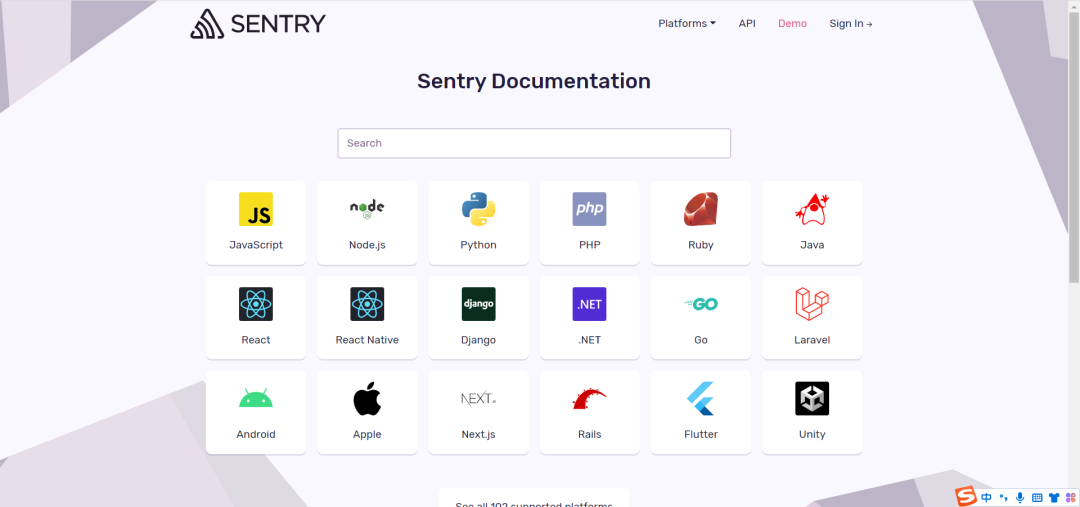
可以看出,sdk支持如下语言:
JavaScript
React-Native
Python
Ruby
PHP
Go
Rust
Java/Kotlin
Objective-C/Swift
C#/F#
C/C++
Dart
Perl
Clojure
Elixir
Unity
Laravel
Electron
what sentry
Sentry 是跨平台的应用程序监控,专注于错误报告。
线上版本发生异常回立刻会把报错的路由路径、错误所在文件等详细信息通知给相关人员,然后开发人员就可以利用错误信息的堆栈跟踪快速定位到需要处理的问题。
环境搭建
sentry是开源的,如果我们愿意付费的话,sentry给我们提供了方便。省去了自己搭建和维护 Python 服务的麻烦事。
自己搭建的话,Sentry 后端服务是基于 Python 和 ClickHouse 创建的,需要自己使用物理机进行搭建。
私有化部署官方推荐方式是通过Docker和Docker Compose部署。
为简单起见,建议选择使用 Docker 和 Docker Compose ,以及基于 bash 的安装和升级脚本。
1、安装Docker
下载Docker并进行安装,安装完成之后,系统会提示登录输入dockerid,可以去Docker官网申请一个账号即可。安装成功之后,可以正确的获取版本信息。使用如下命令,即可查看对应的版本:
docker --version
docker-compose --version
2、获取sentry
将Sentry源码克隆到本地,然后执行如下命令:
git clone https://github.com/getsentry/onpremise.git3、修改sentry配置
step1: 修改docker-compose.yml配置来适应环境,创建一个名为volname的数据卷,通过-v参数可以进行创建,如下:
docker volume create --name=sentry-data && docker volume create --name=sentry-postgres
step2: 编译和标记Docker服务:
docker-compose build
docker-compose run --rm web config generate-secret-key
 environment:
    SENTRY_MEMCACHED_HOST: memcached
    SENTRY_REDIS_HOST: redis
    SENTRY_POSTGRES_HOST: postgres
    SENTRY_EMAIL_HOST: smtp
    #添加如下内容
    SENTRY_SECRET_KEY : 'dvw9w+4^%+ypj1z^#e%nt#h8w1i)@it84j+&m1npujr'
docker-compose run --rm web upgrade4、启动服务
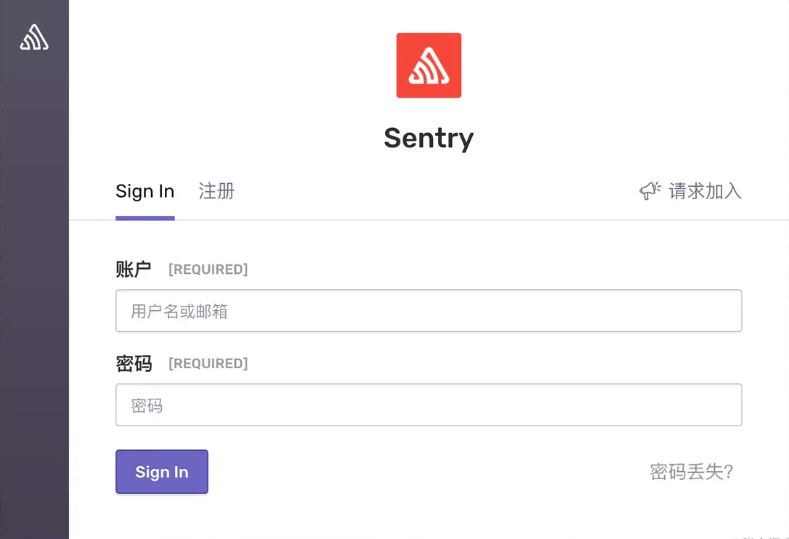
docker-compose up -d
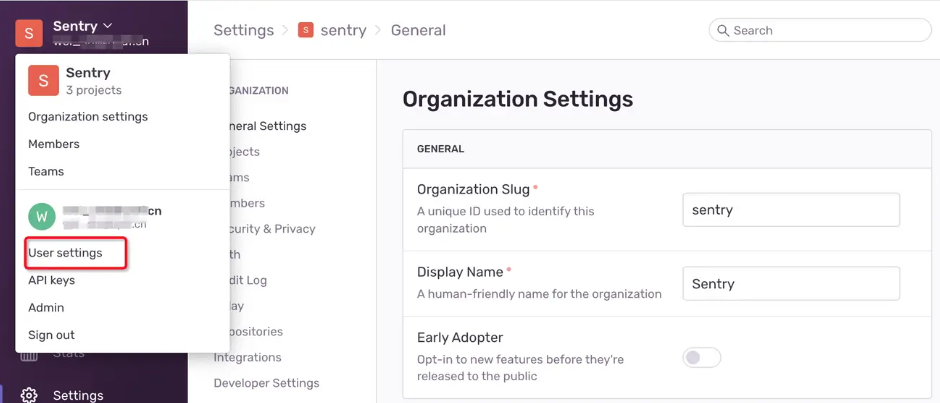
use sentry
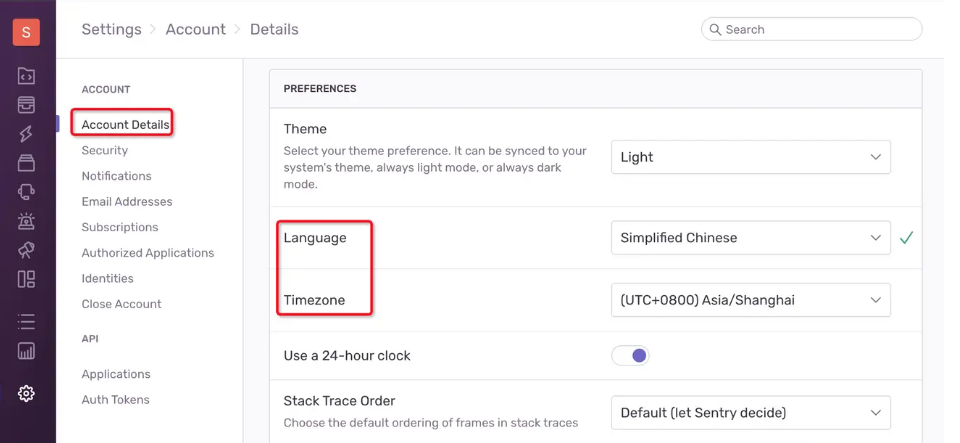
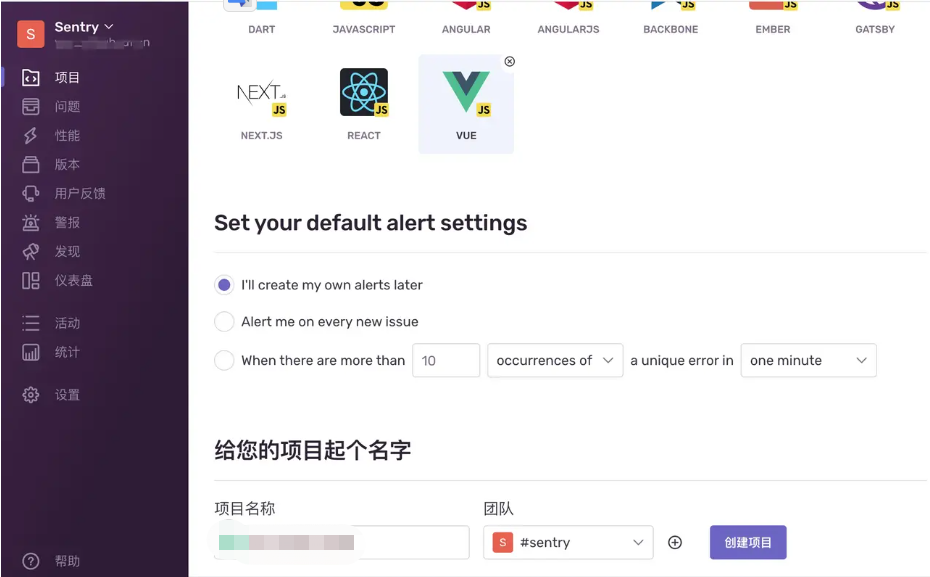
本地起一个vue项目
# vue cli创建项目
$ vue create vue-sentry-test
# 选择vue-router vue2.x
# 按照文档安装插件
$ yarn add @sentry/vue @sentry/tracing
配置sentry
// main.js 加入配置
import * as Sentry from '@sentry/vue'
import { BrowserTracing } from '@sentry/tracing'

Sentry.init({
  Vue,
  dsn: 'https://29312c0e8494419e8cdb1eee6e5212e4@sentry.hanyuan.vip/4',
  integrations: [
    new BrowserTracing({
      routingInstrumentation: Sentry.vueRouterInstrumentation(router),
      tracingOrigins: ['localhost', 'my-site-url.com', /^\//],
    }),
  ],
  tracesSampleRate: 1.0,
  release: process.env.SENTRY_RELEASE,
})
# 新建env用于保存release版本号
$ touch .env
$ cat > .env
$ SENTRY_RELEASE="0.0.1"
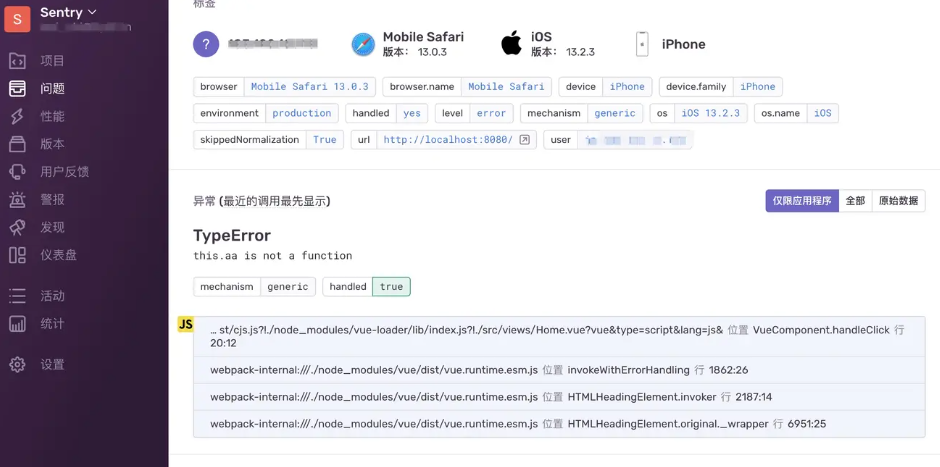
为了方便查看具体的报错内容,我们需要上传sourceMap到sentry平台。
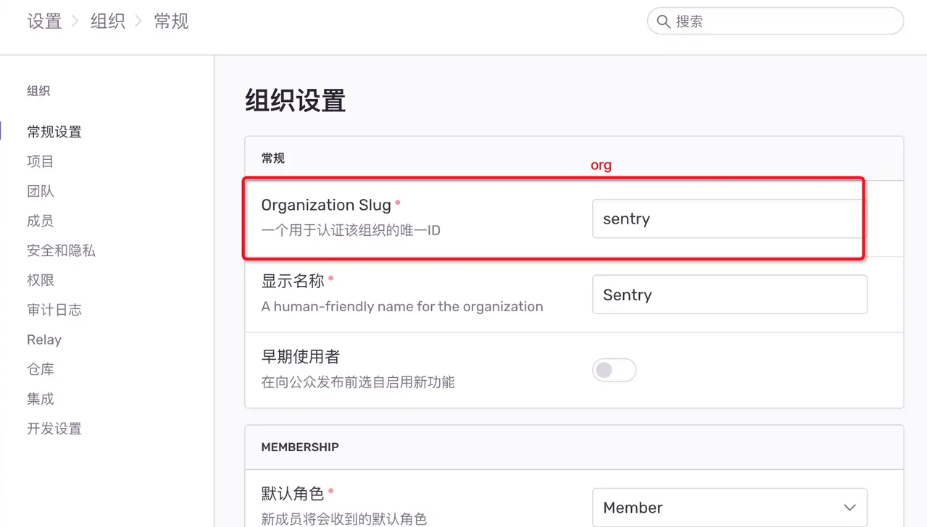
一般有两种方式 sentry-cli和 sentry-webpack-plugin方式,这里为了方便采用webpack方式。
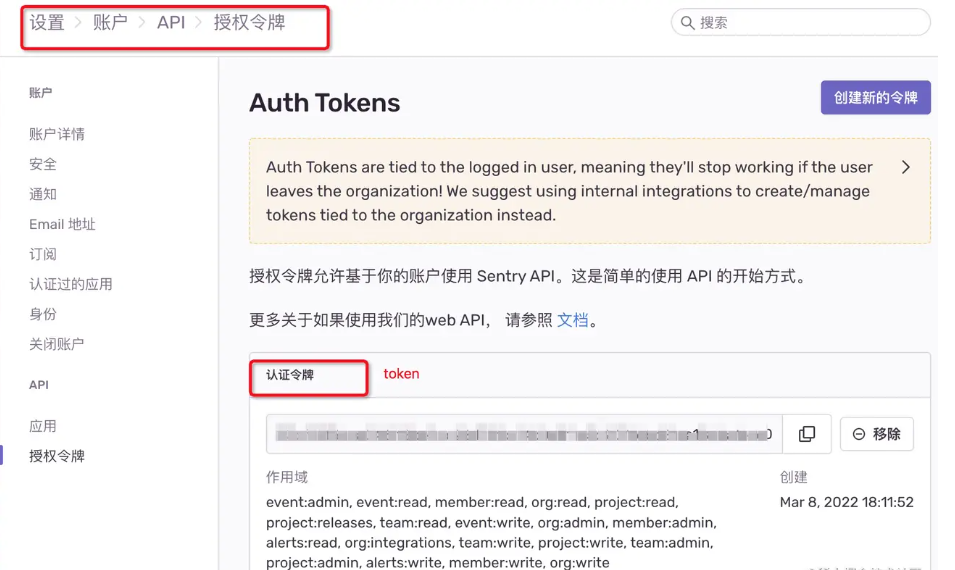
# 如果要上传源码需安装webpack插件
$ yarn add @sentry/webpack-plugin -D
$ touch .sentryclirc
# 写入配置
$ cat > .sentryclirc
[auth]
token=XXX

[defaults]
url=https://sentry.hanyuan.vip/
org=sentry
project=vue-sentry-test
# webpack配置
$ touch vue.config.js
// vue.config.js
const SentryCliPlugin = require('@sentry/webpack-plugin')
module.exports = {
configureWebpack: {
plugins: [
new SentryCliPlugin({
include: './dist/js', // 只上传js
ignore: ['node_modules'],
configFile: 'sentry.properties',
release: process.env.SENTRY_RELEASE, // 对应main.js版本号
cleanArtifacts: true, // 先清理再上传
}),
],
},
}
执行 $ yarn build 上传后并验证
在react项目中使用也大同小异,我们按需修改即可。
Tips
如何上传后删除sourcemap, 三种方式:
1、命令删除
"scripts": {
   "build": "vue-cli-service build && rimraf ./dist/js/*.map"
}2、单独生成map
// vue.config.js
configureWebpack(config) {
     config.output.sourceMapFilename('sourceMap/[name].[chunkhash].map.js')
     config.plugin('sentry').use(SentryCliPlugin, [{
        include: './dist/sourceMap', // 只上传js
        ignore: ['node_modules'],
        configFile: 'sentry.properties',
        release: process.env.SENTRY_RELEASE, // 对应main.js版本号
        cleanArtifacts: true, // 先清理再上传
    }])
}
3、webpack插件清理
$ yarn add webpack-delete-sourcemaps-plugin -D
// vue.config.js
const { DeleteSourceMapsPlugin } = require('webpack-delete-sourcemaps-plugin')
... // plugin
new DeleteSourceMapsPlugin(), // 清理sourcemap
...
面试题库推荐


三、最后
在我们做技术方案的时候,最好结合团队的实际情况,然后做出取舍,选择最符合实际的方案。
关注我,一起携手进阶
欢迎关注前端早茶,与广东靓仔携手共同进阶~
